")
")
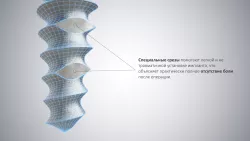
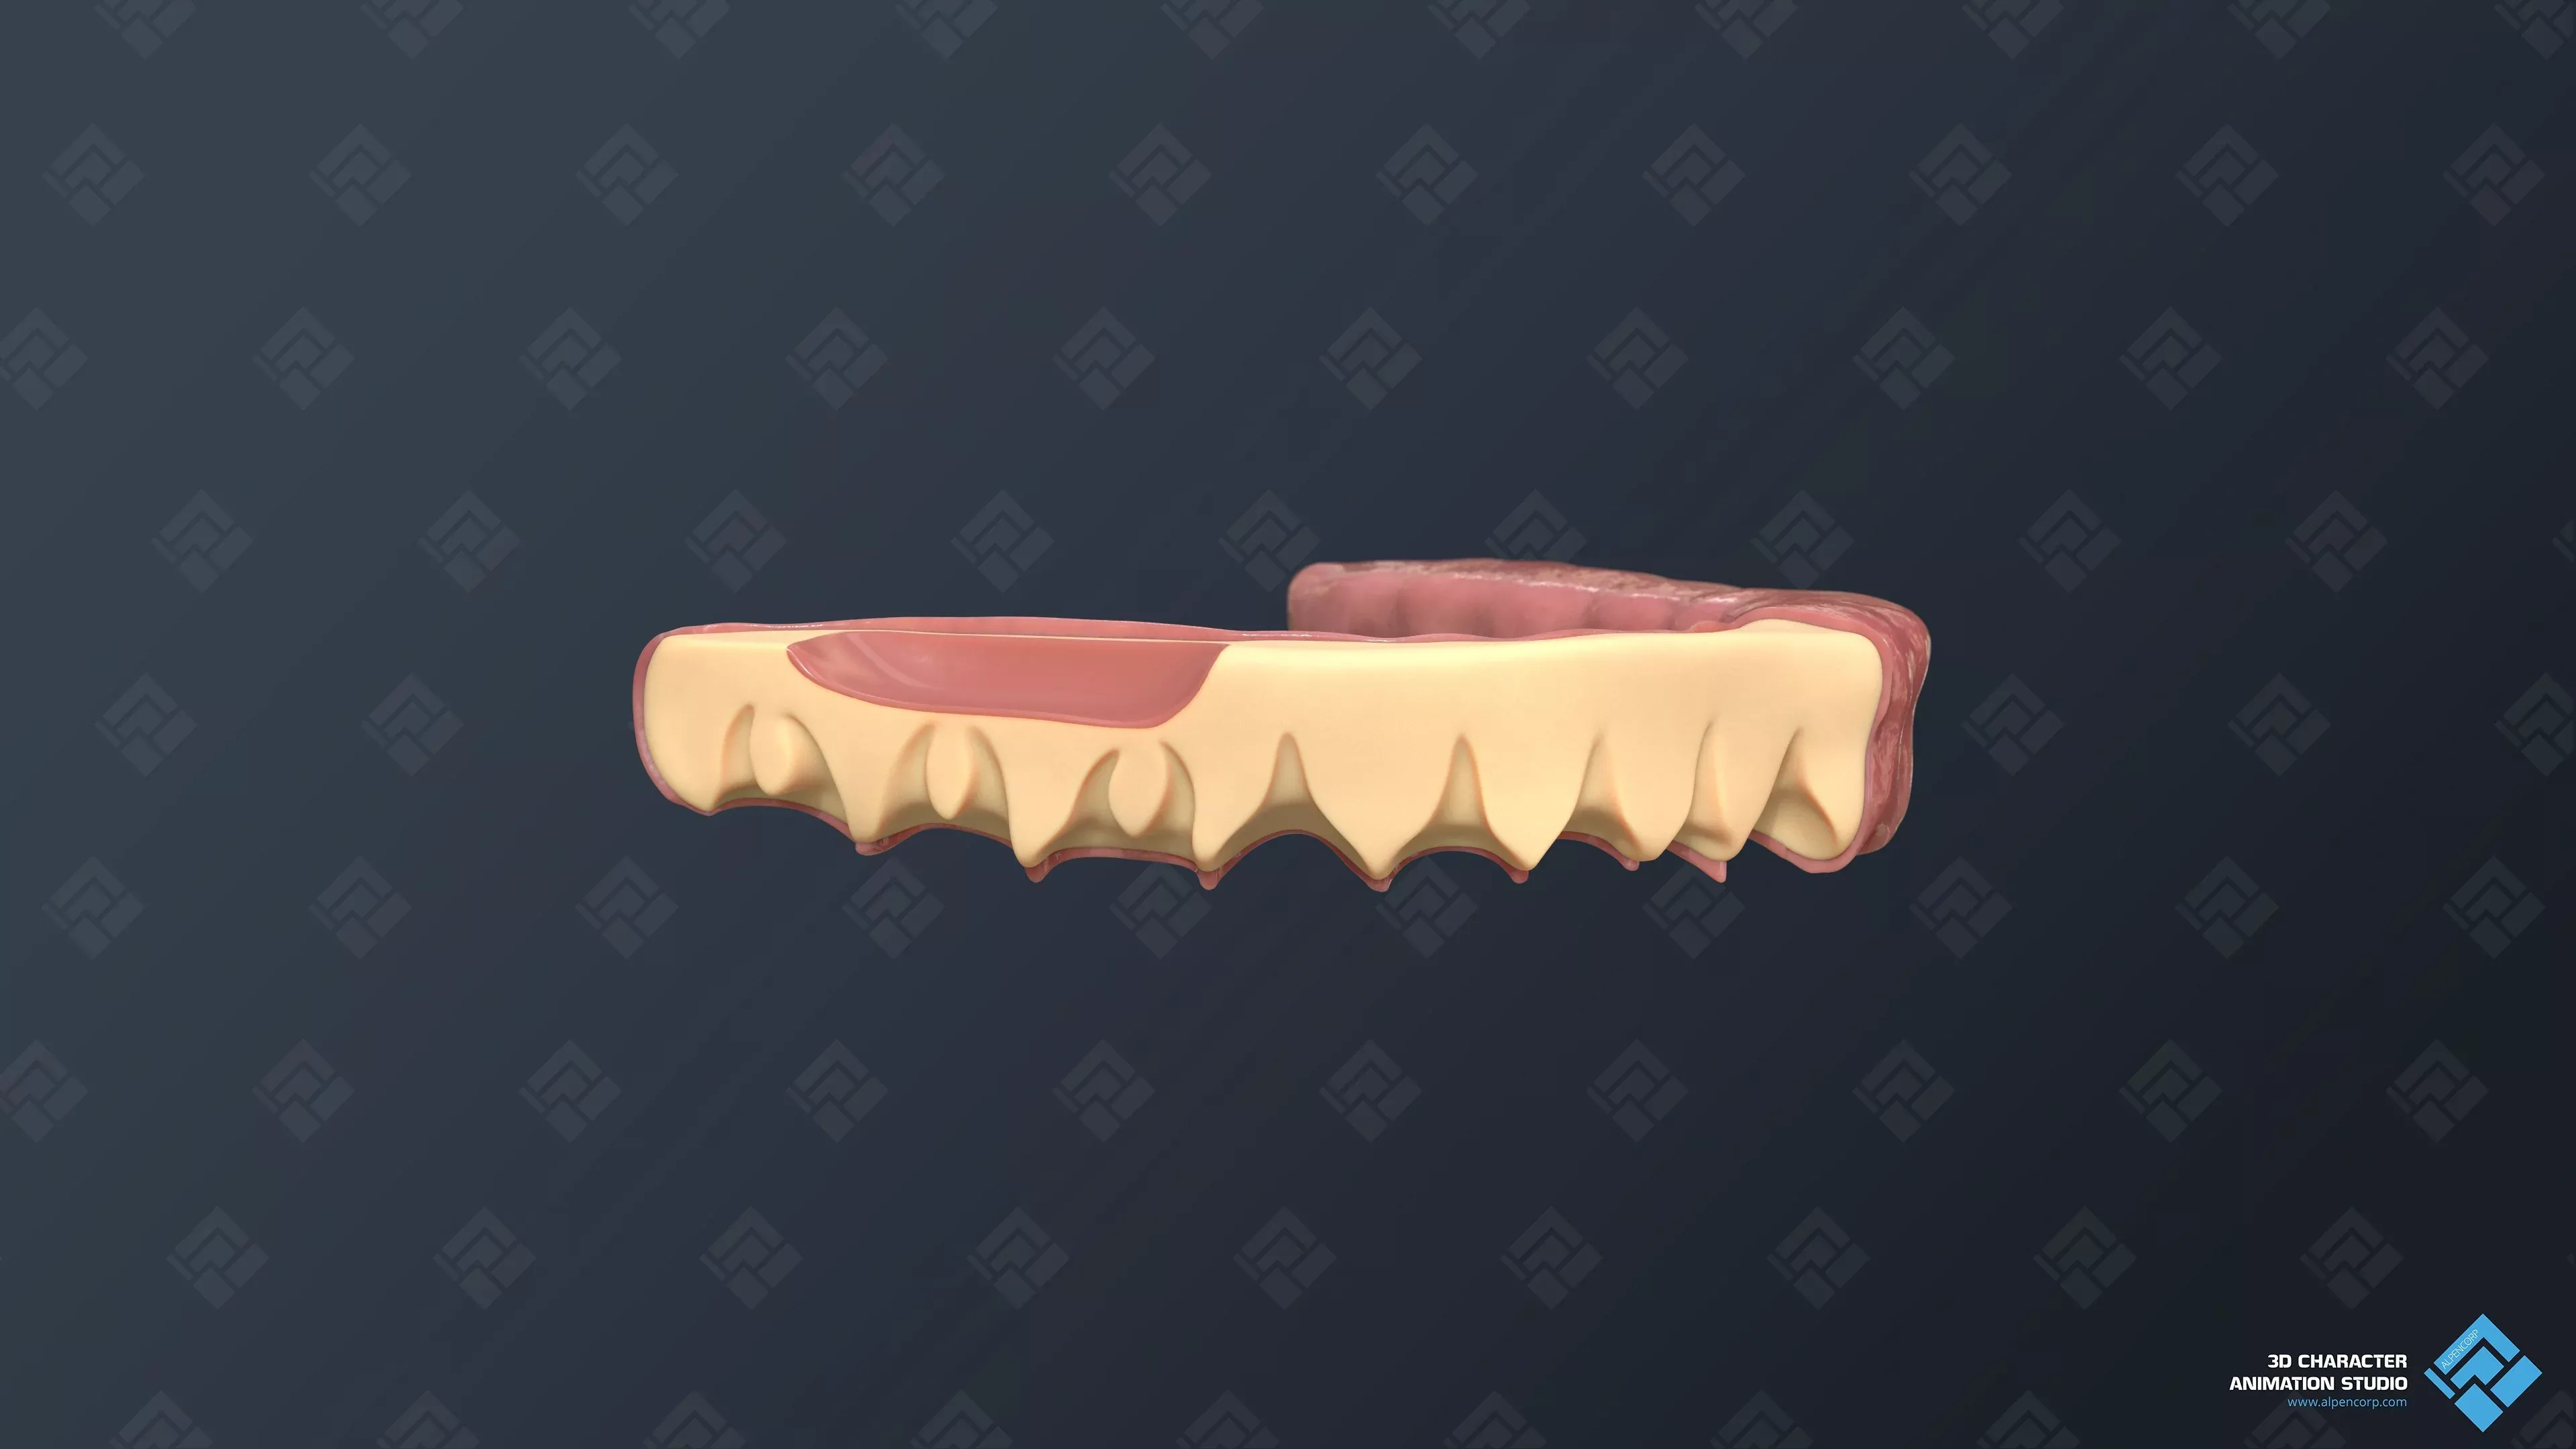
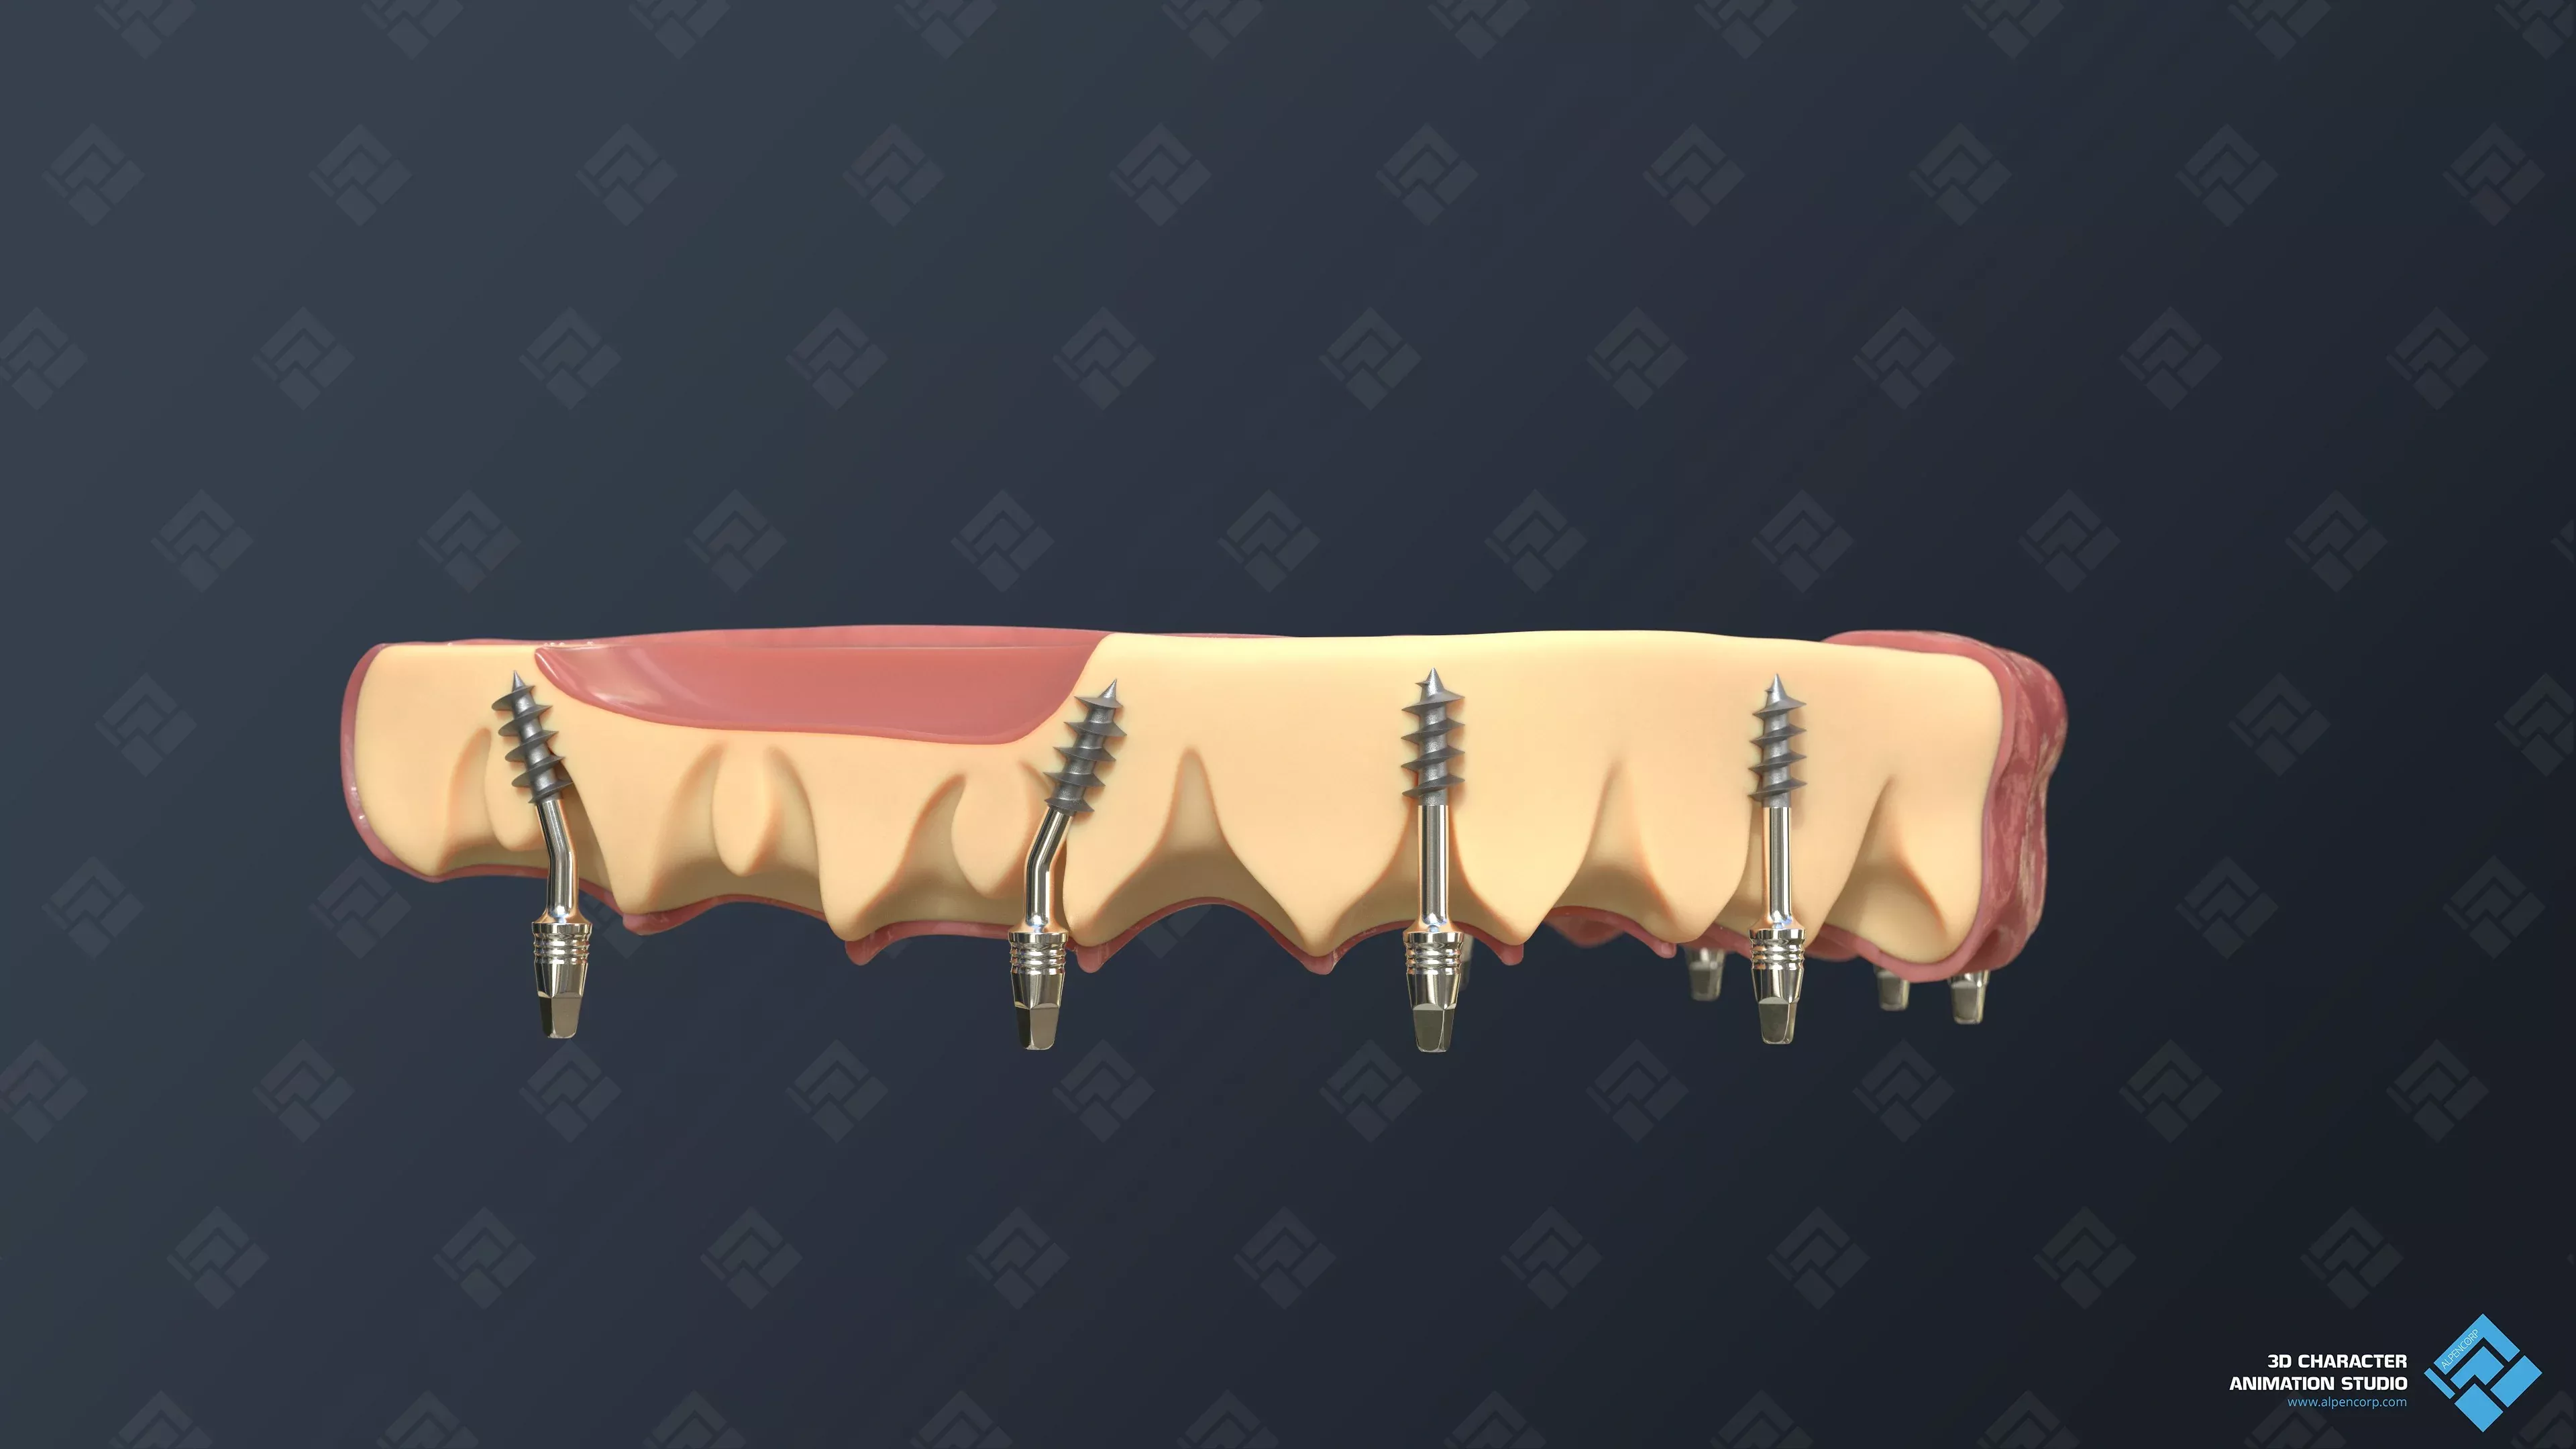
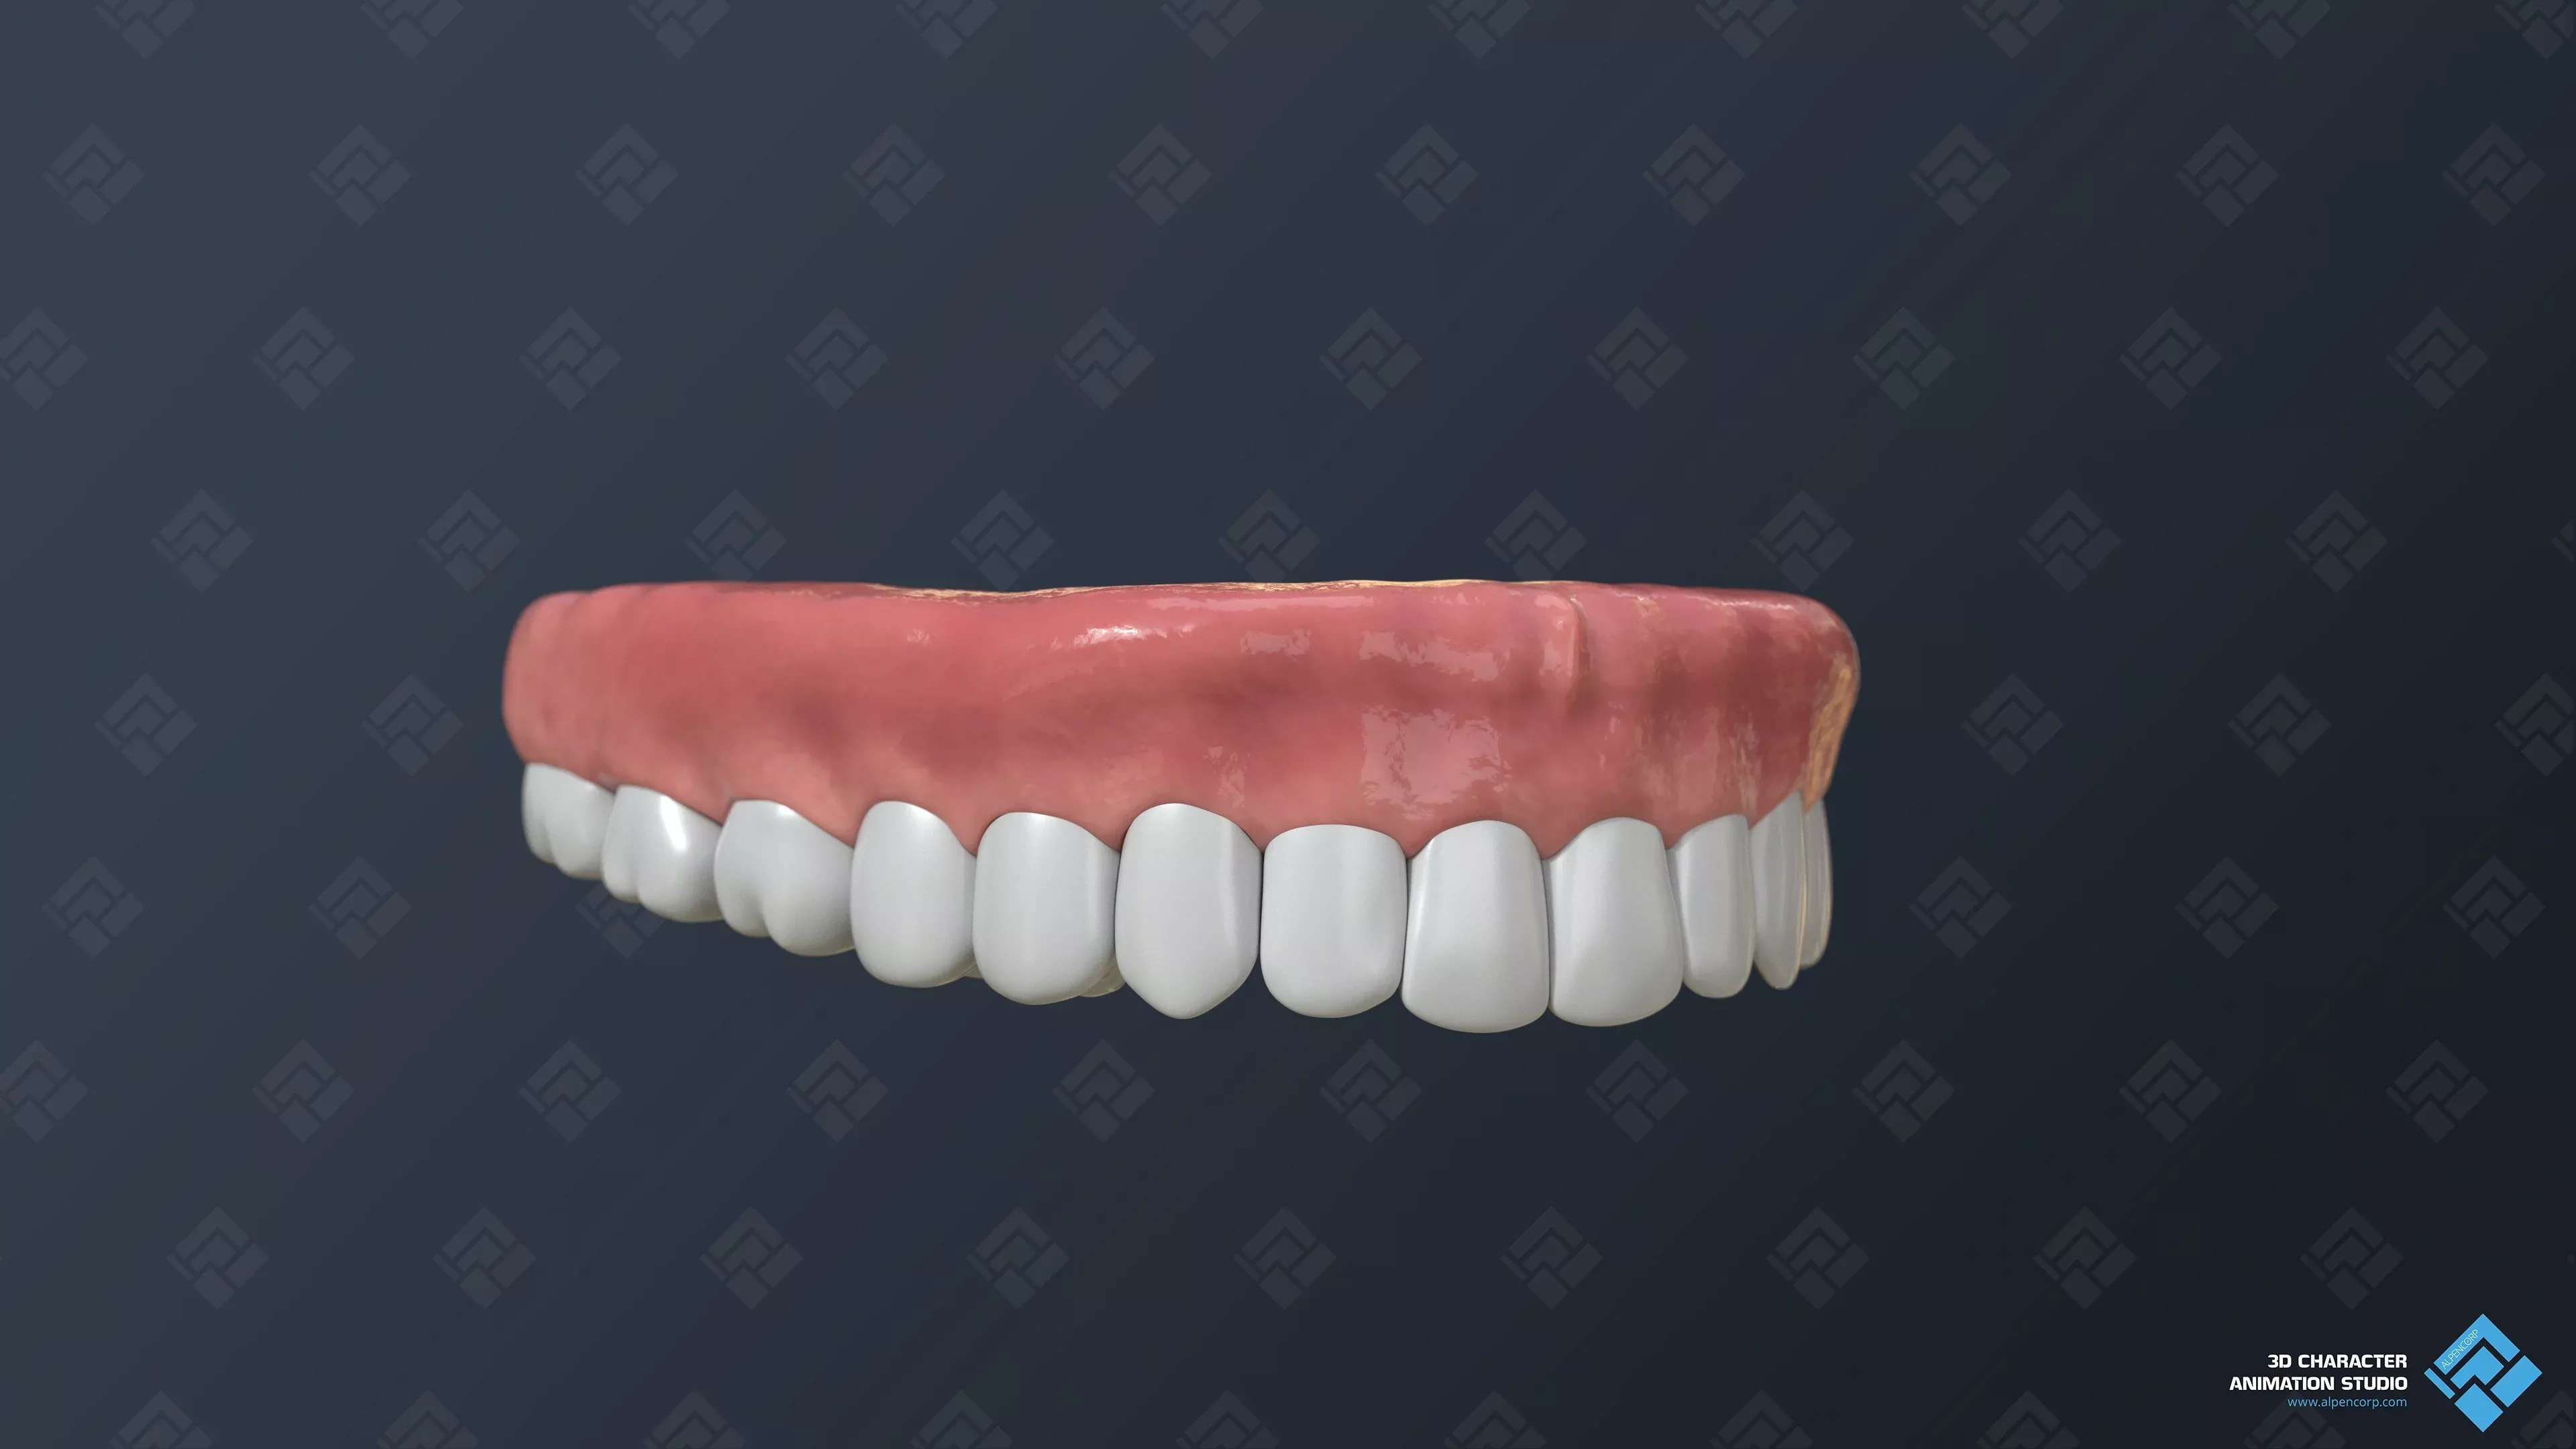
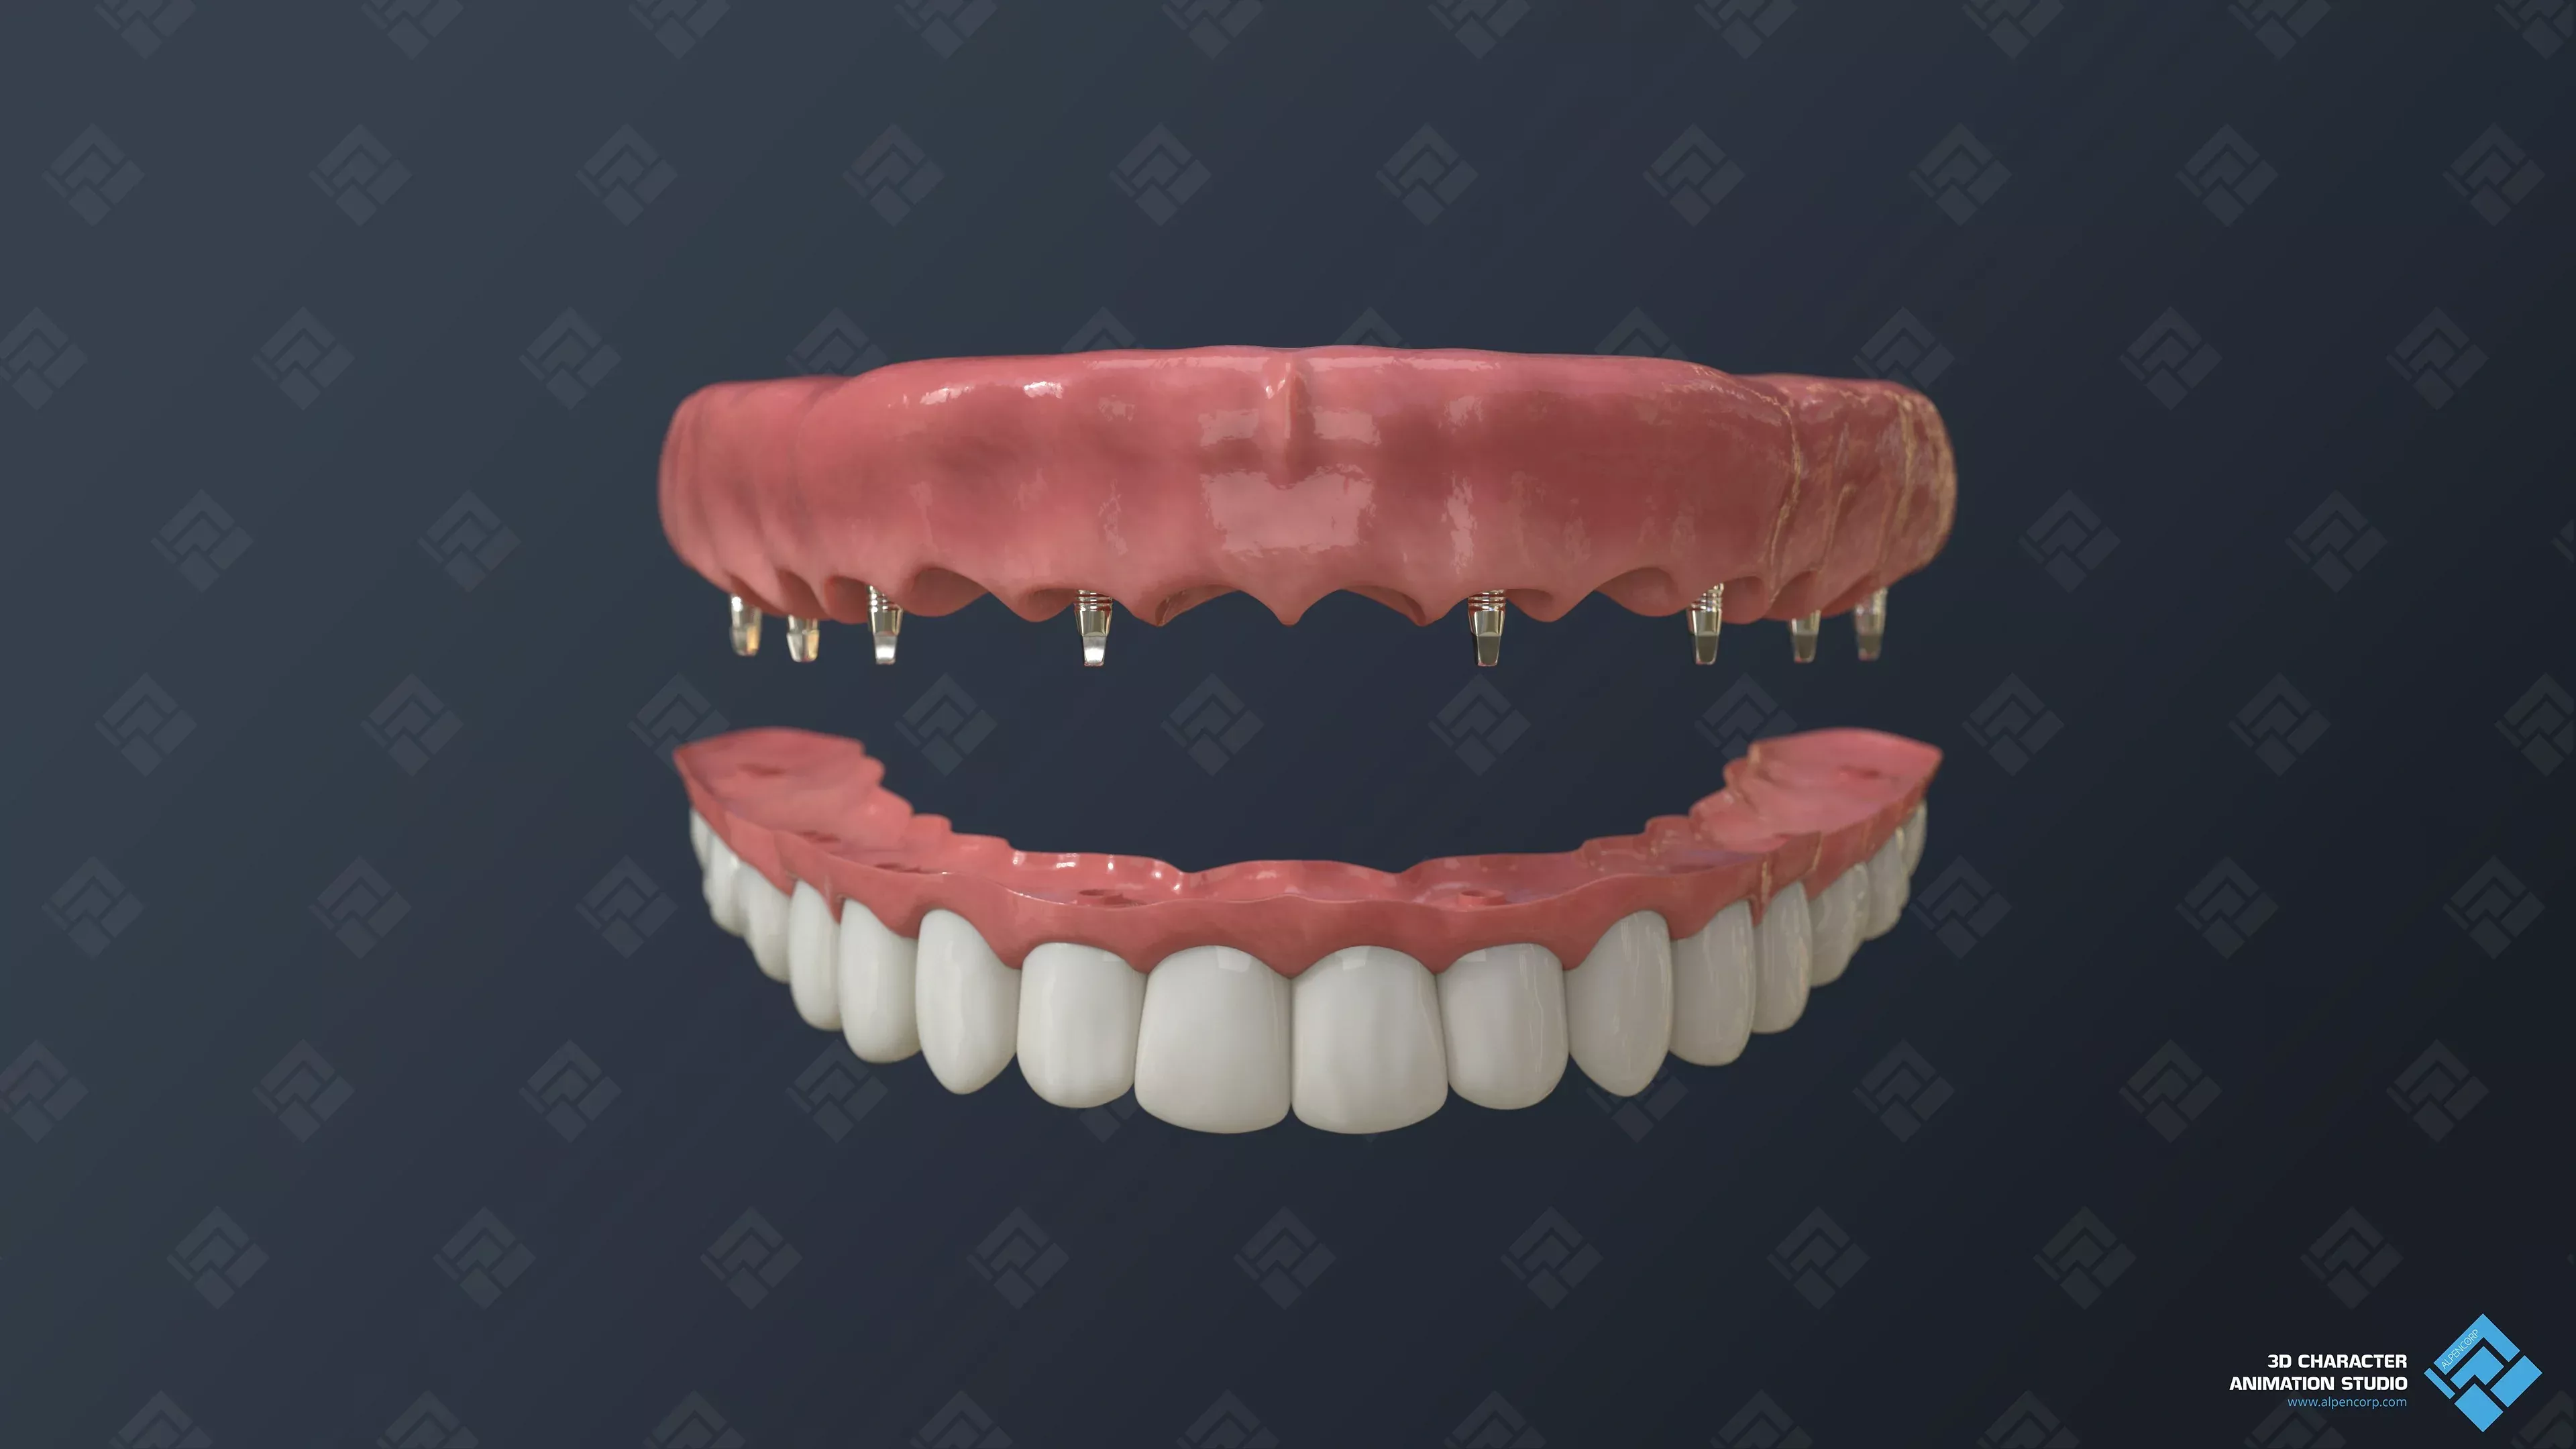
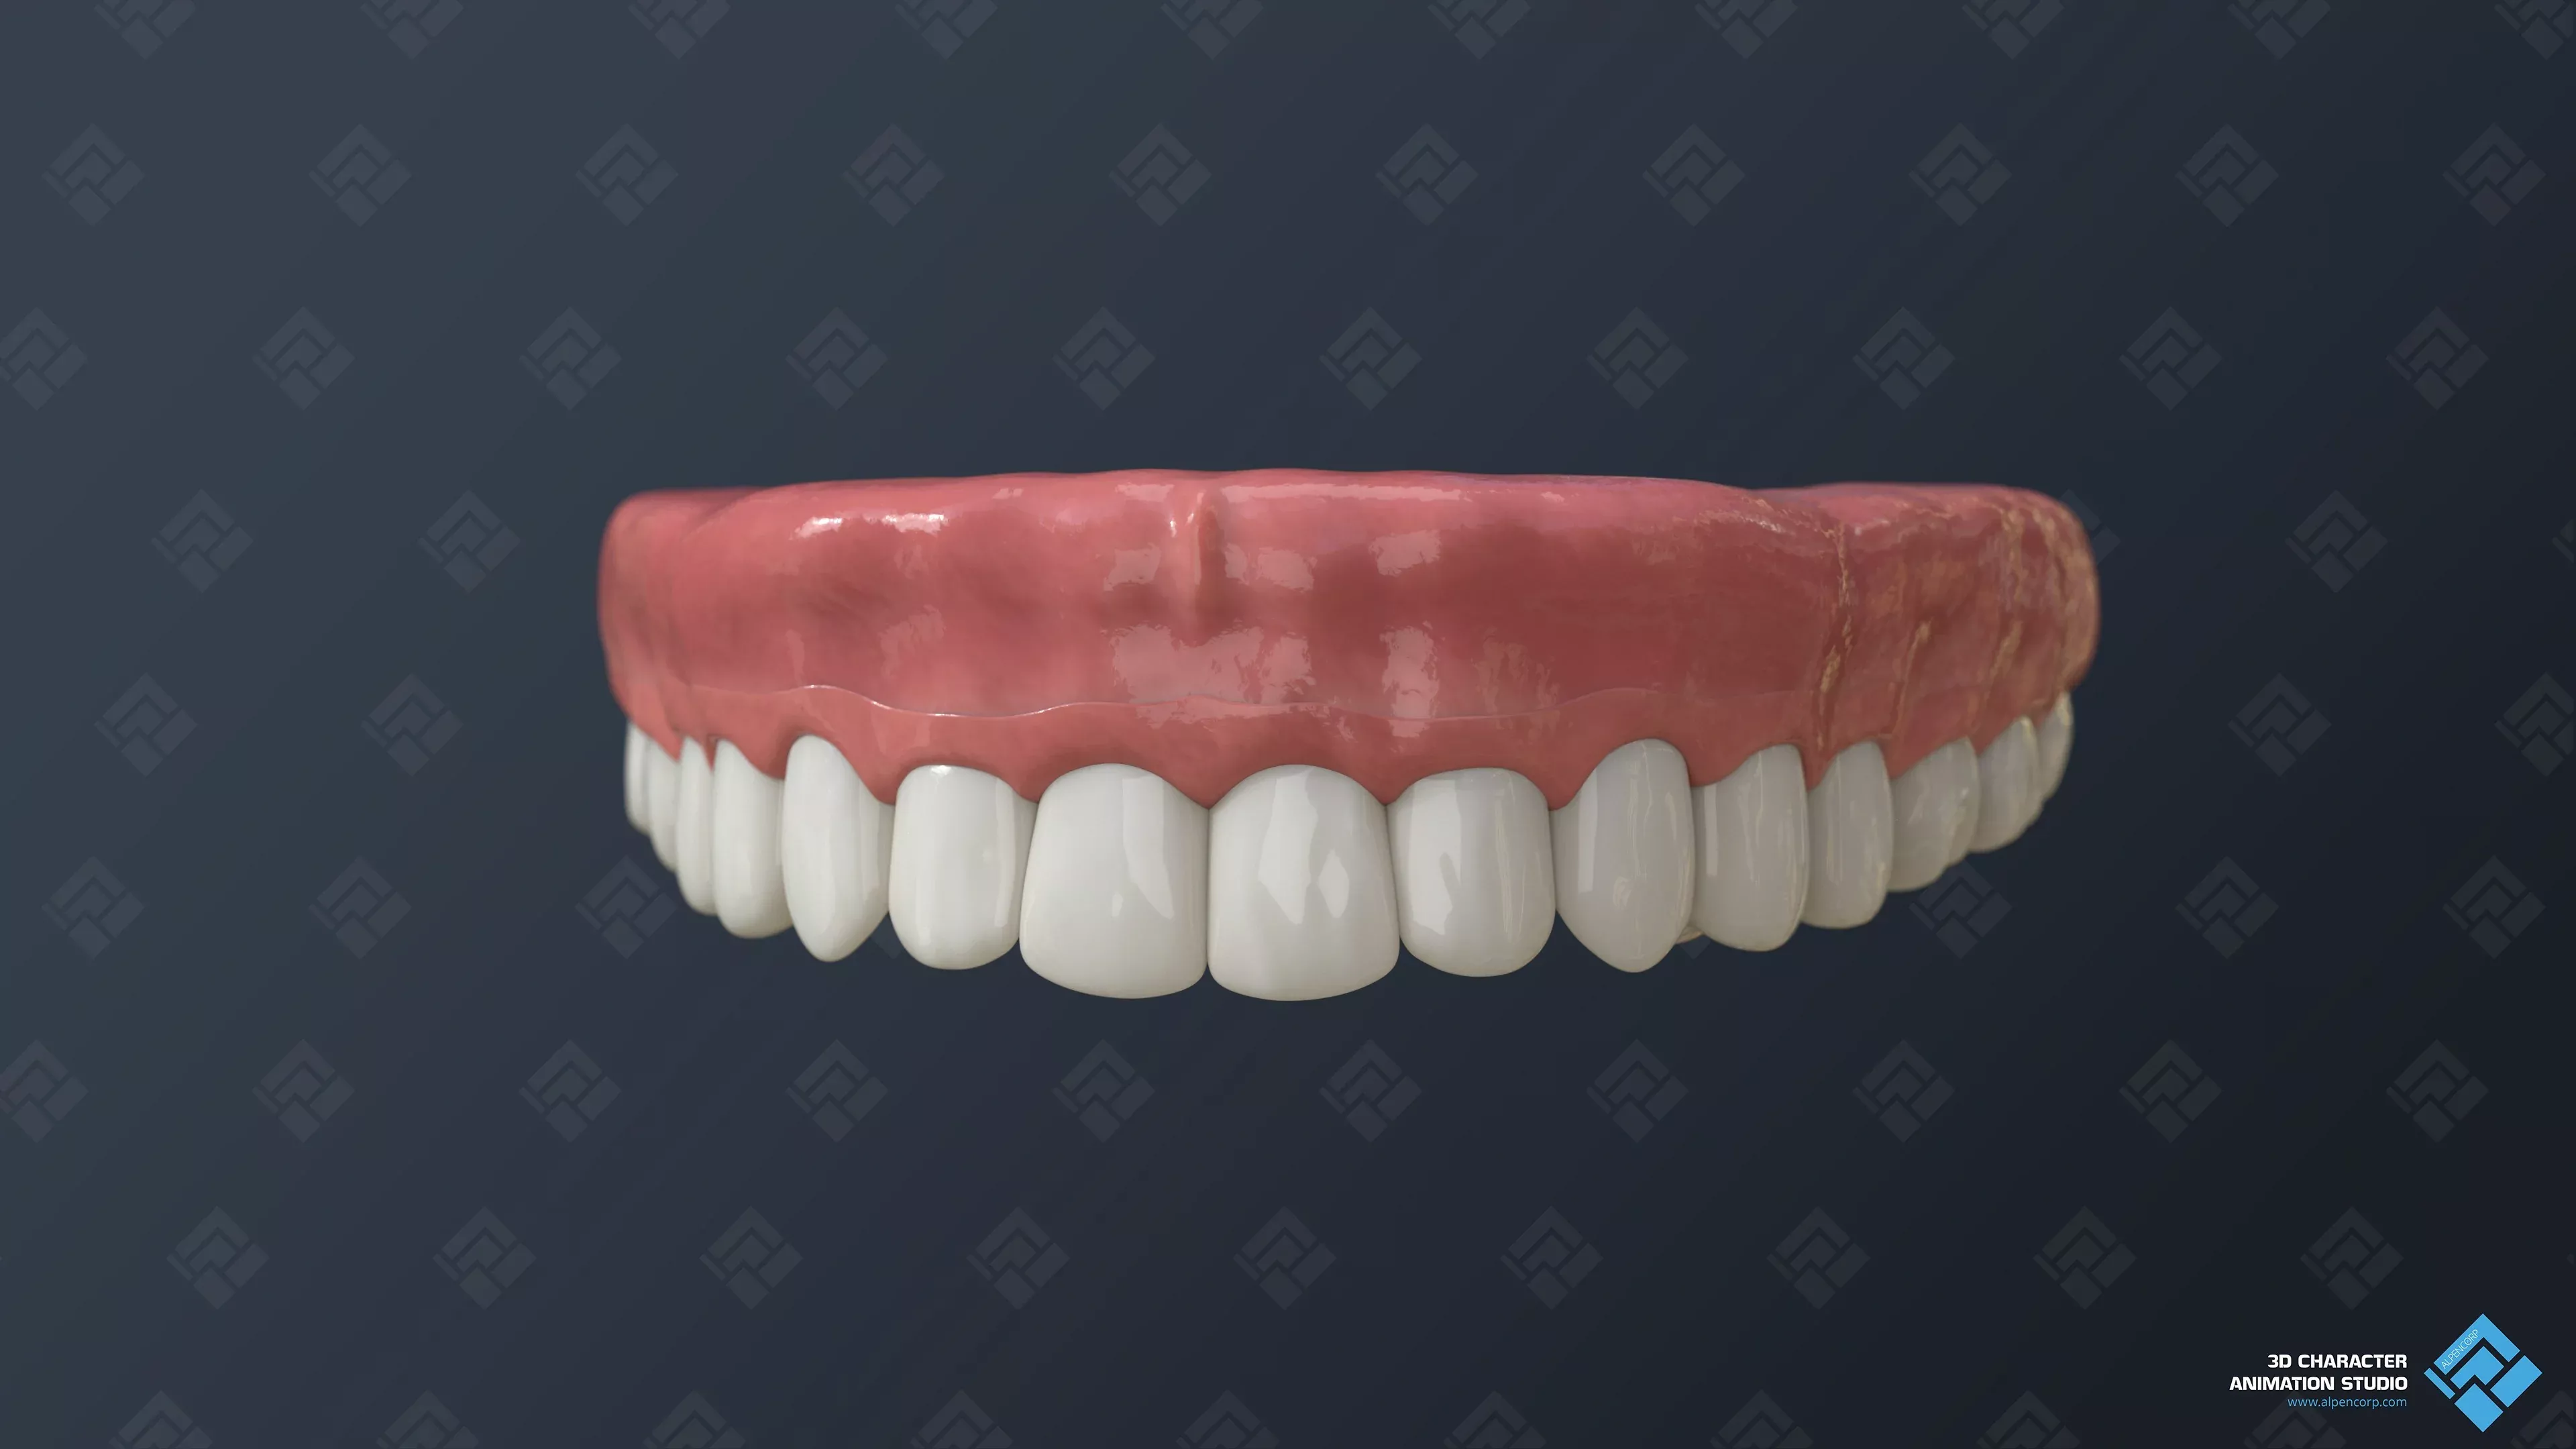
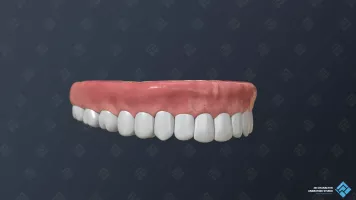
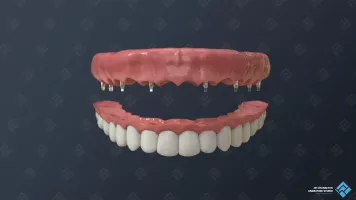
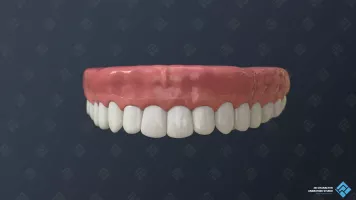
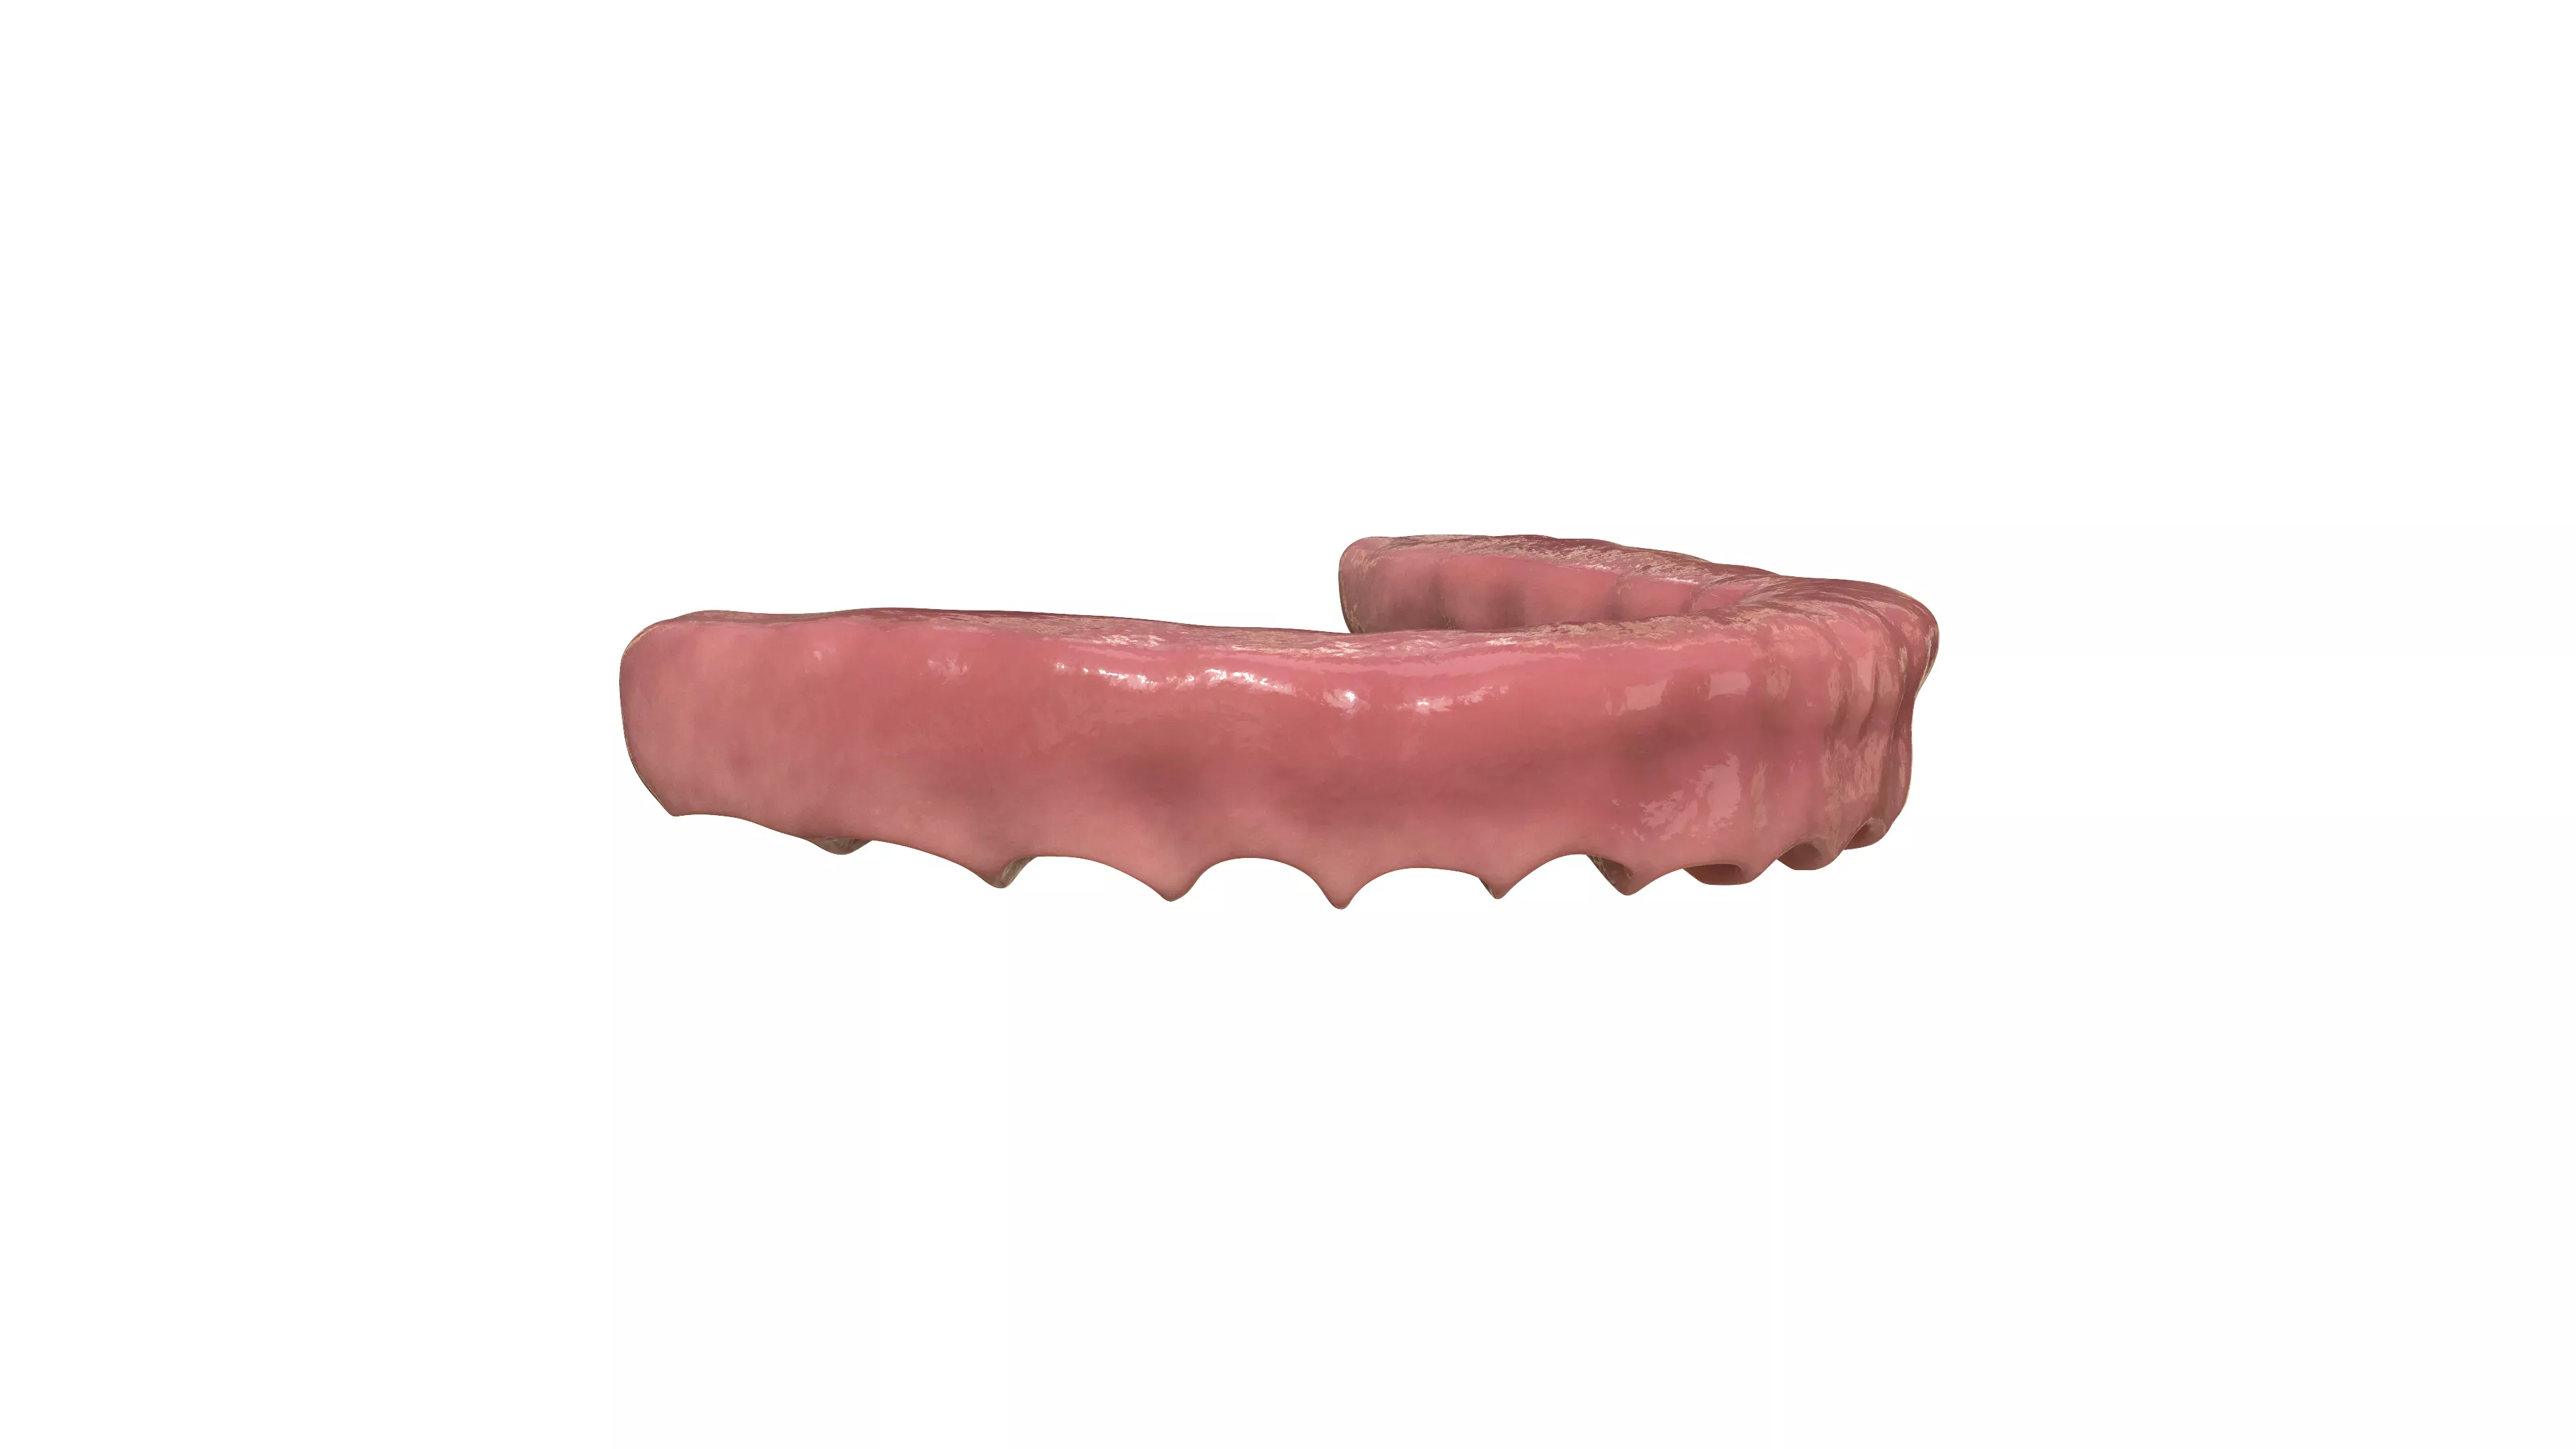
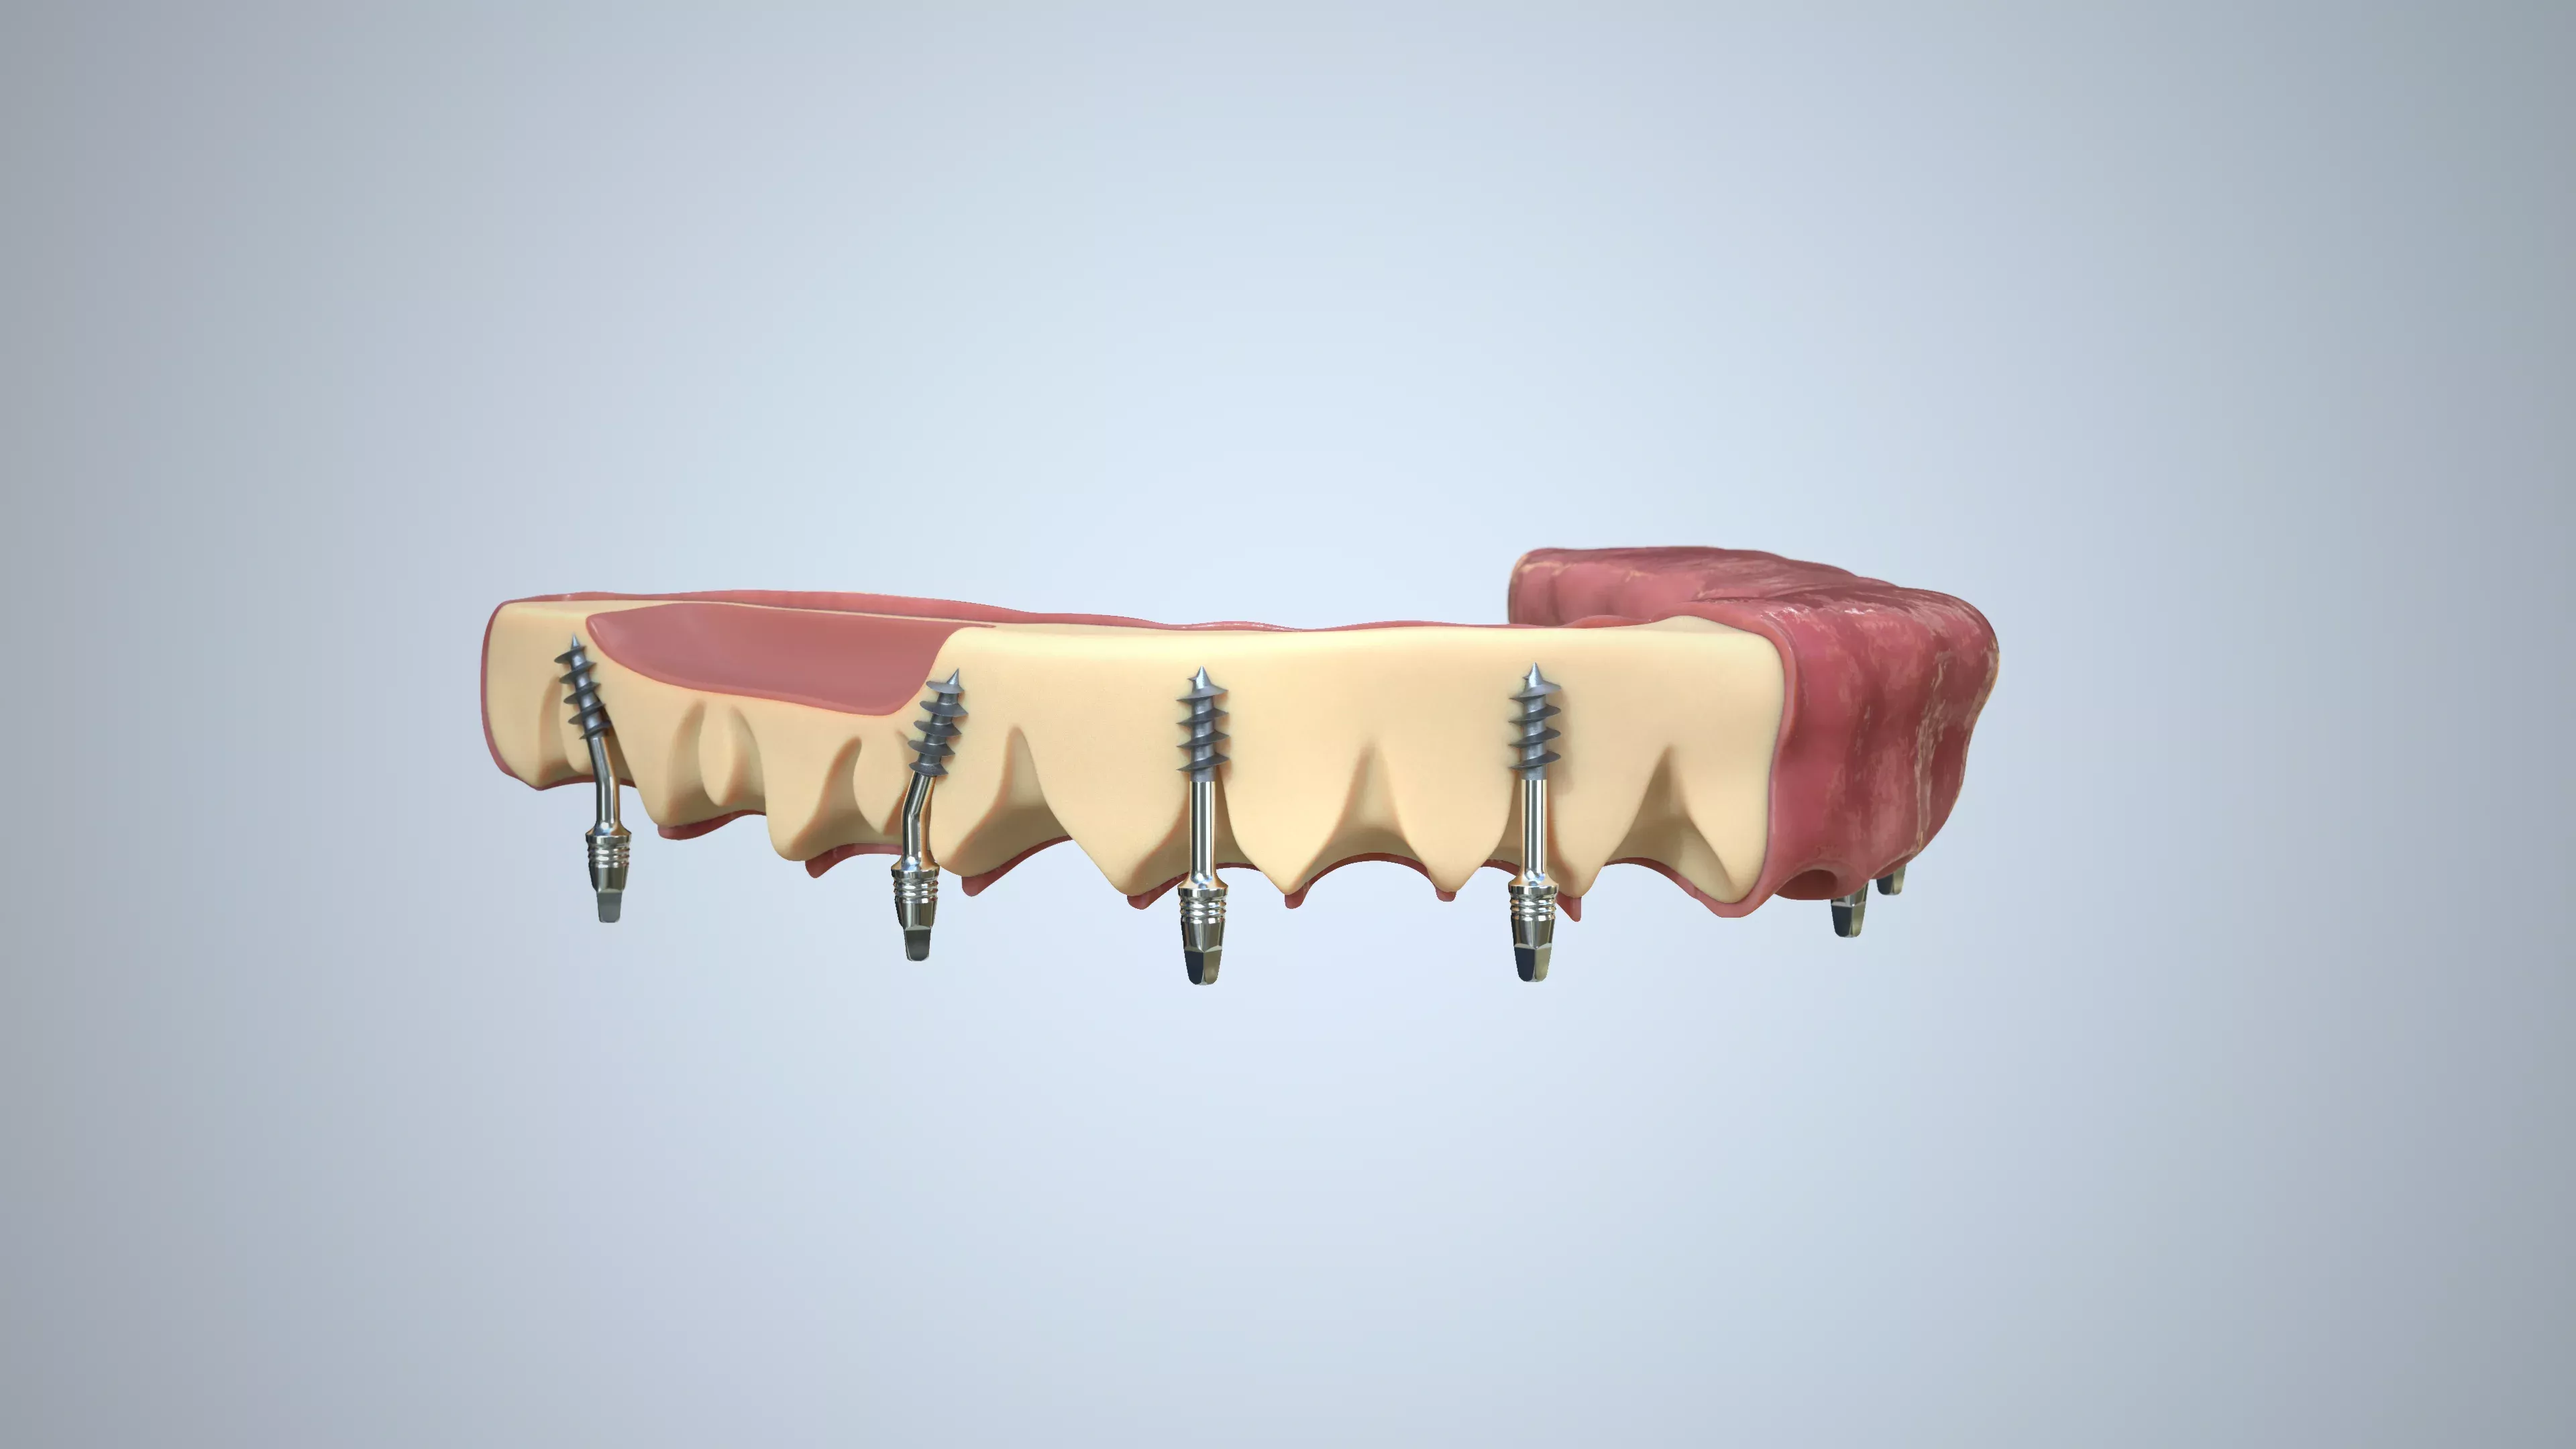
The medical 3D video was created to showcase the features of basal implants for a top jaw case. The main challenge in a top jaw case arises from the sinus; if endosteal implants are used, a sinus-lifting surgery becomes necessary. Additionally, this project served as a small test for 4K resolution in 3D animation.
Related projects to Medical 3D Video
Specifications
Supposed Price
The current price reflects the increased complexity of the 3D animation compared to this example, due to the continuous advancements in software and hardware.
Idea
The 3D video begins with a question, instantly immersing the viewer in the narrative. We exaggerated the opening scene to create an absurd scenario, mirroring patient fears, but at the same time, we ensured that we were not manipulating their emotions. By doing so, we sidestepped the cliché associated with the question posed in the title and gauged how the viewer would react to the emotional content.
We employed shape animation transitioning to the 3D jaw to accentuate the difference between reality and fiction, a prudent choice considering the project's budget constraints. The dentist's office was adequately represented with essential items to establish the setting, without being overboard. This approach served as an alternative to introducing the video with a title, especially since the thumbnail of the 3D animation sufficed in conveying the video's subject matter.
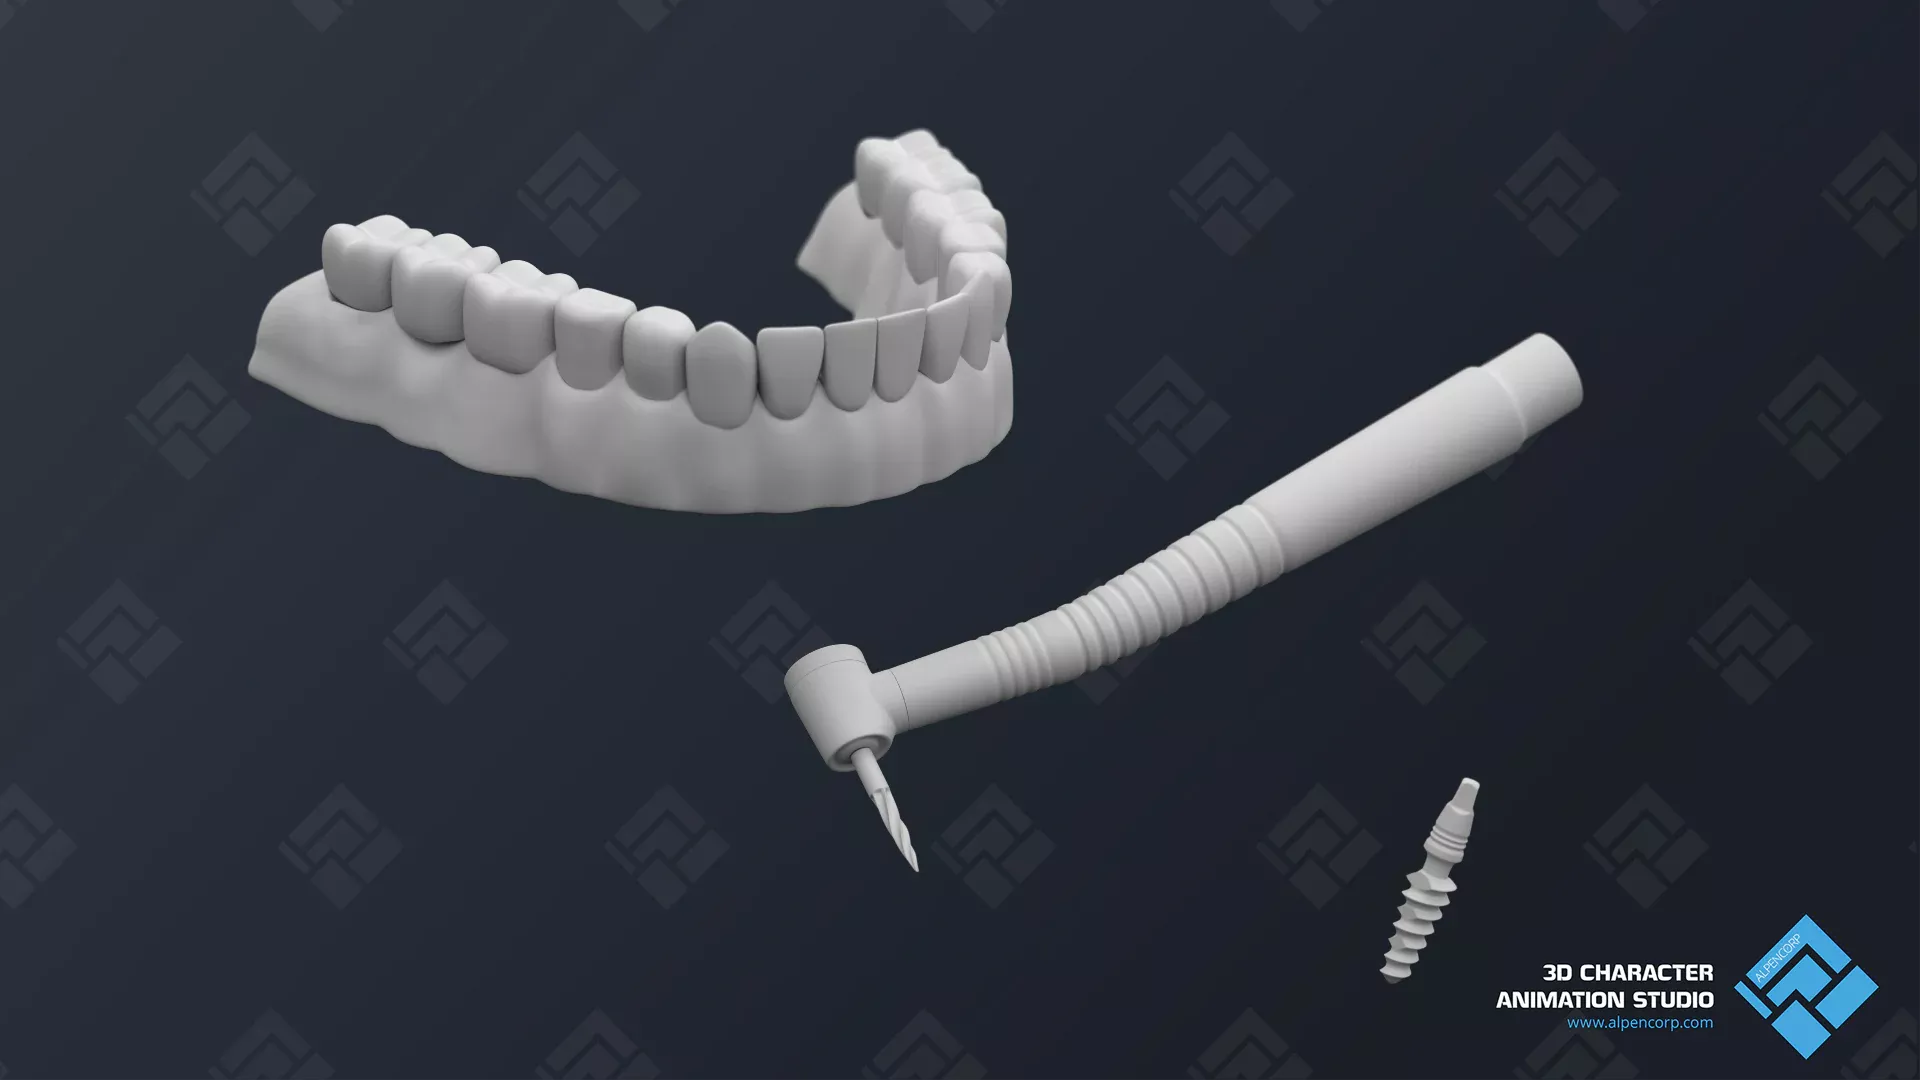
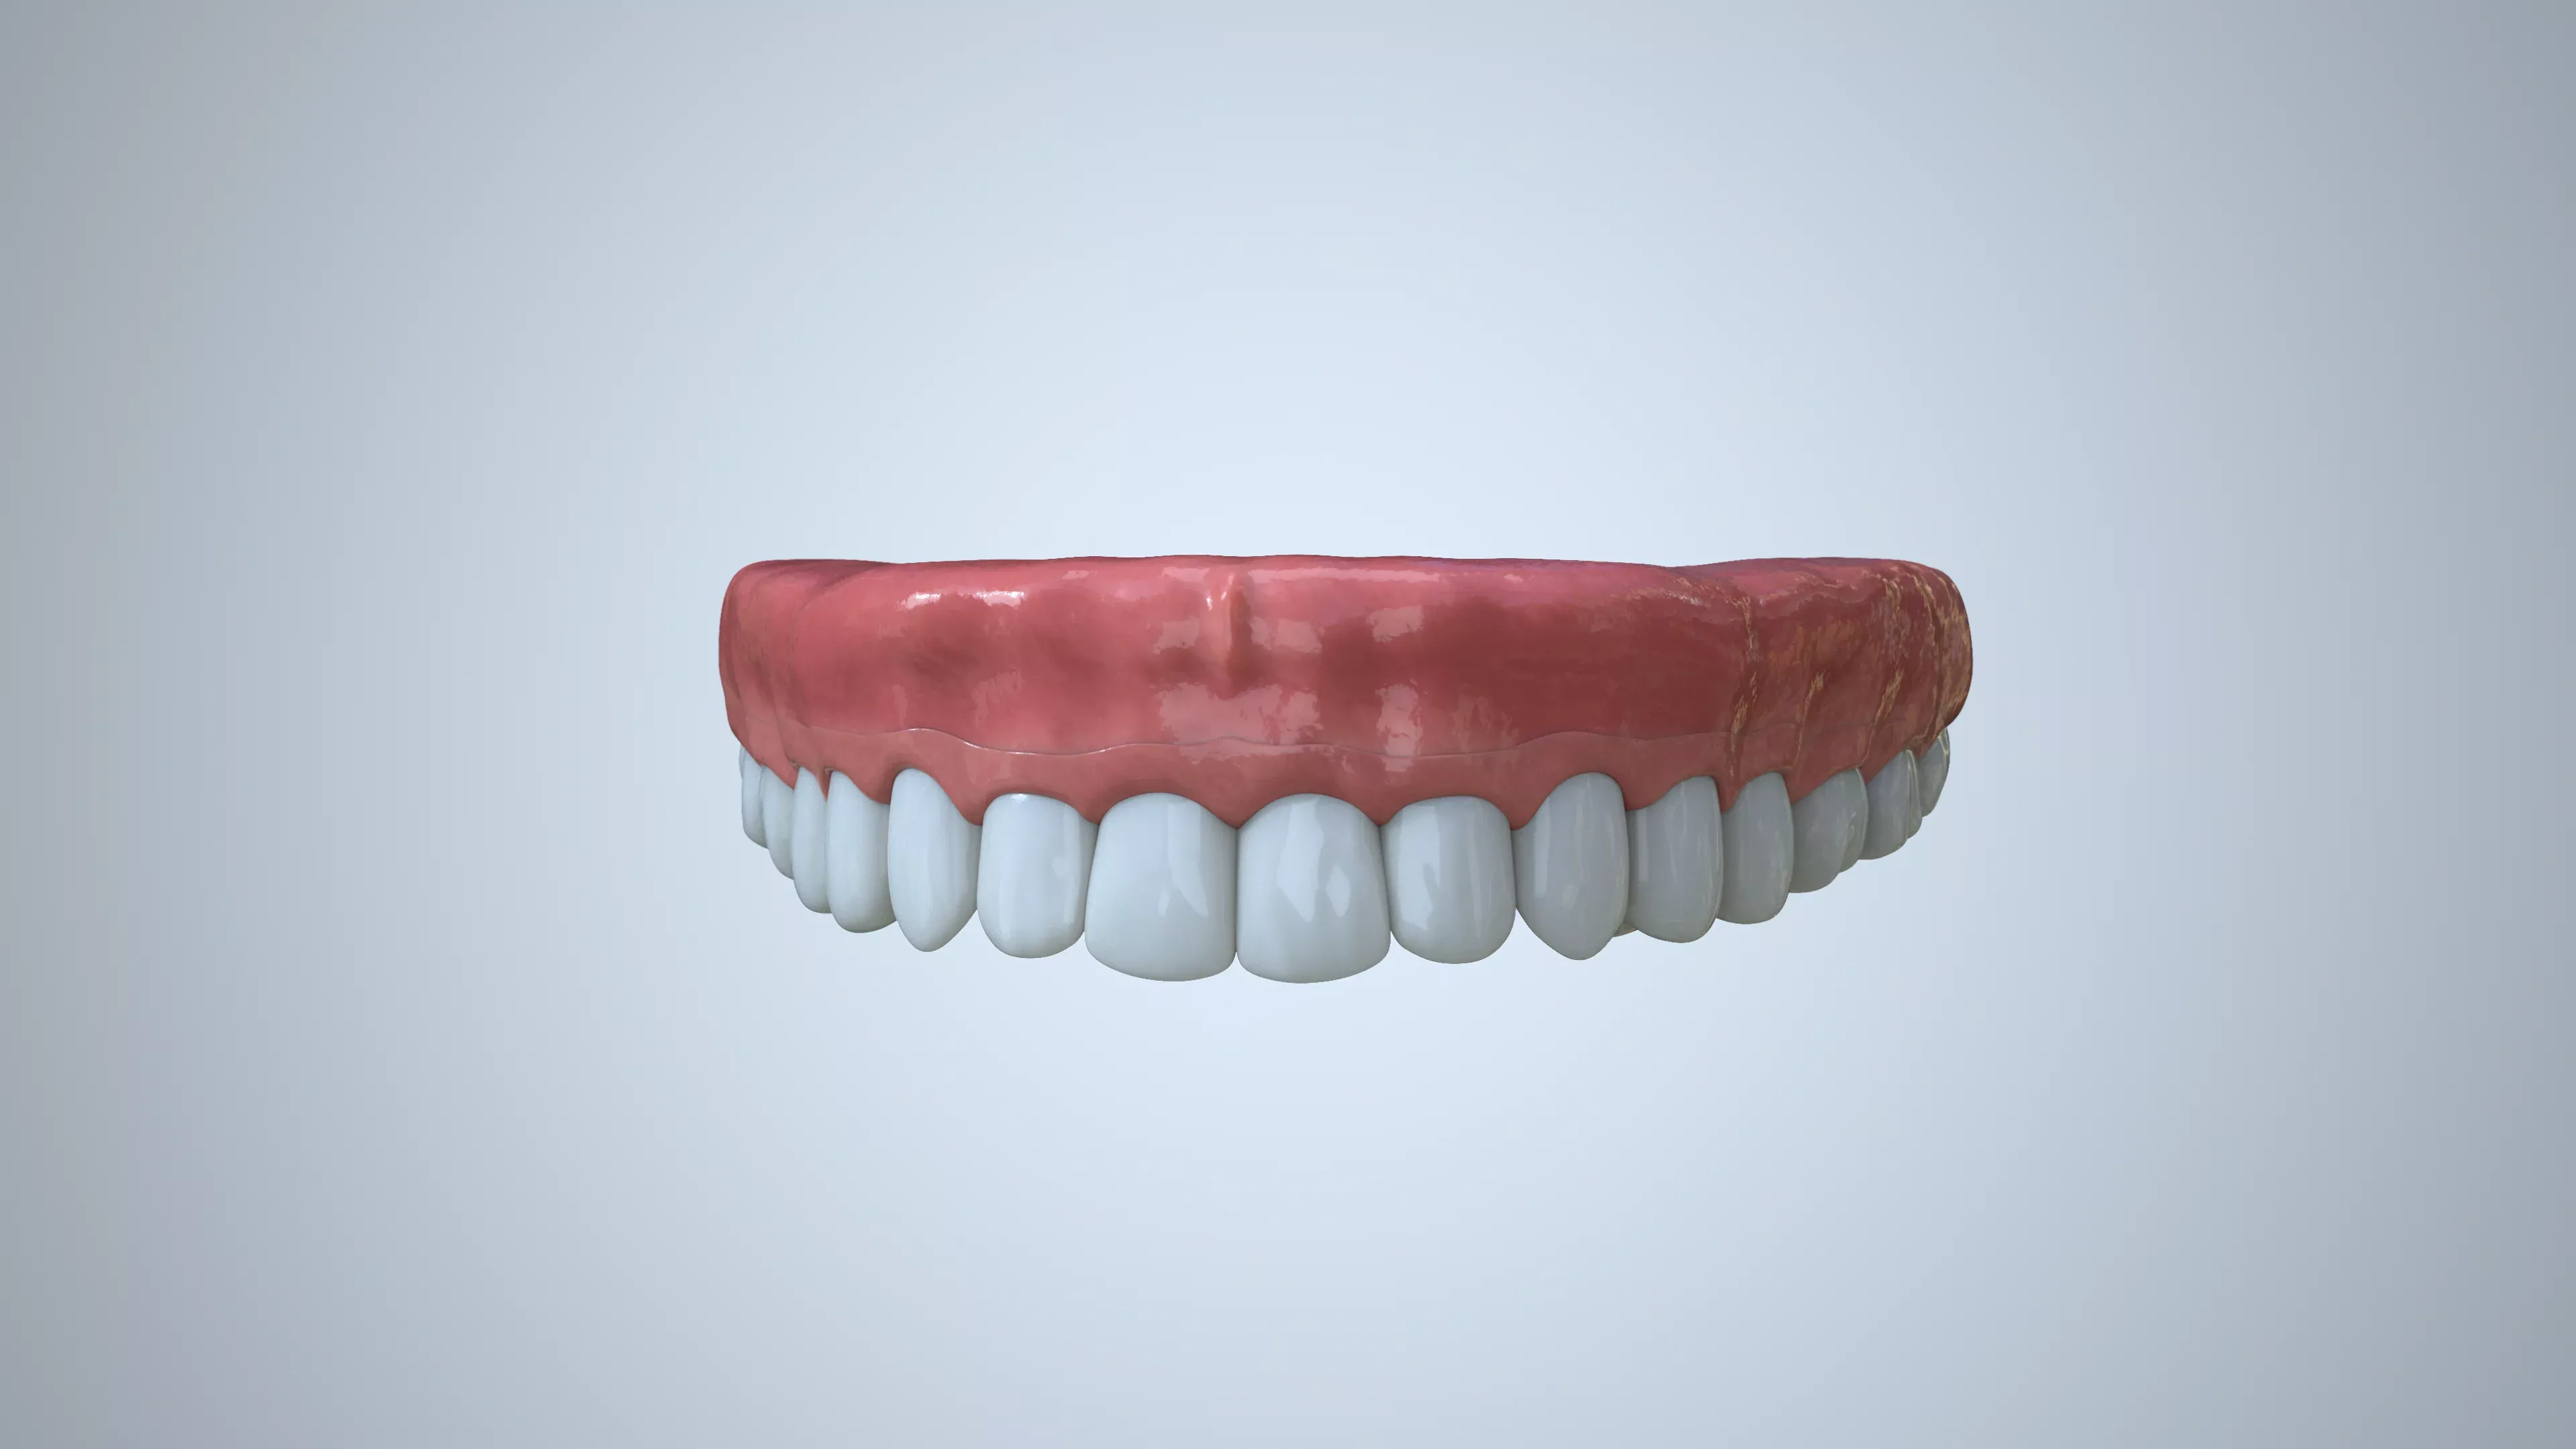
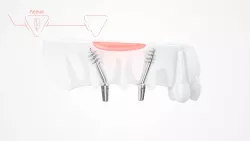
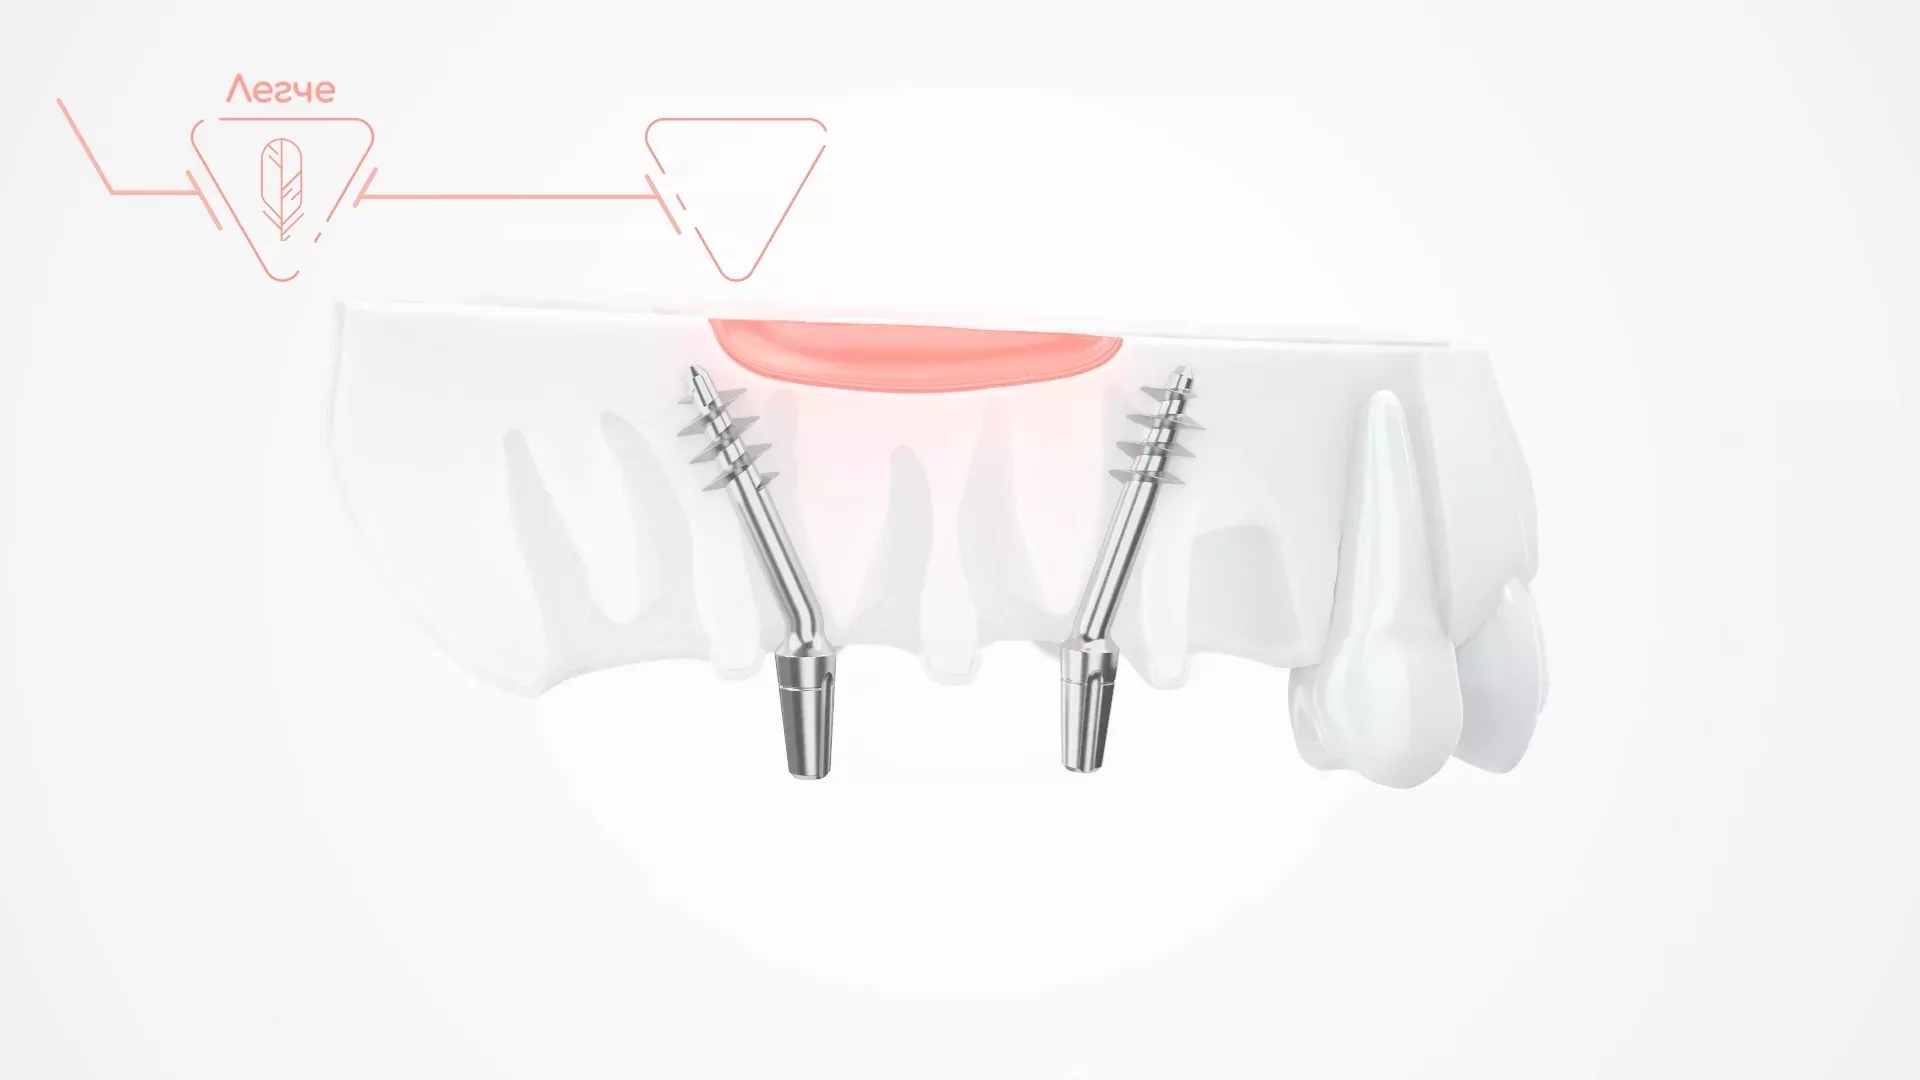
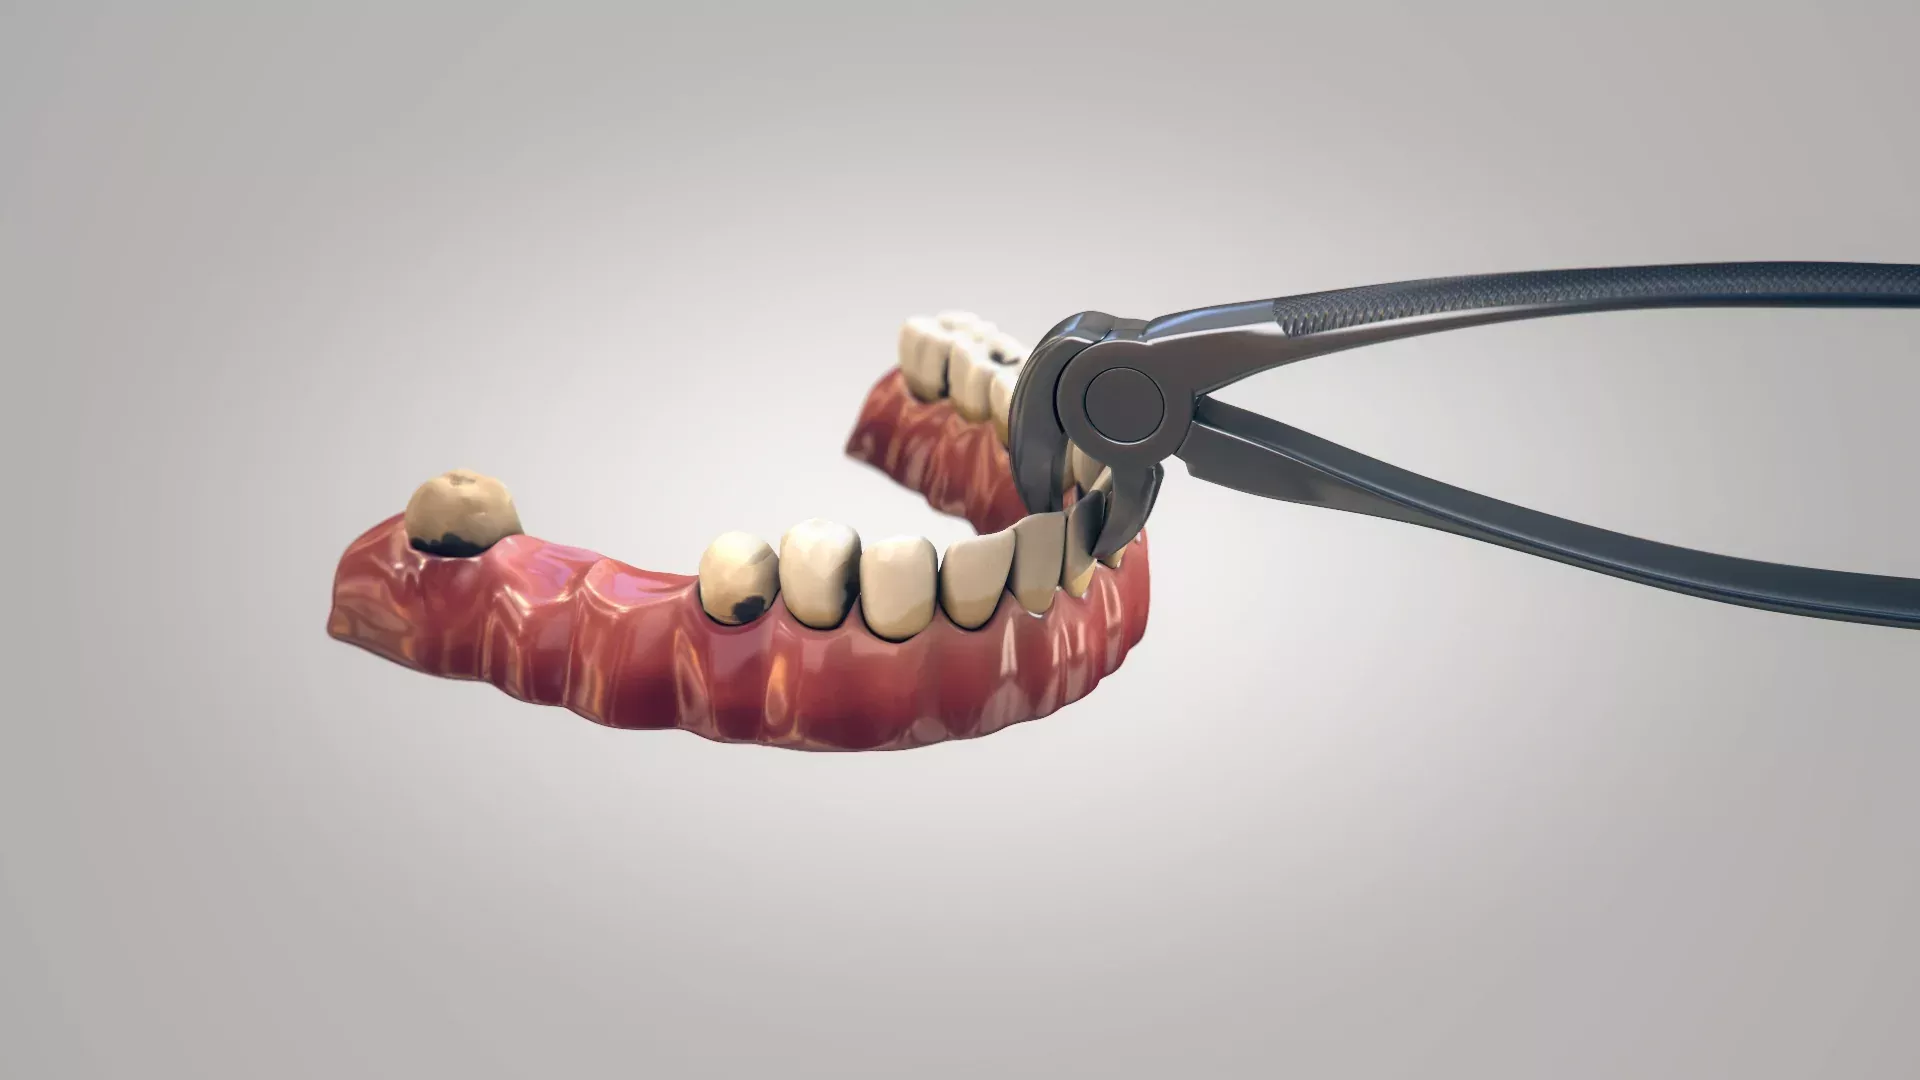
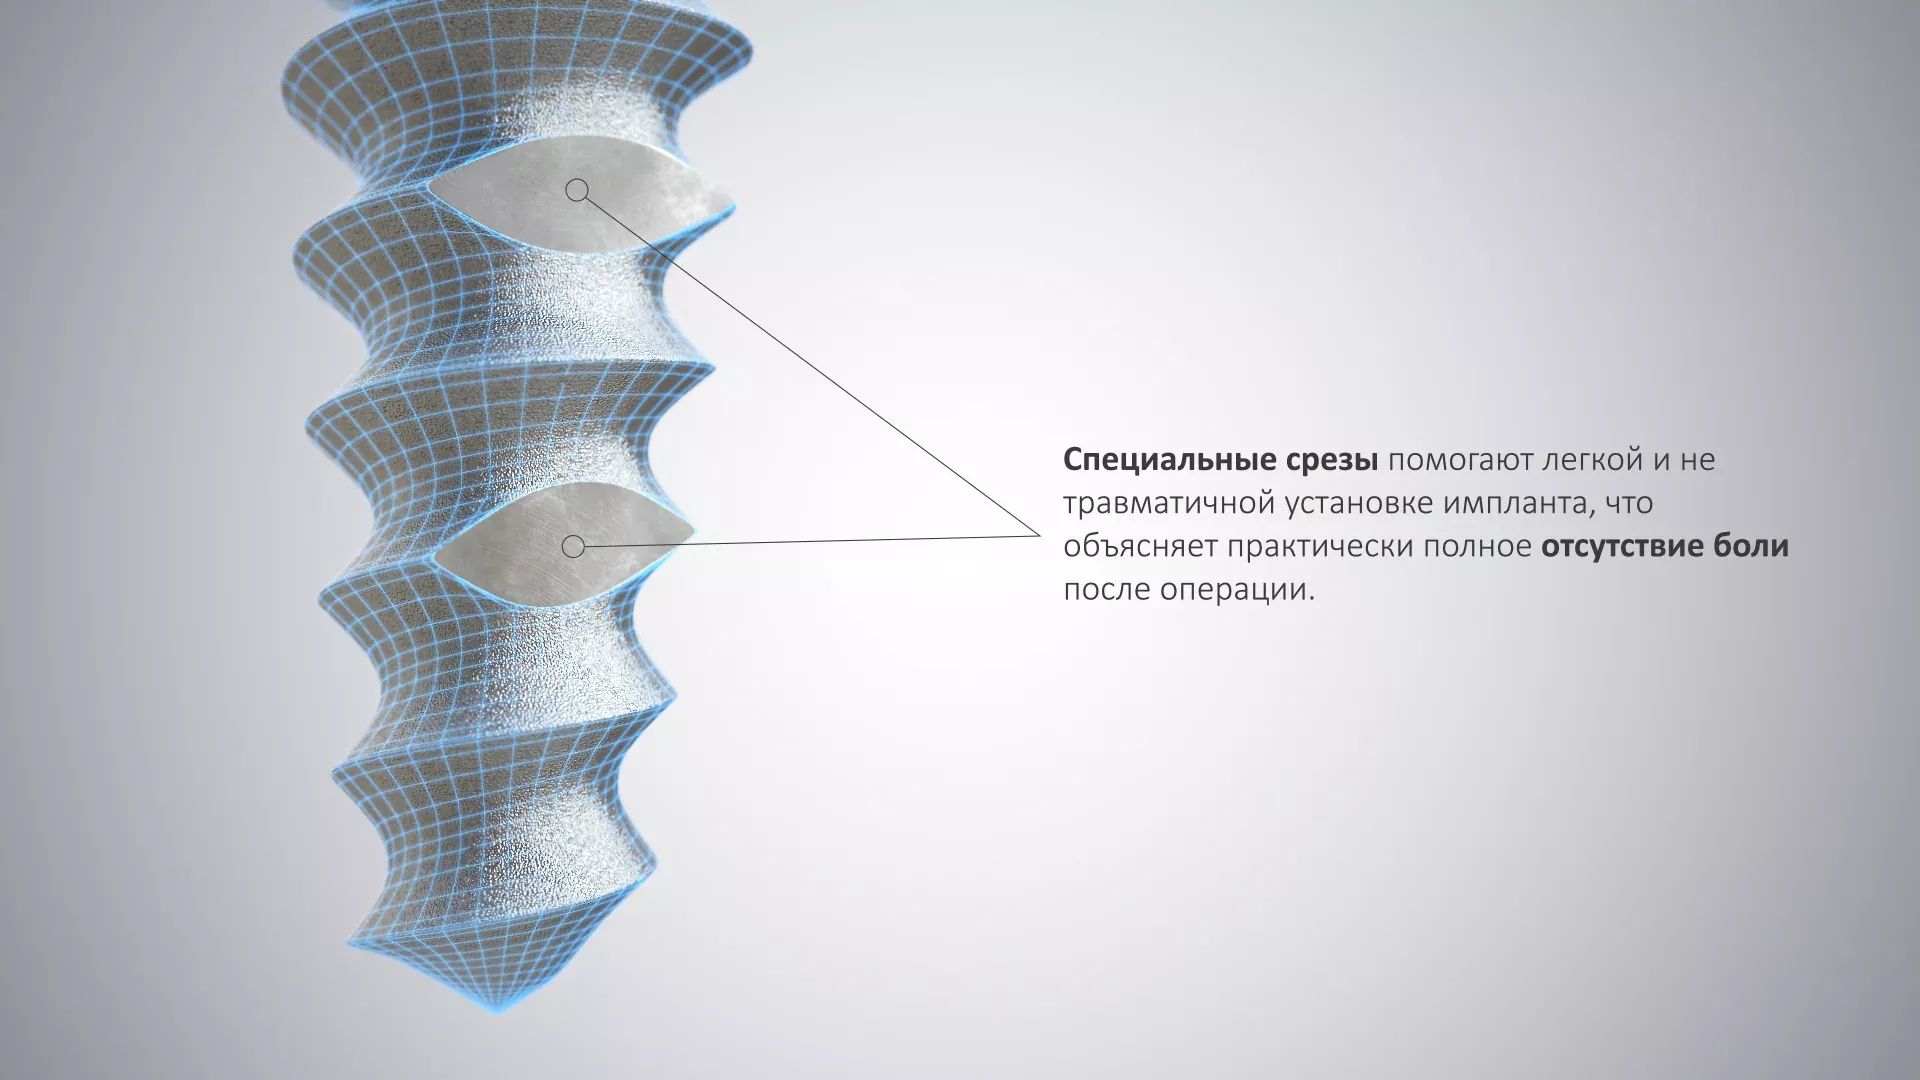
The 3D segment detailed the entire implantation procedure for the dental bridge in the upper jaw, adhering to a strict no-blood rule to cater to a sensitive audience segment, potentially averse to visiting a dental clinic. We refrained from showcasing anatomical details, trabecular structures, or the surgeon's incision expertise. Our message was clear and reassuring: "You are safe here."
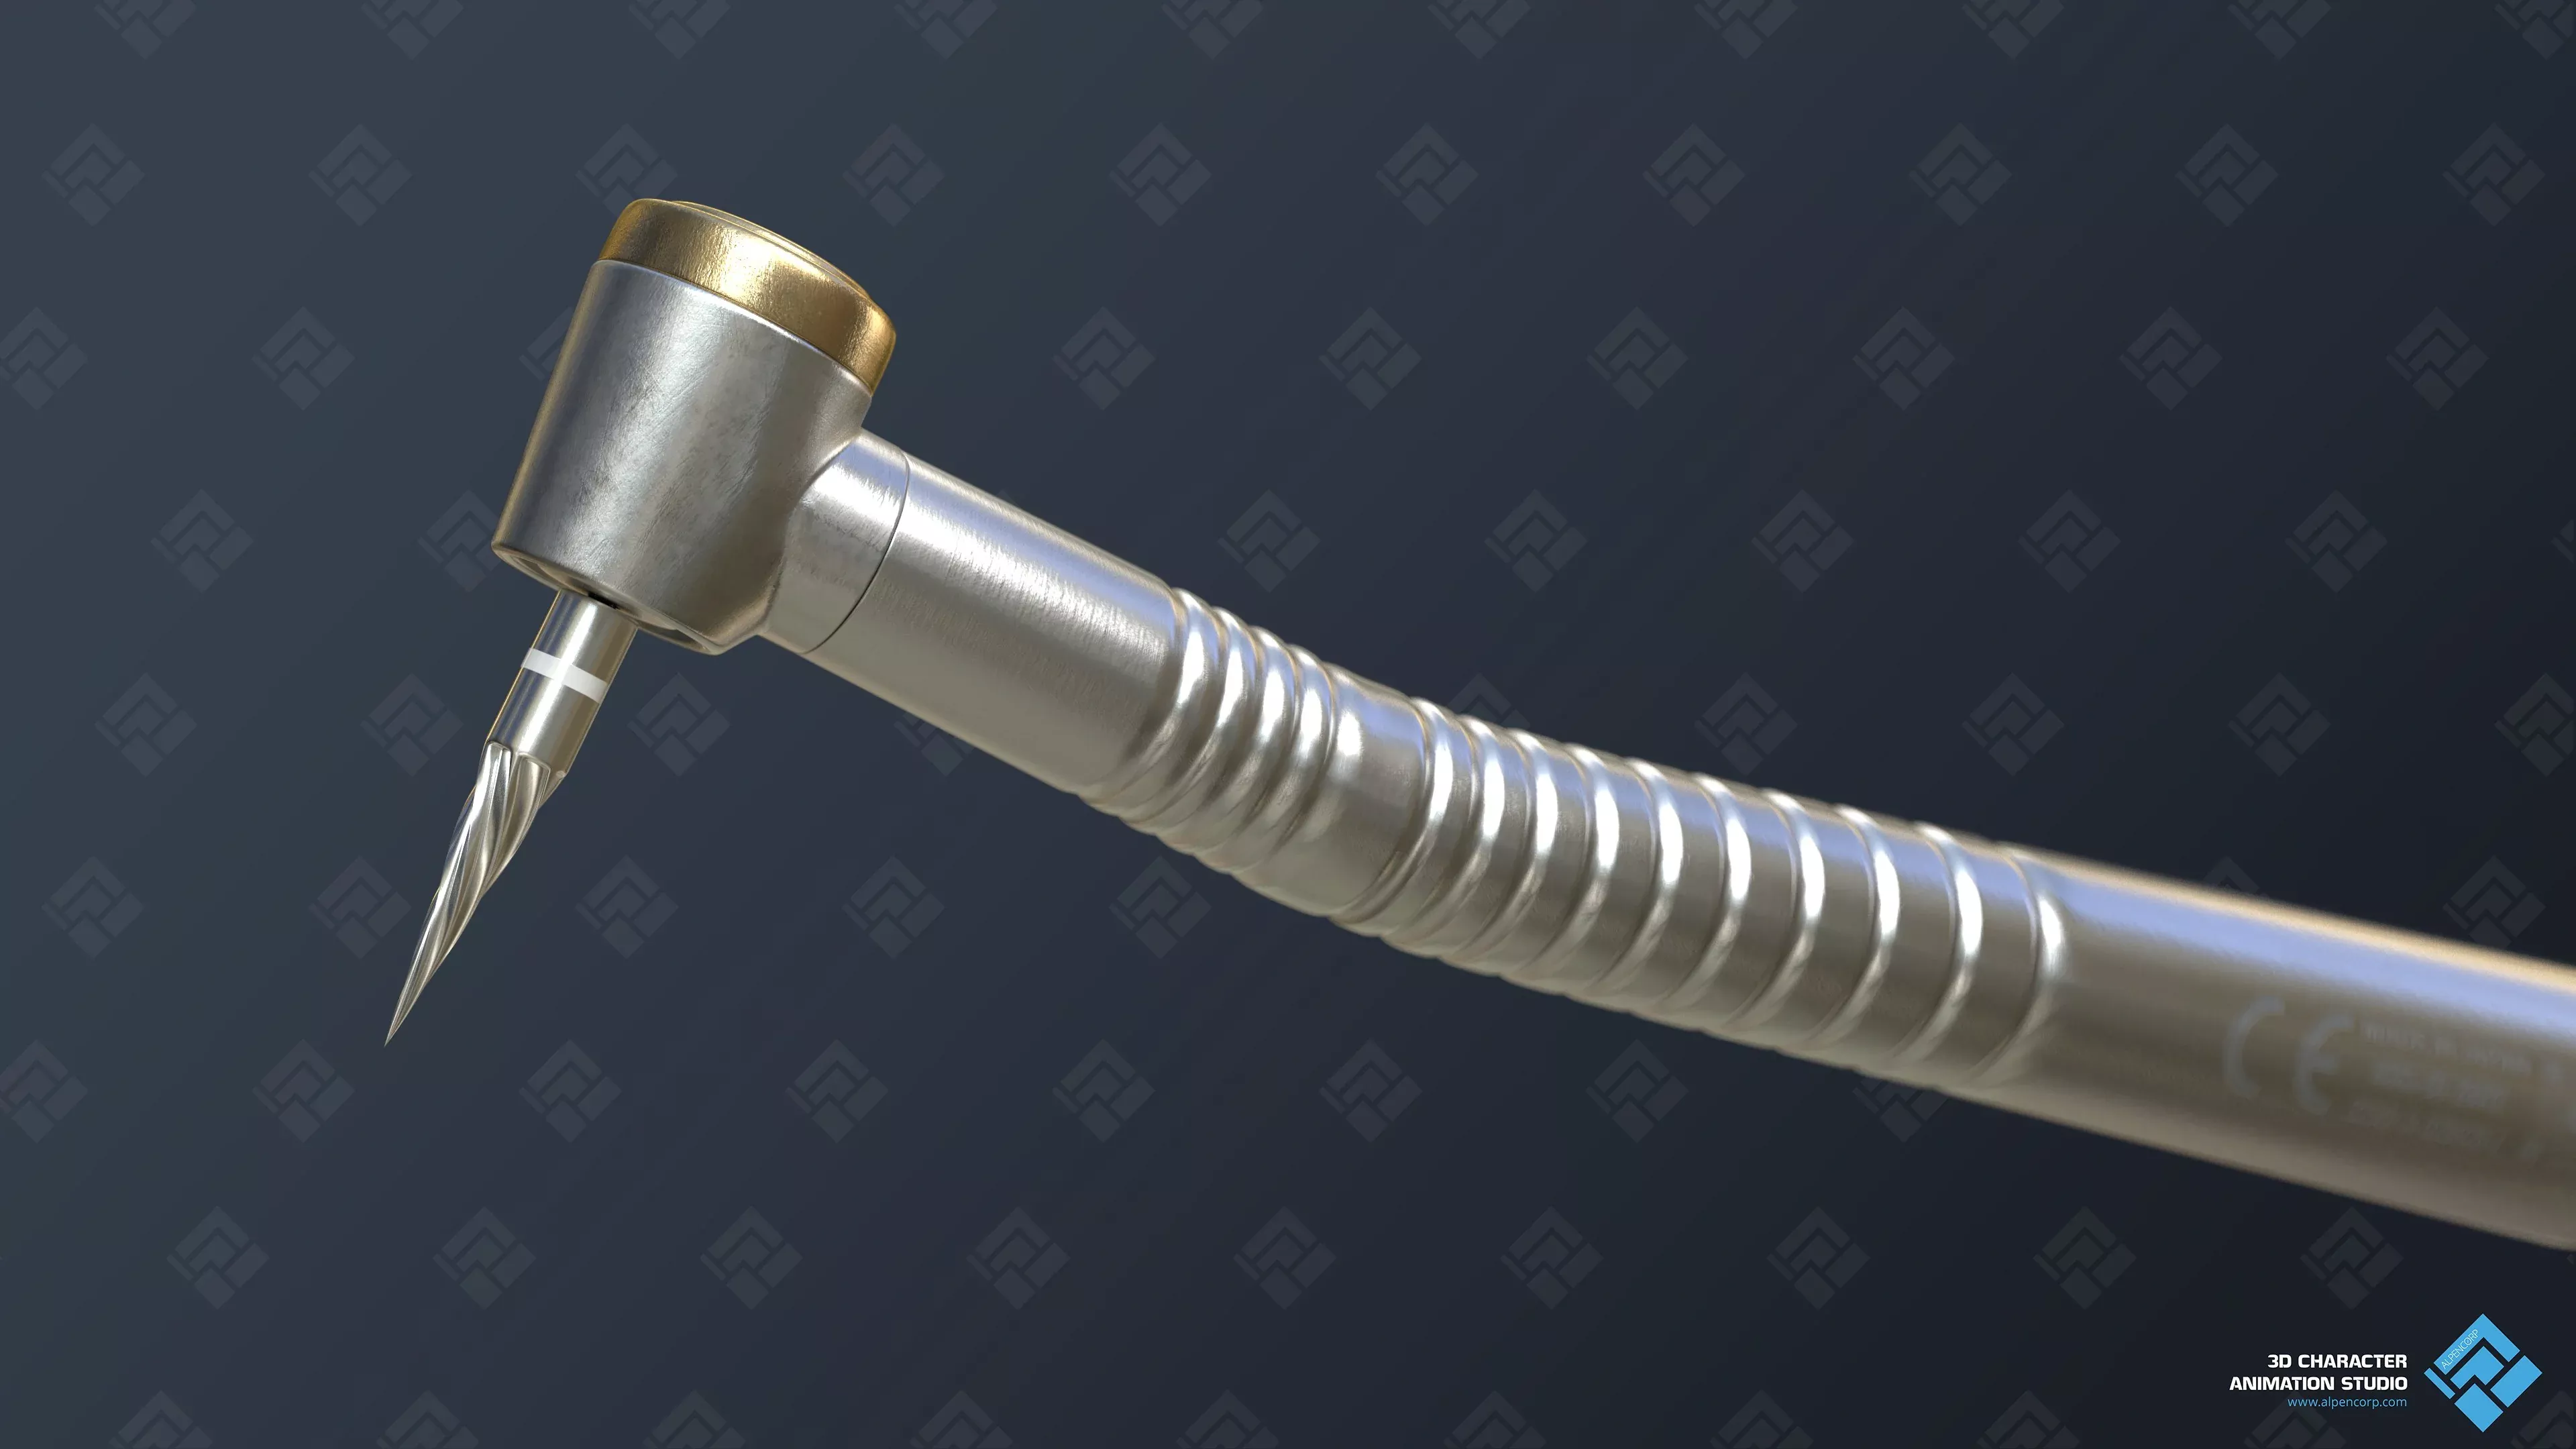
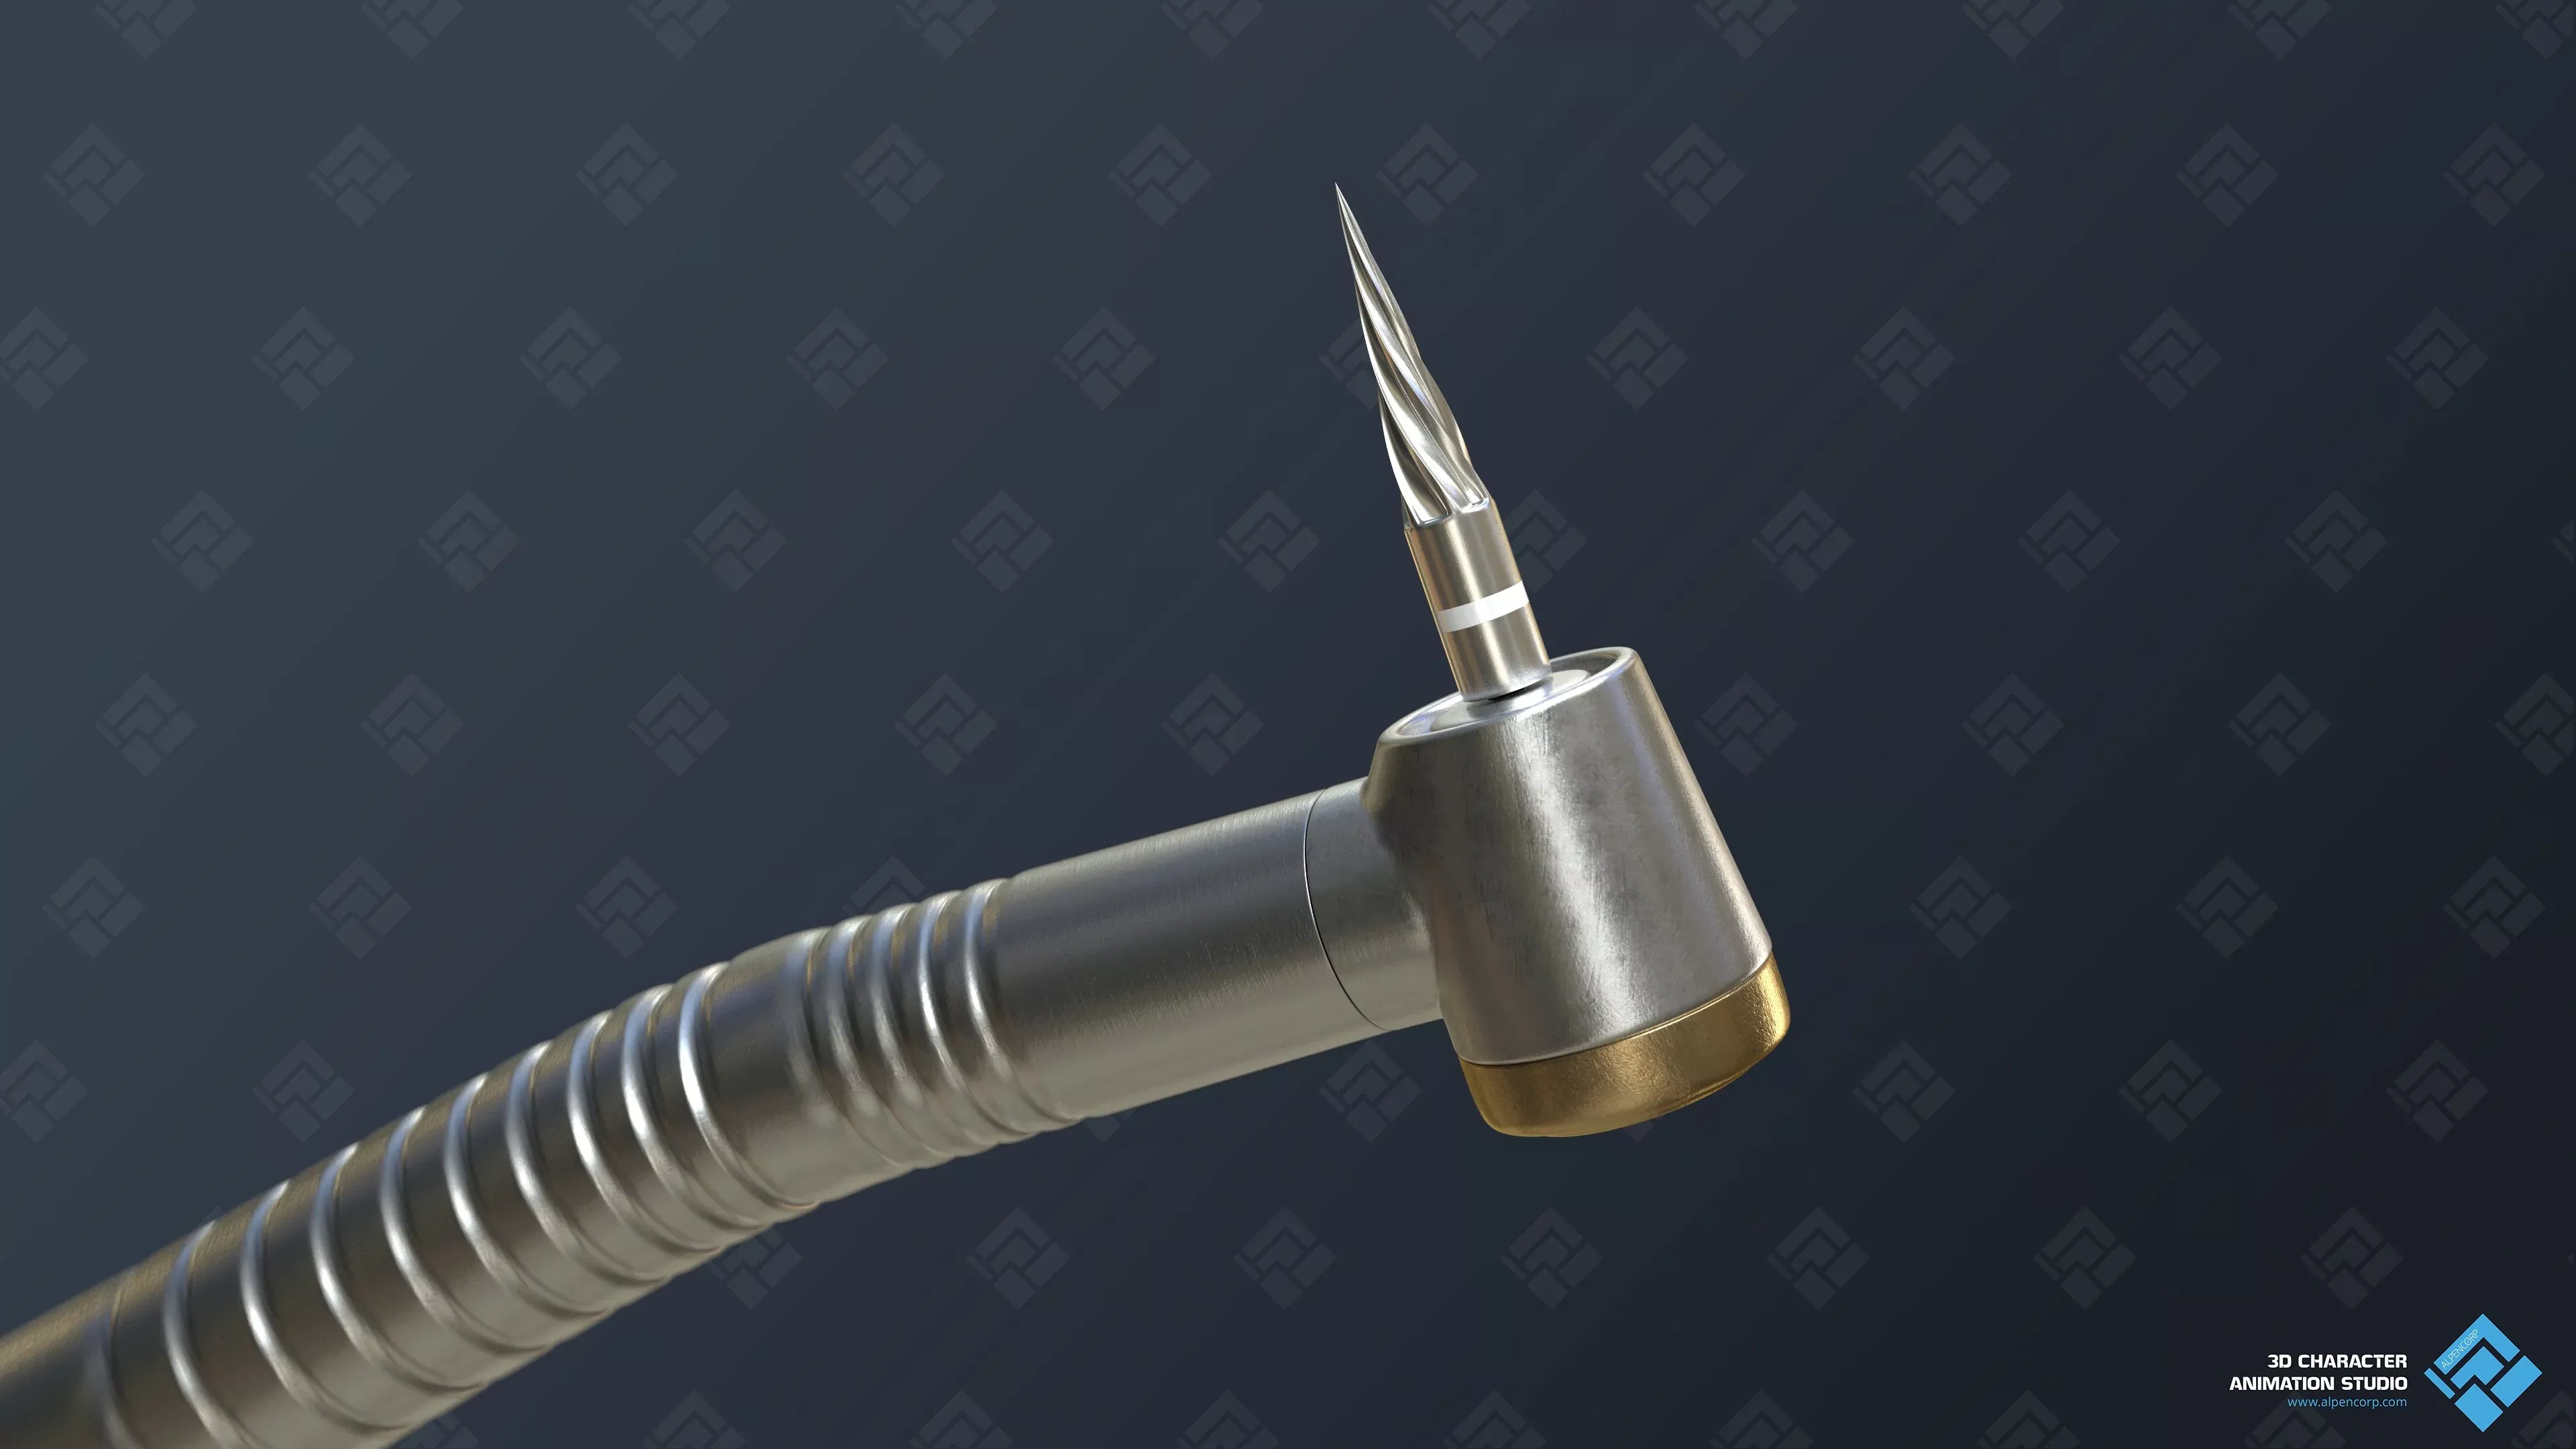
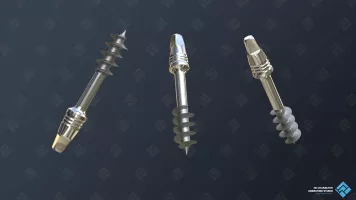
Materials
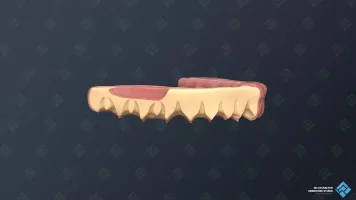
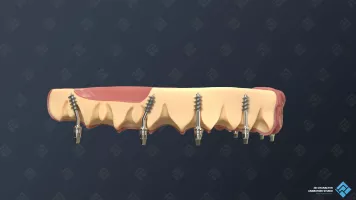
- Gum surface.
- Ground metal.
- Simplified bone structure.
- Ceramic.
- Polished metal.

Palette
- Cold white background.
- Logo colors.
- White.
- Dark-gray.

Optimization
This being the third video for the client, we had the advantage of reusing models from previous projects. Earlier, we had created 3D videos showcasing surgery for the lower jaw and the basal implant utilized by the dental clinic. Although the upper jaw presented minor variations from the lower one, it didn't necessitate creating new models from scratch. We simply modified the existing models to fit the requirements.
Overall, five elements underwent optimization: the gum, teeth, implant, drill, and bore, which afforded us more time to enhance the quality of the 3D animation.
The merits of a long-term collaboration come to the fore over time, with each subsequent project being superior in quality and more cost-effective than its predecessor.