3D Dental Animation
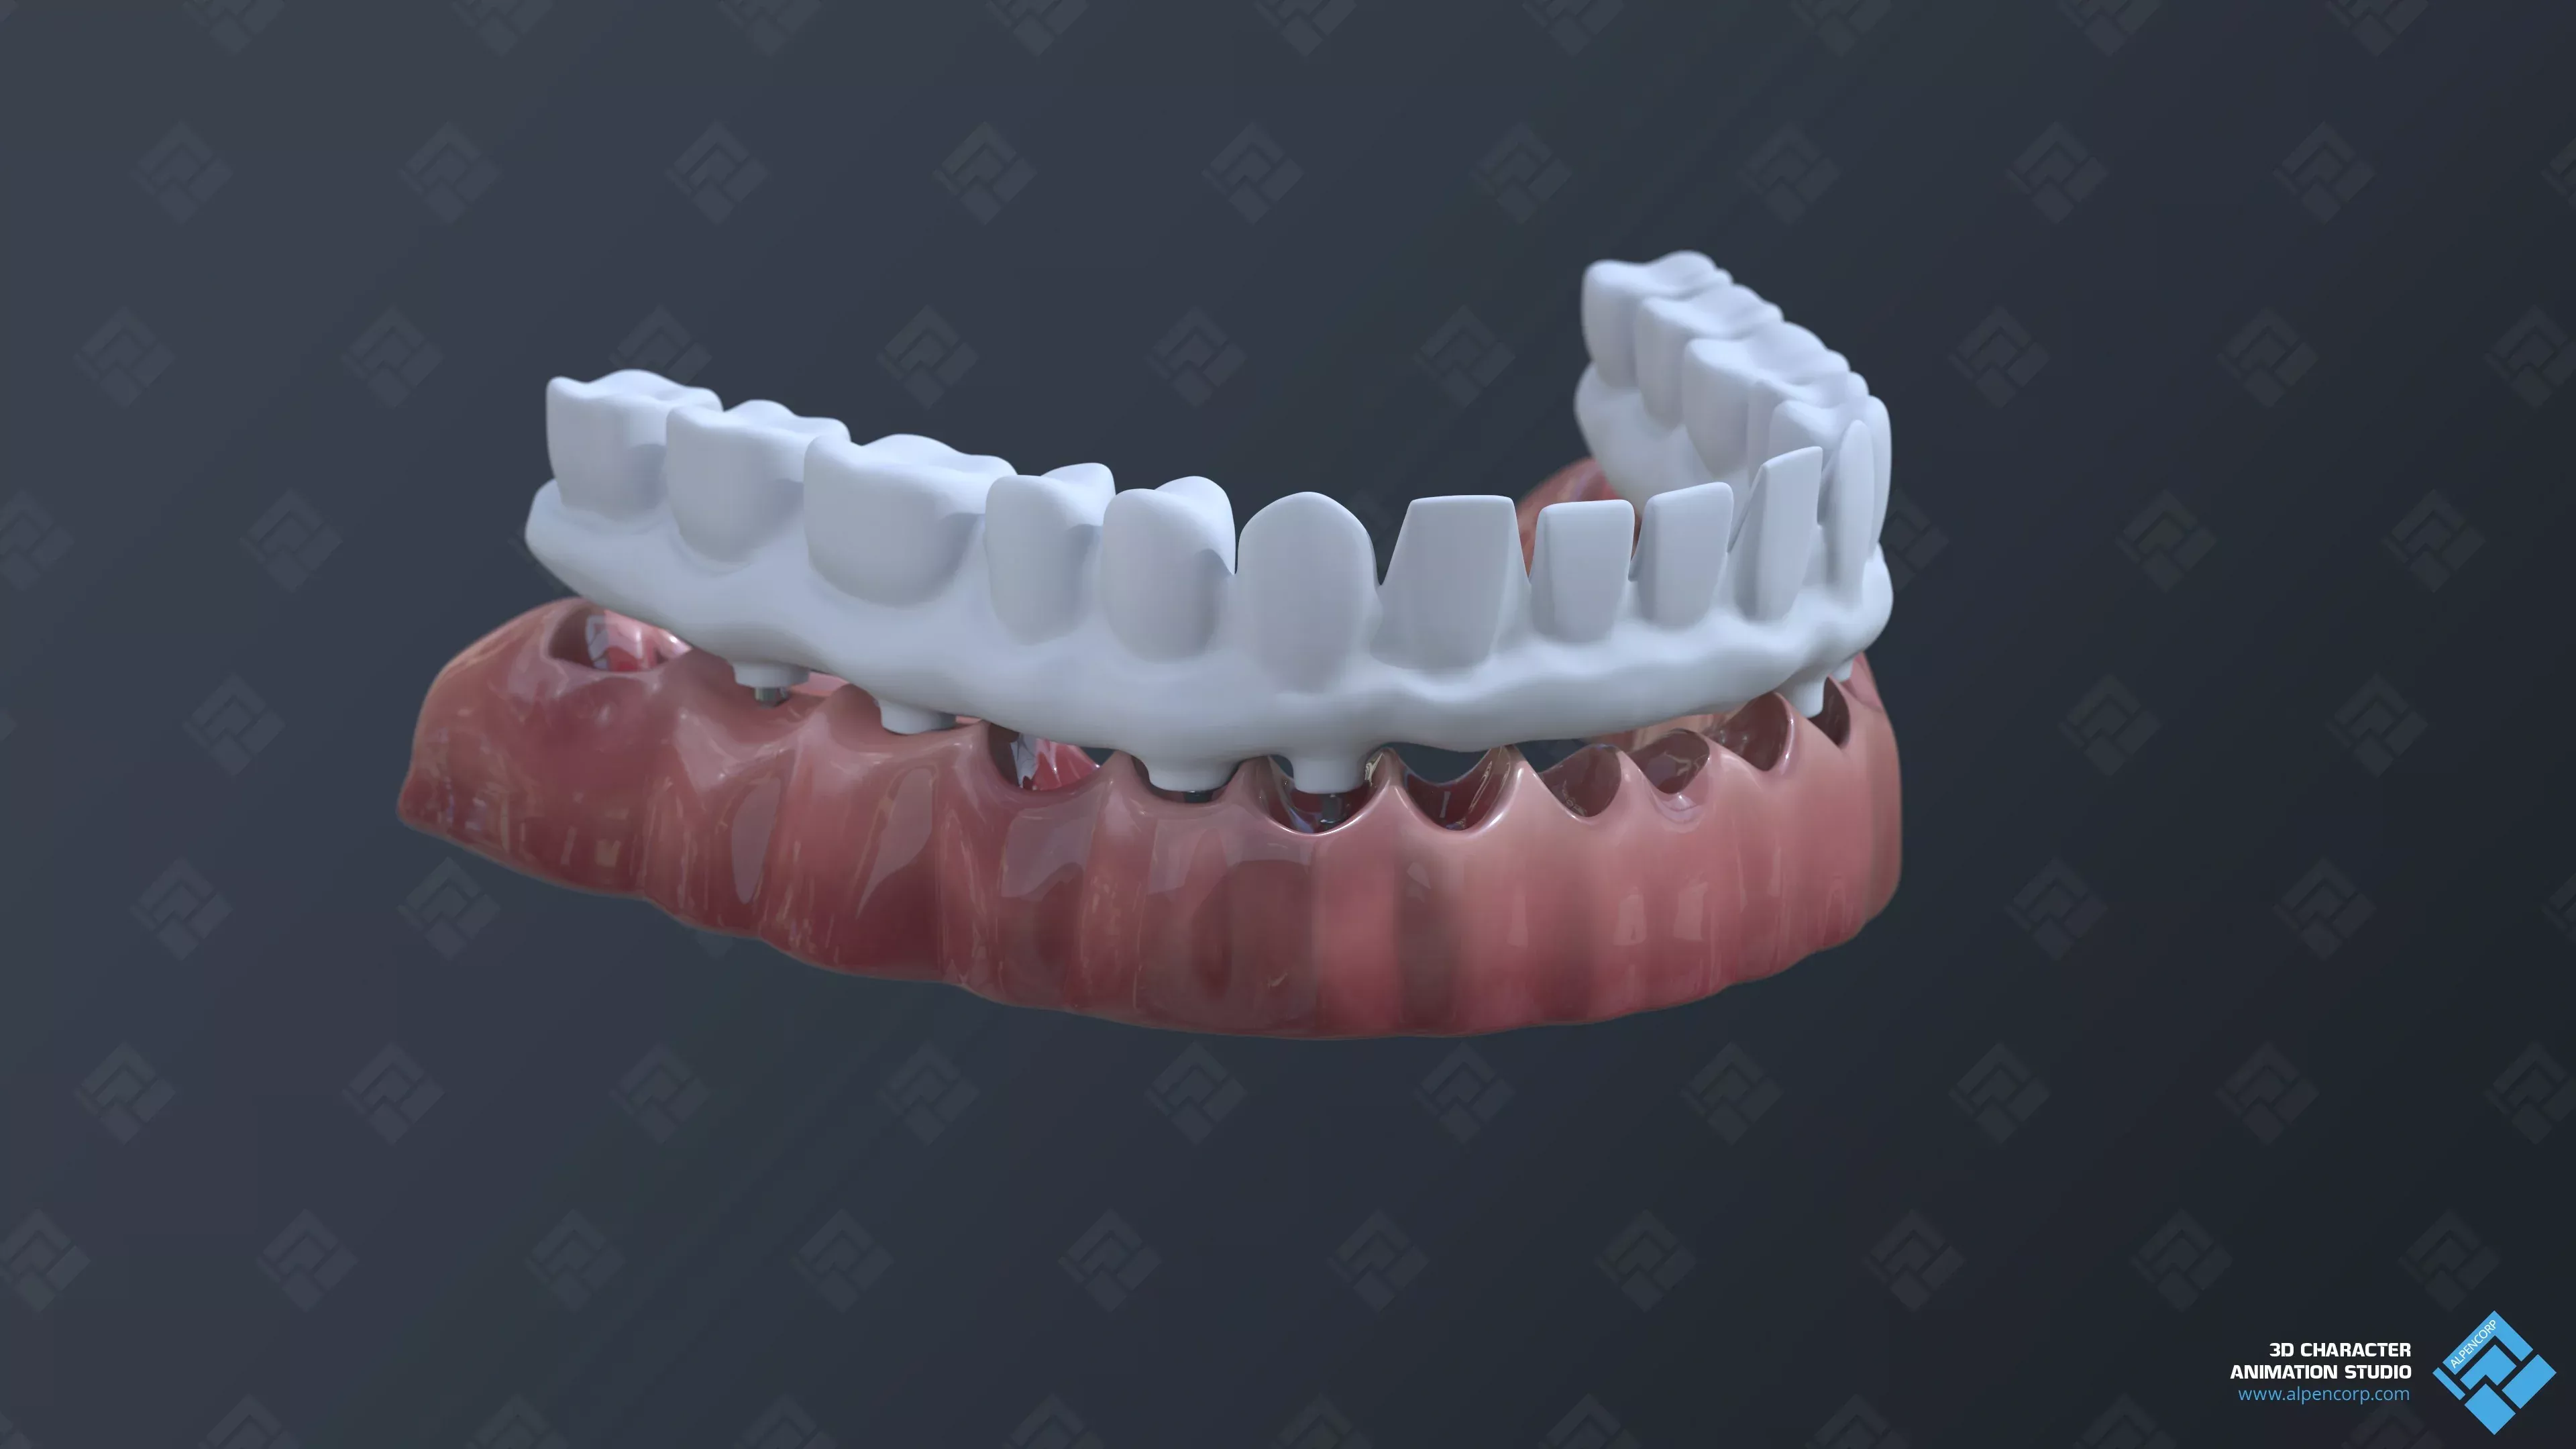
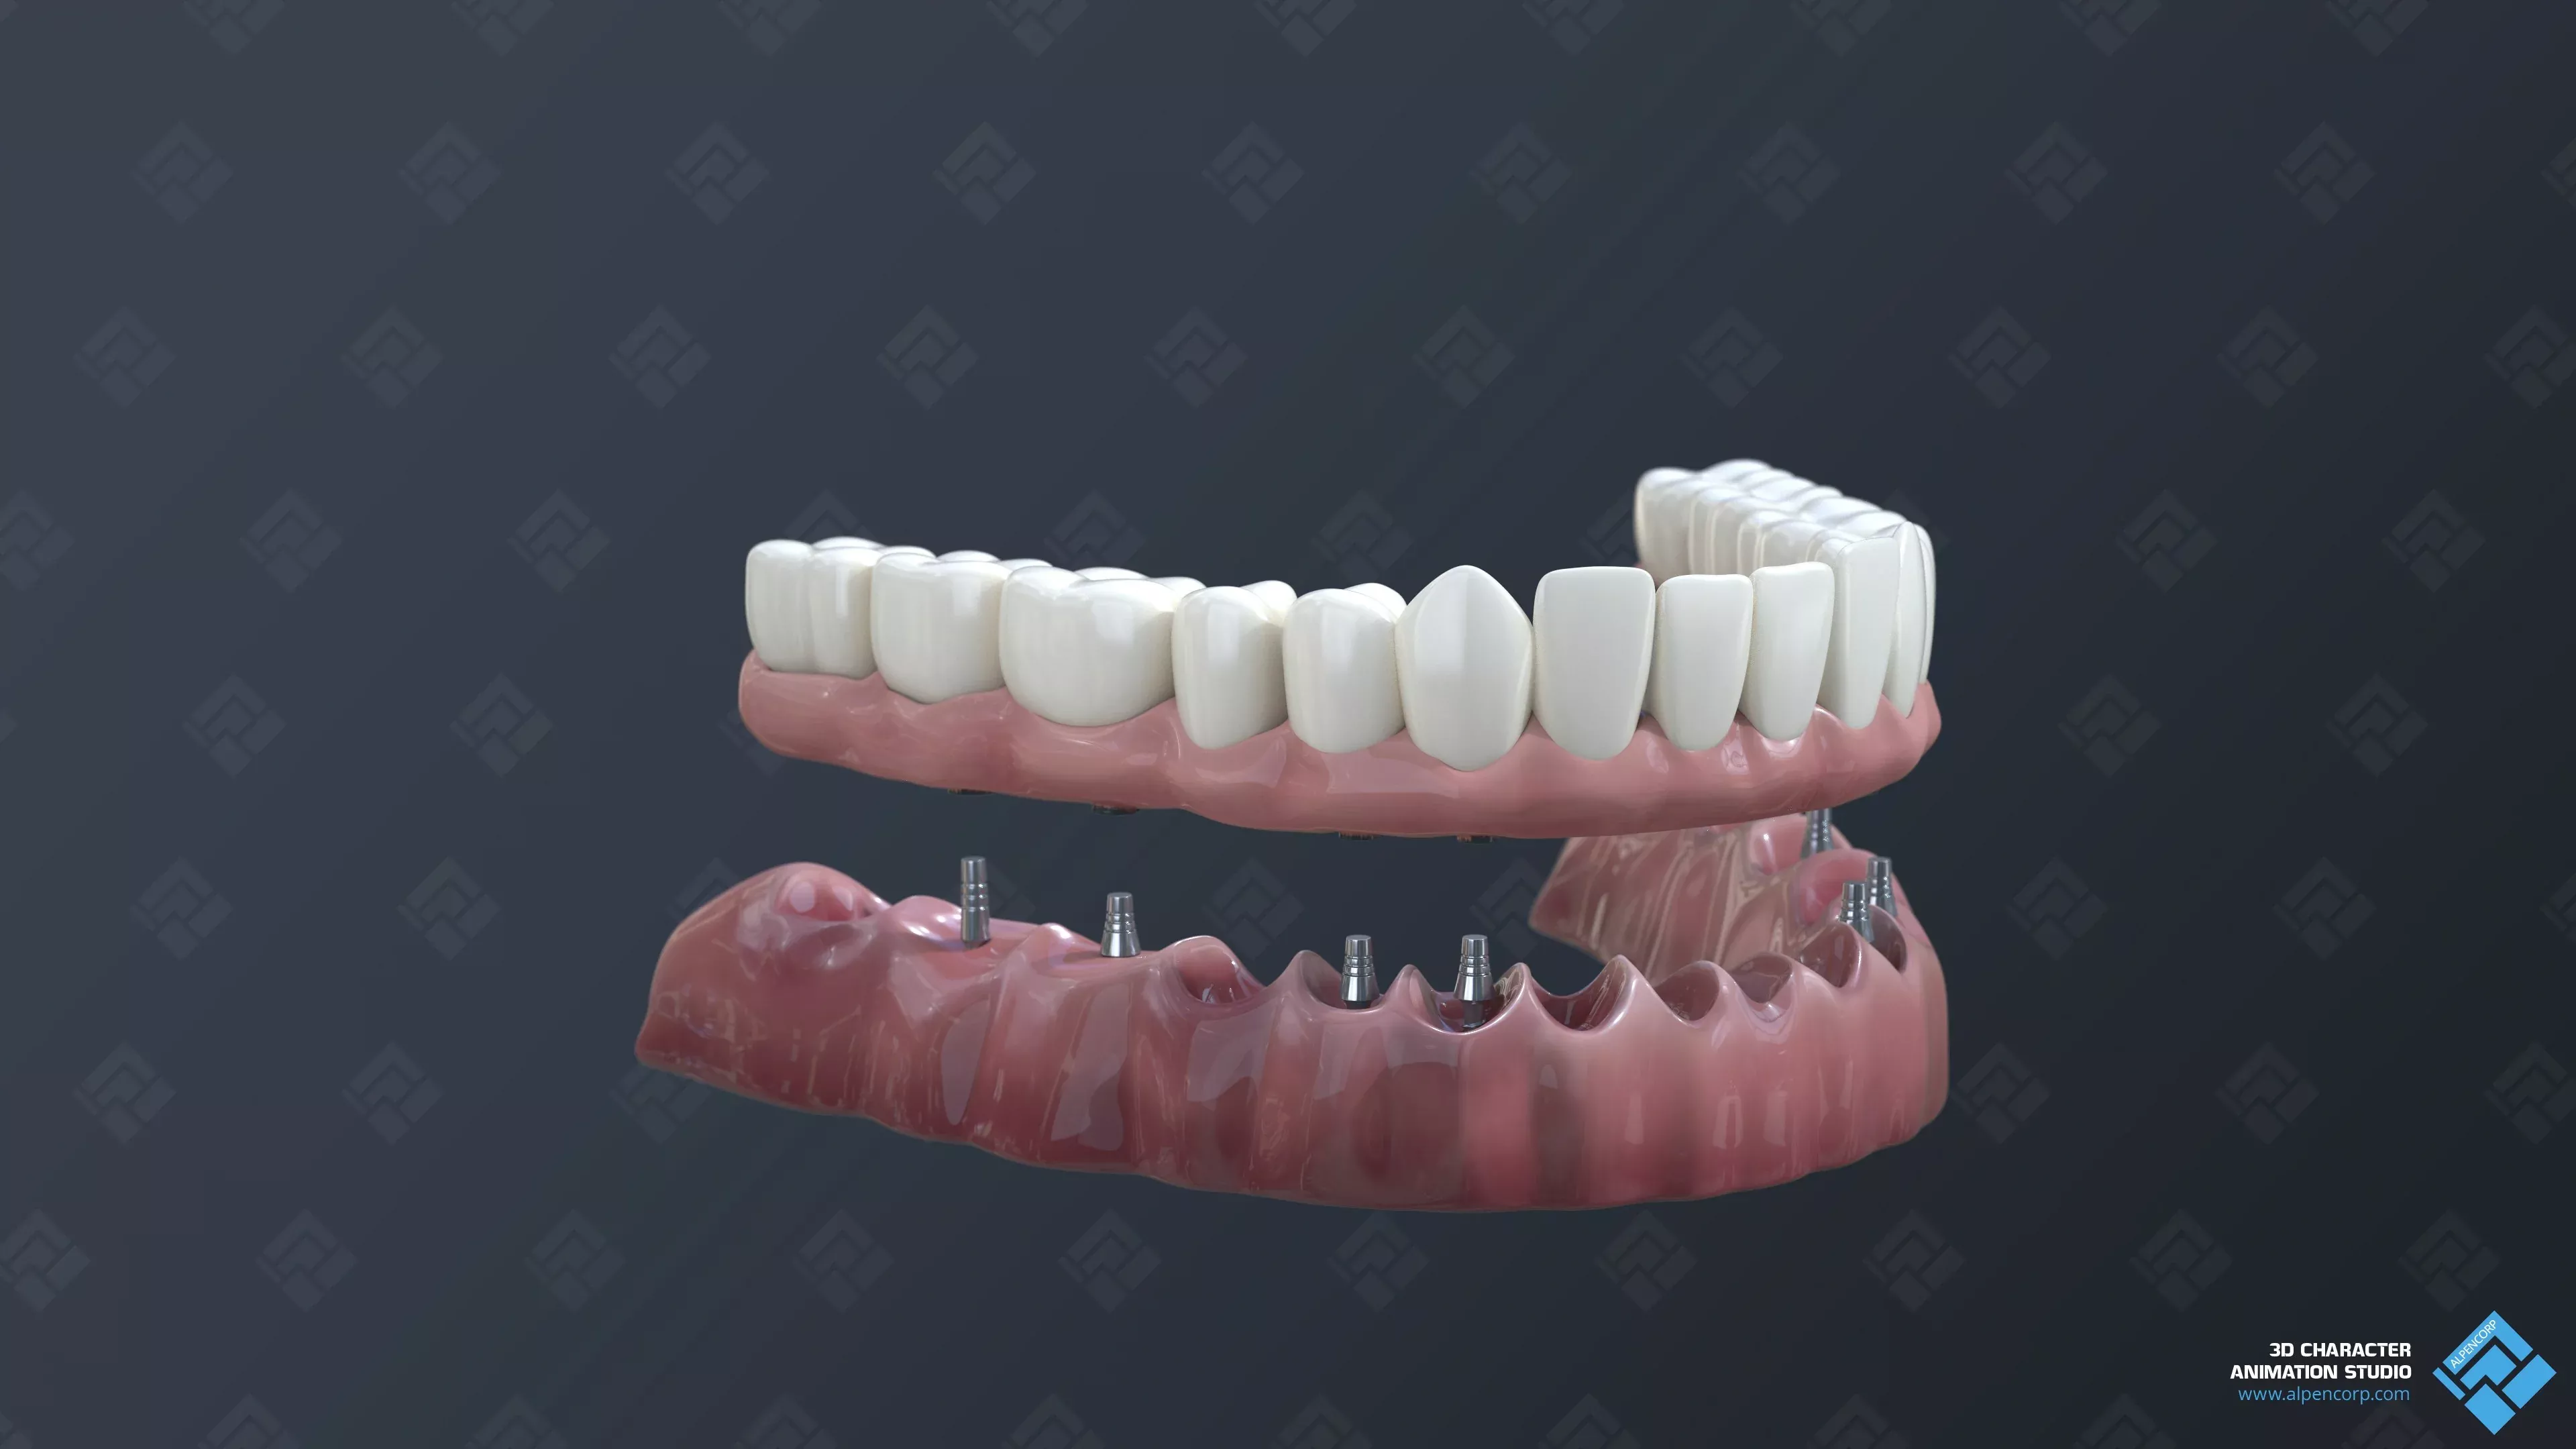
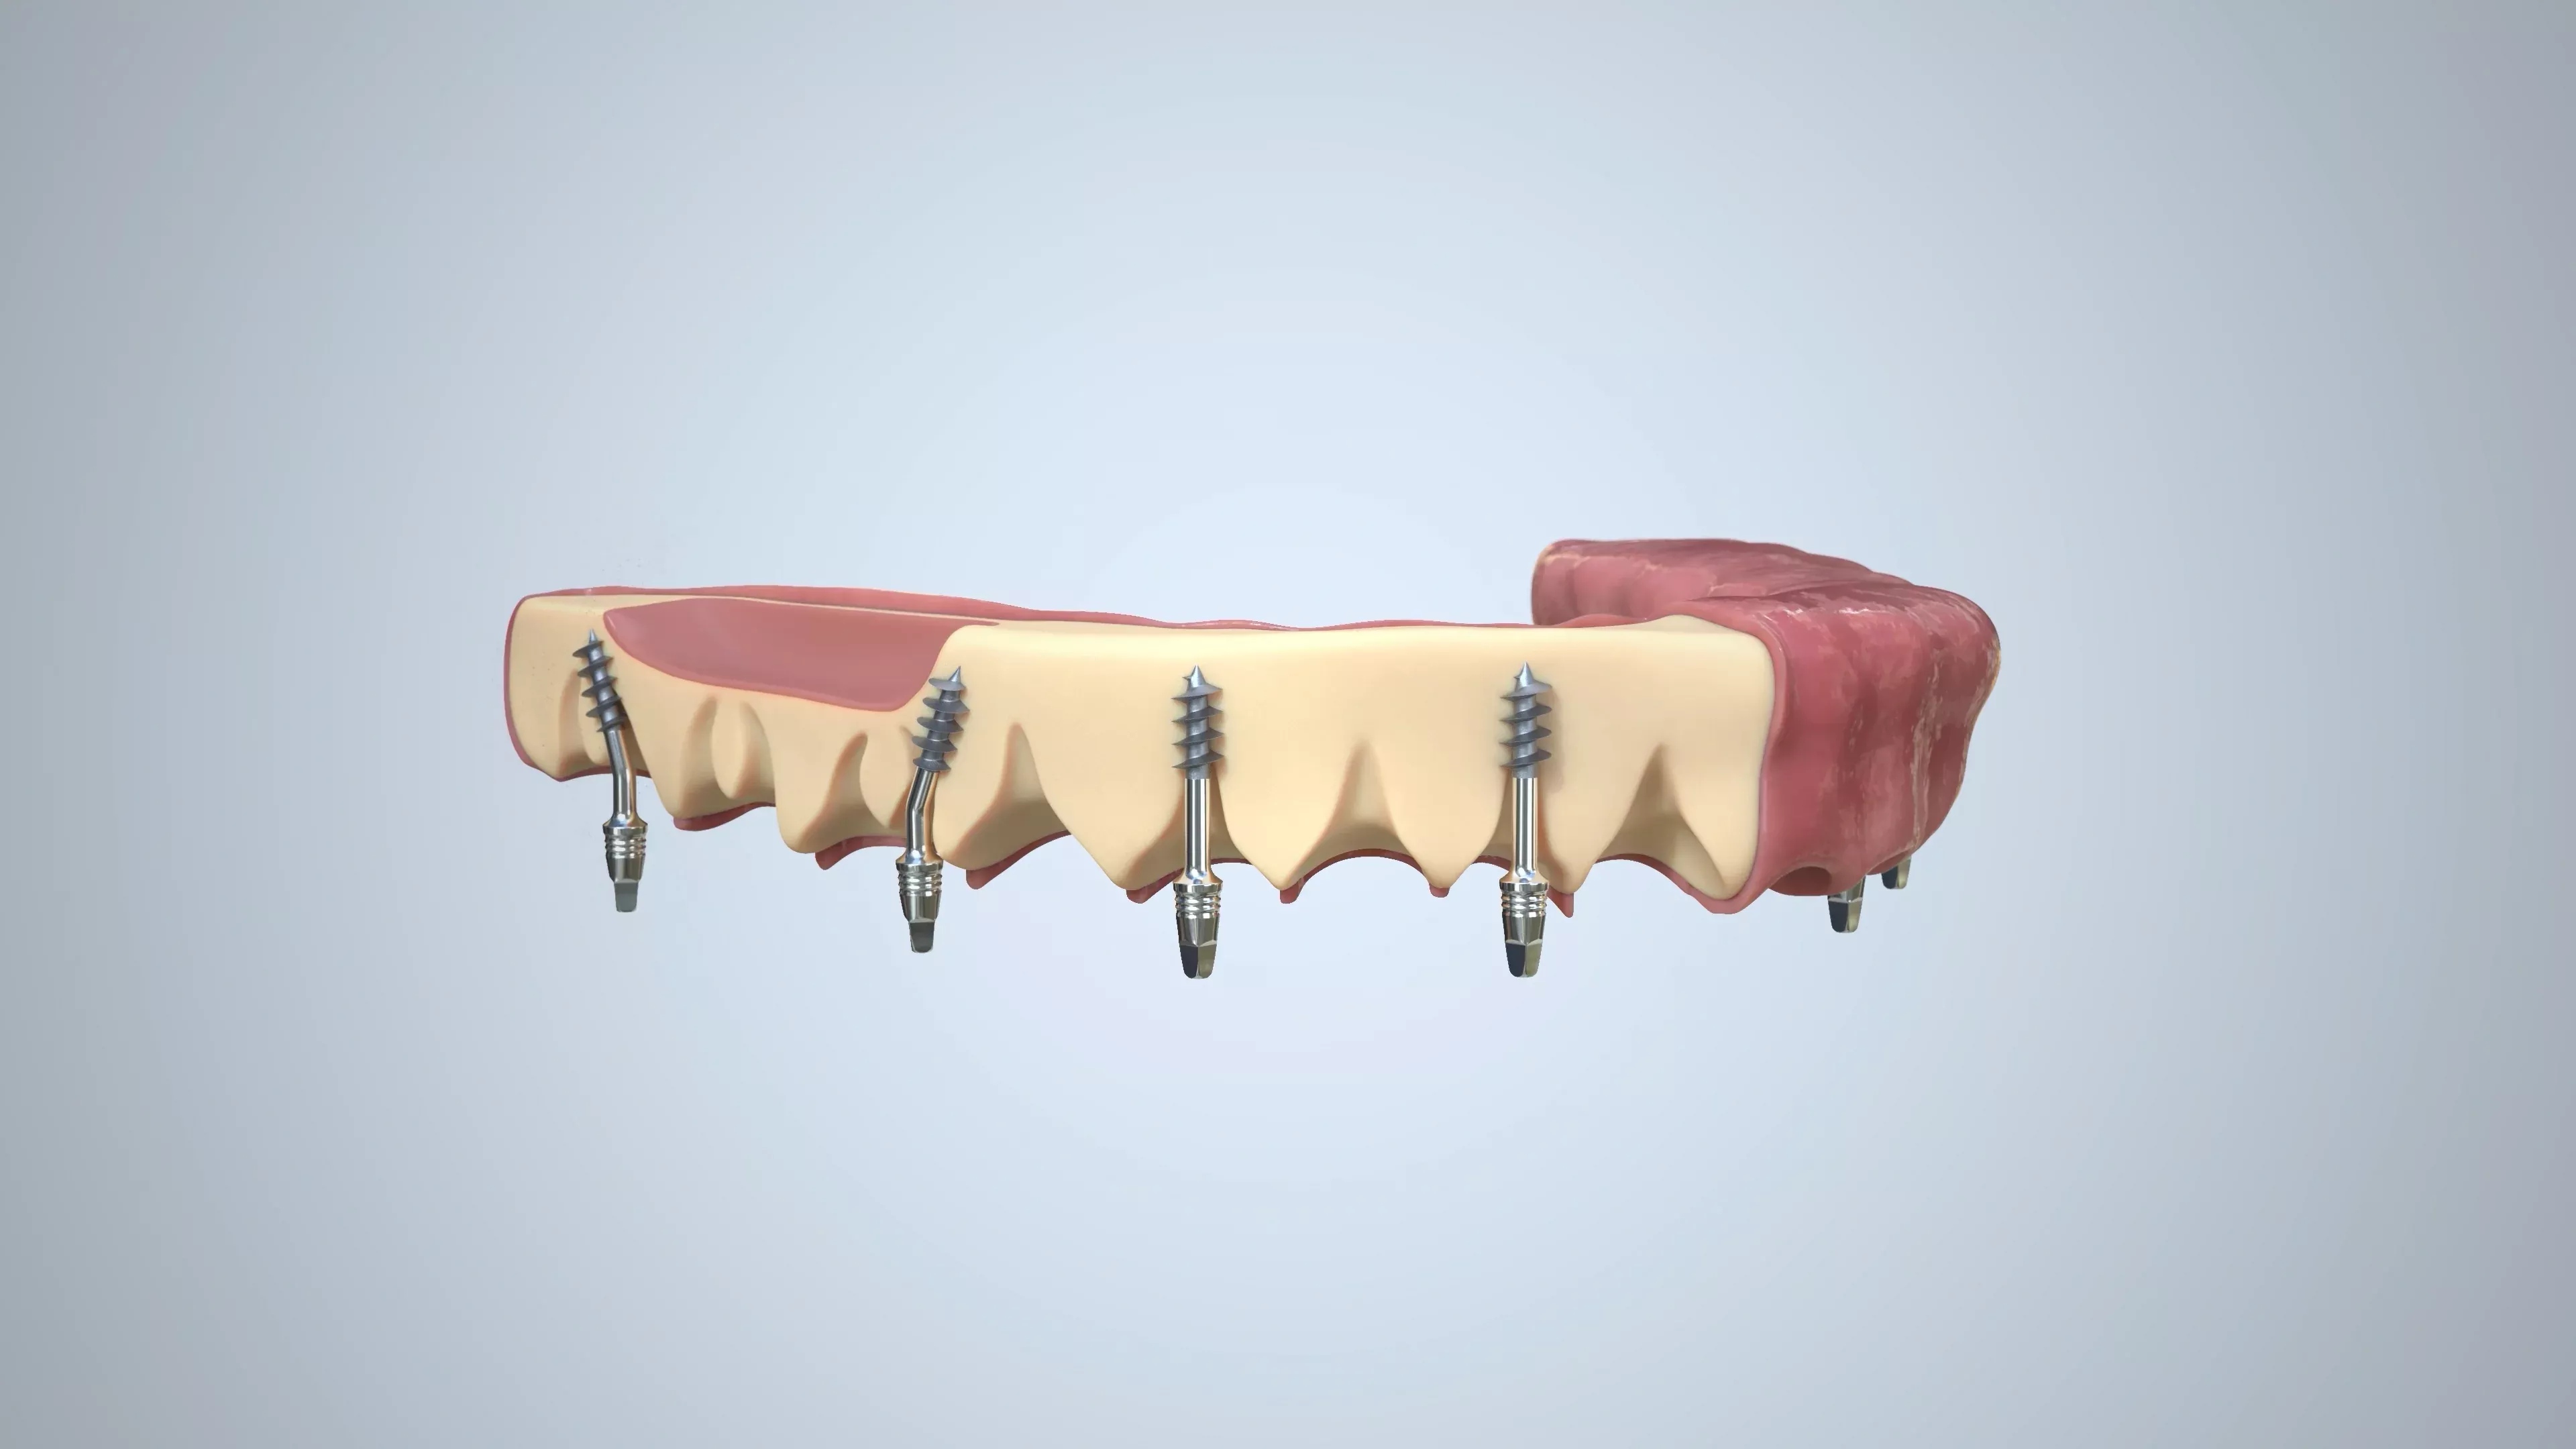
The 3D animation told us about basal implantation surgery. It was the second most complicated case when the patient needed to install a dental bridge for the whole bottom jaw. The content was typical for a niche where we only show implantation procedures fully. It was our first work for dental clinics.
Related projects to 3D Dental Animation
Be informed of video advertisement ways, use it for your business and become the first!
Specifications
-
Complexity:55 WM/SEC
-
Duration:70 SEC
-
Work hours:65 WH
-
Work days:WD
Supposed Price
-
Turn on JS to see the cost.
-
Turn on JS to see the cost.
The current price reflects the increased complexity of the 3D animation compared to this example, due to the continuous advancements in software and hardware.
Breakdown ofthe 3D Dental Animation
Research
The working time of the project was limited to 65 h, where we had to show the main stages of implantation. So the video showed the removal of the old dental crowns together with the rest of the teeth, then the installation of an implant, and a possibility of going aside from the bottom jaw's nerve without extra surgeries. The 3D animation message was a "Use a quick and painless implantation. Just 3 procedural days."
Writing a Copy for Voiceover
We divided the text into the 3 key days bonded to the implantation procedures and contrasted them to the endosteal implants. There were five essential points that we had to use in the text:
- The duration of the entire process, from the first appointment to the installation of a permanent dental bridge.
- The solution to the jaw's bone lack.
- Fewer surgeon actions and painless surgery.
- How do the implants go aside from the bottom jaw's nerve?
- The temporary bridge has a pleasant appearance and the ability to chew.
We partially edited the text, which was based on the client's version.
The voiceover text
Design & Optimization
Idea
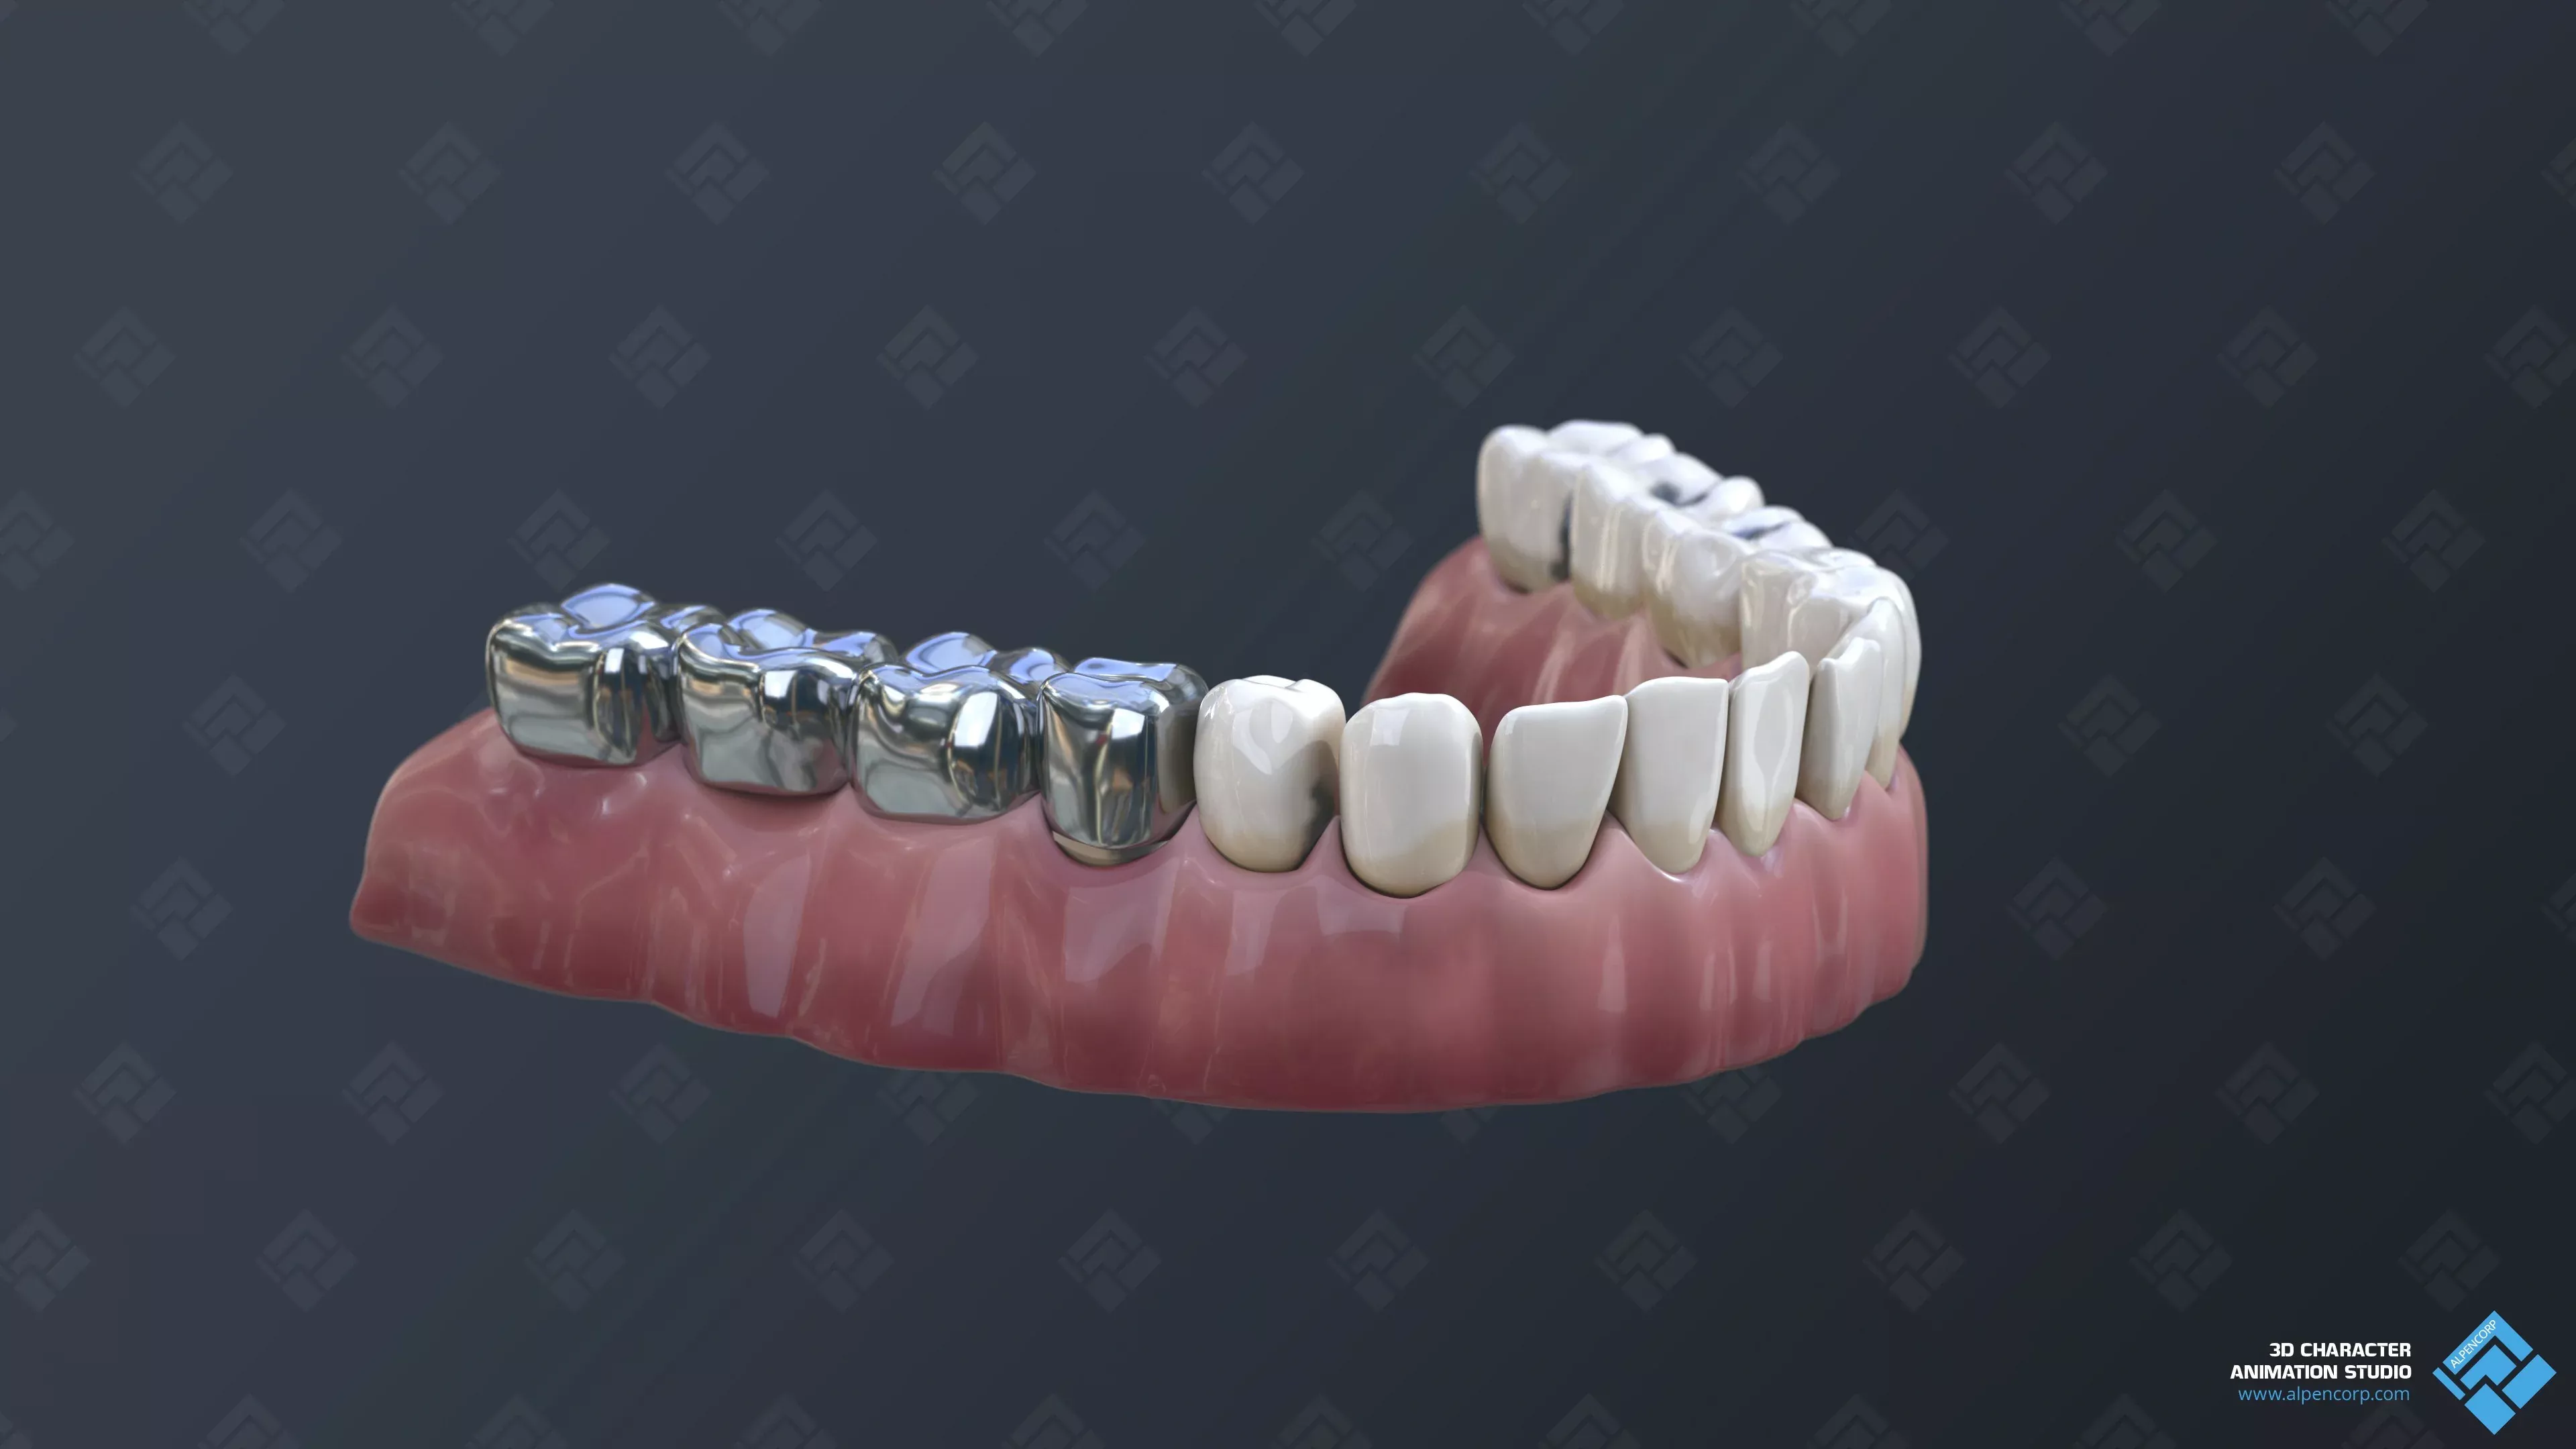
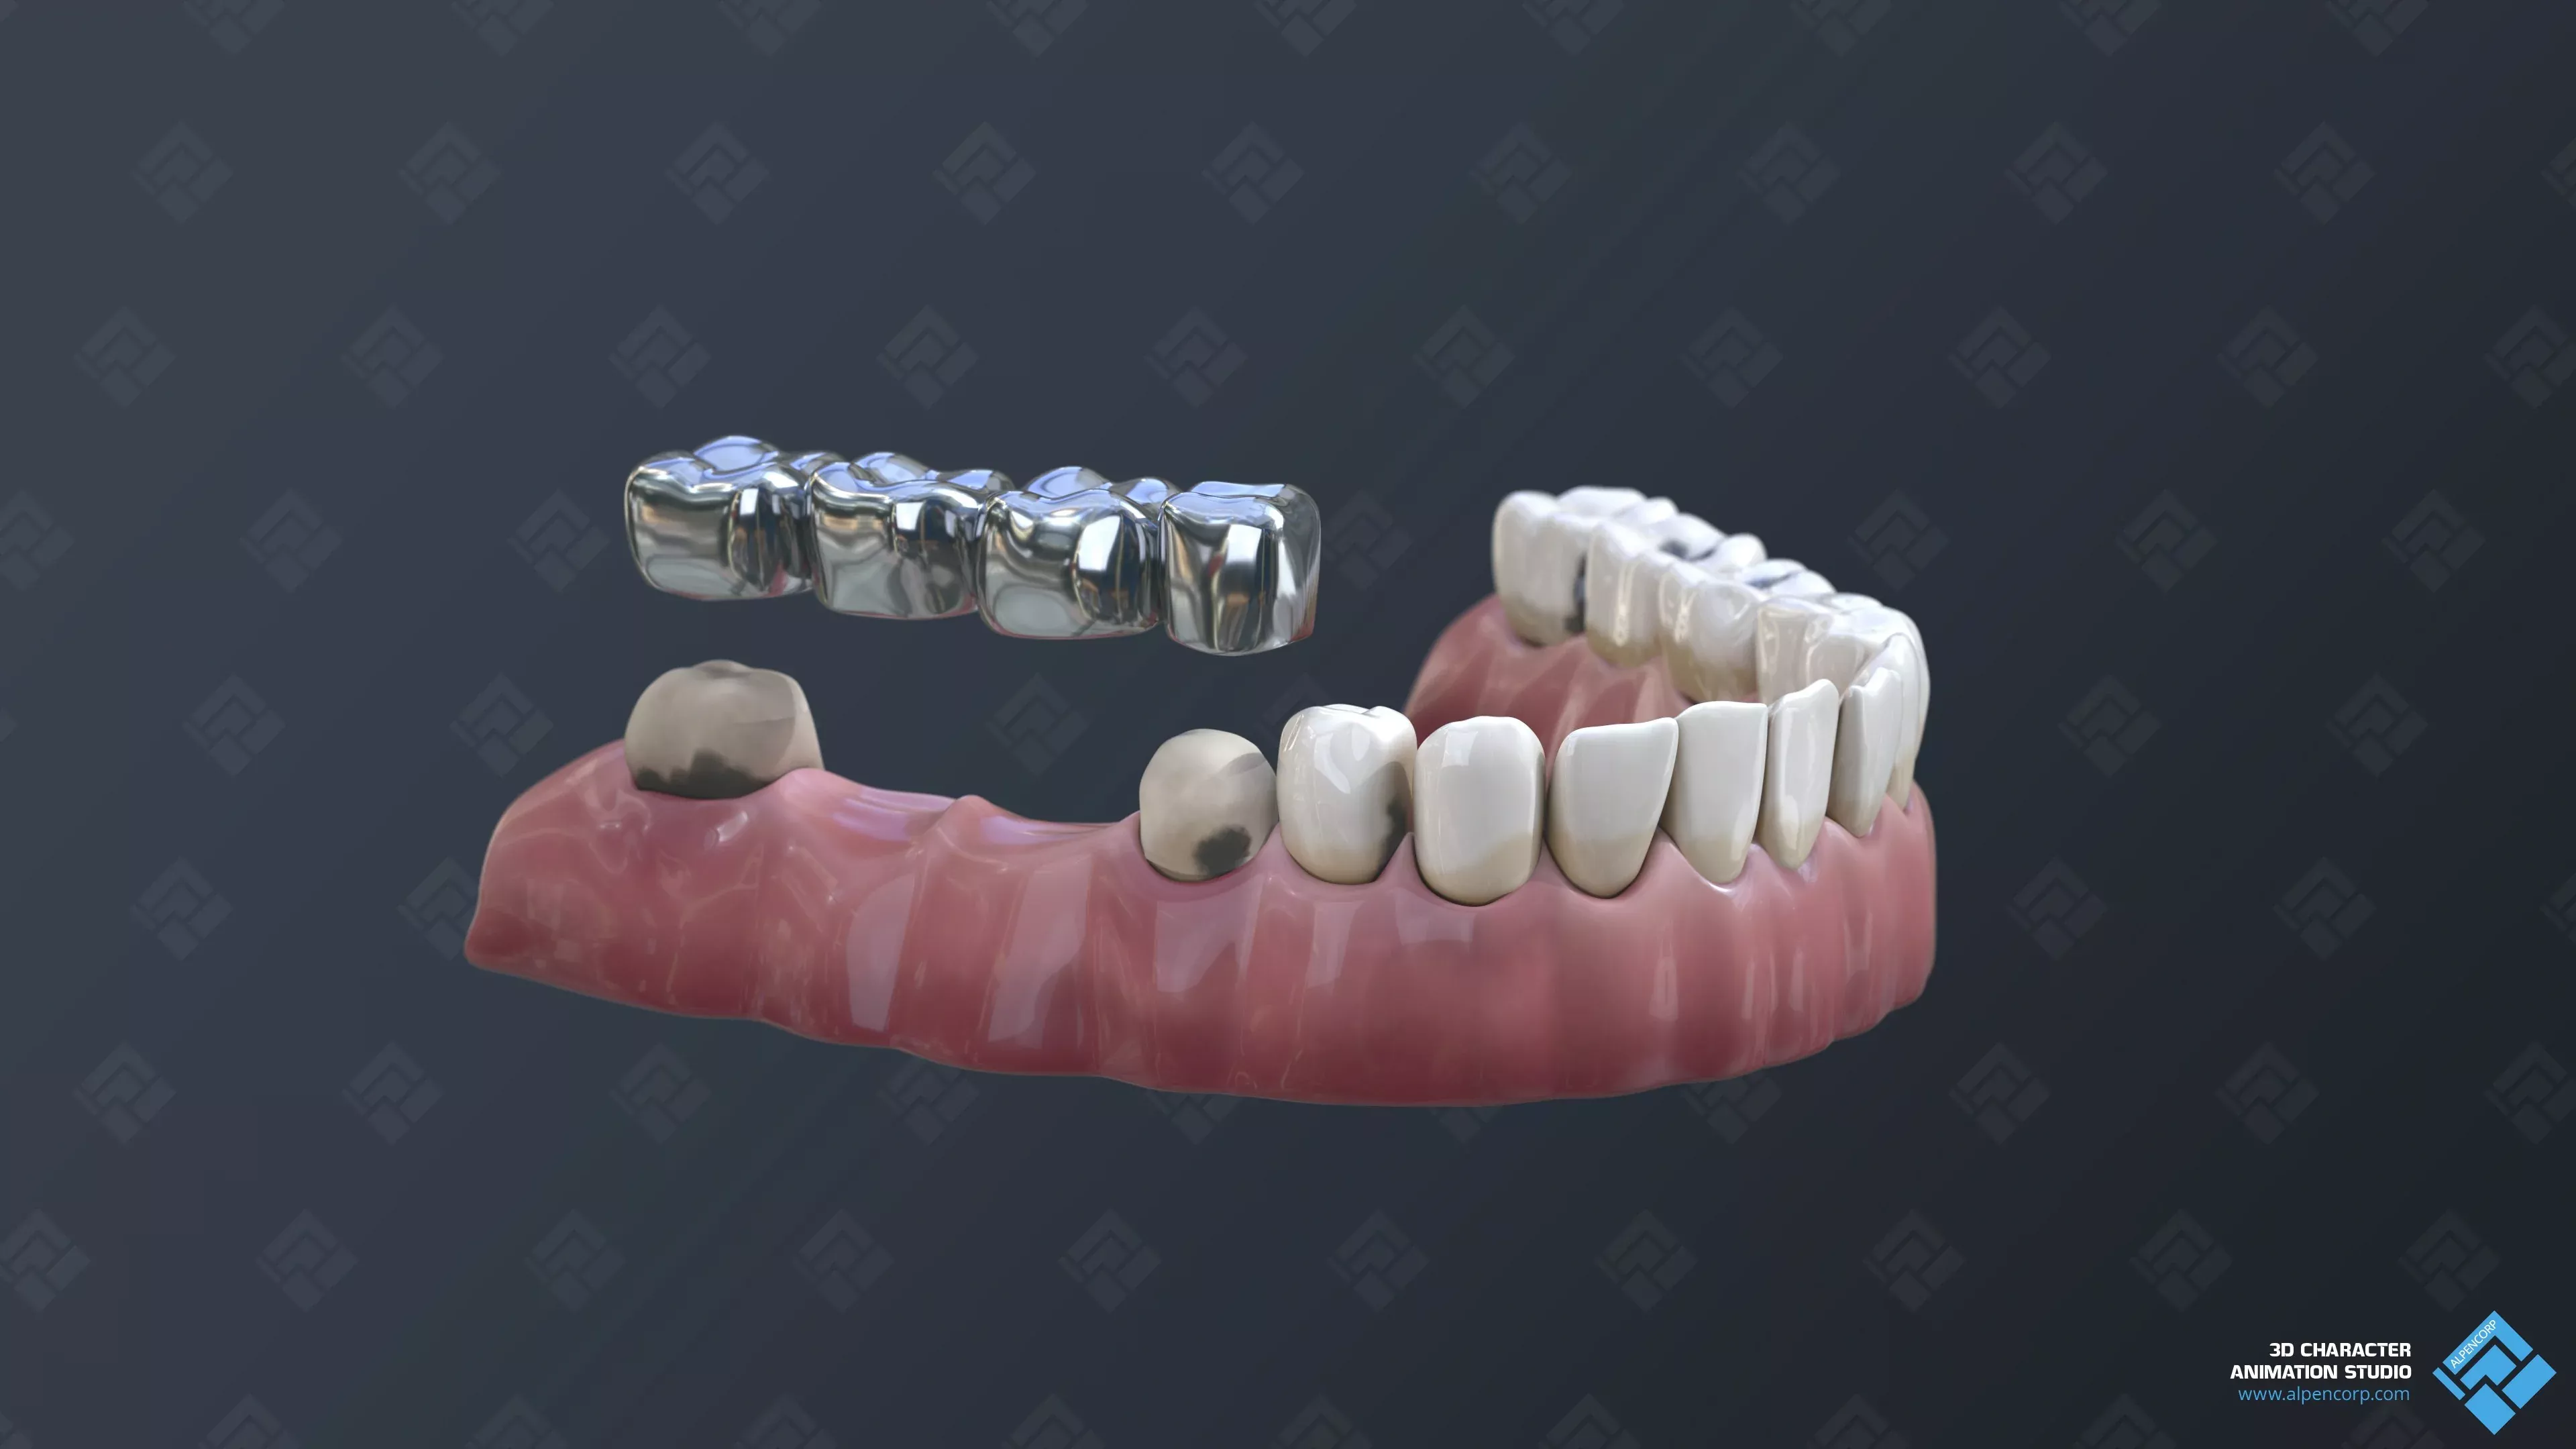
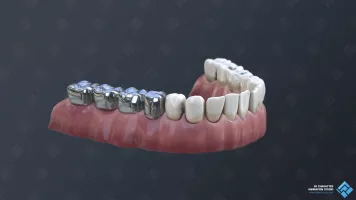
At the beginning of the animation, the metal crowns were installed on four teeth. They had to look old and partially covered.
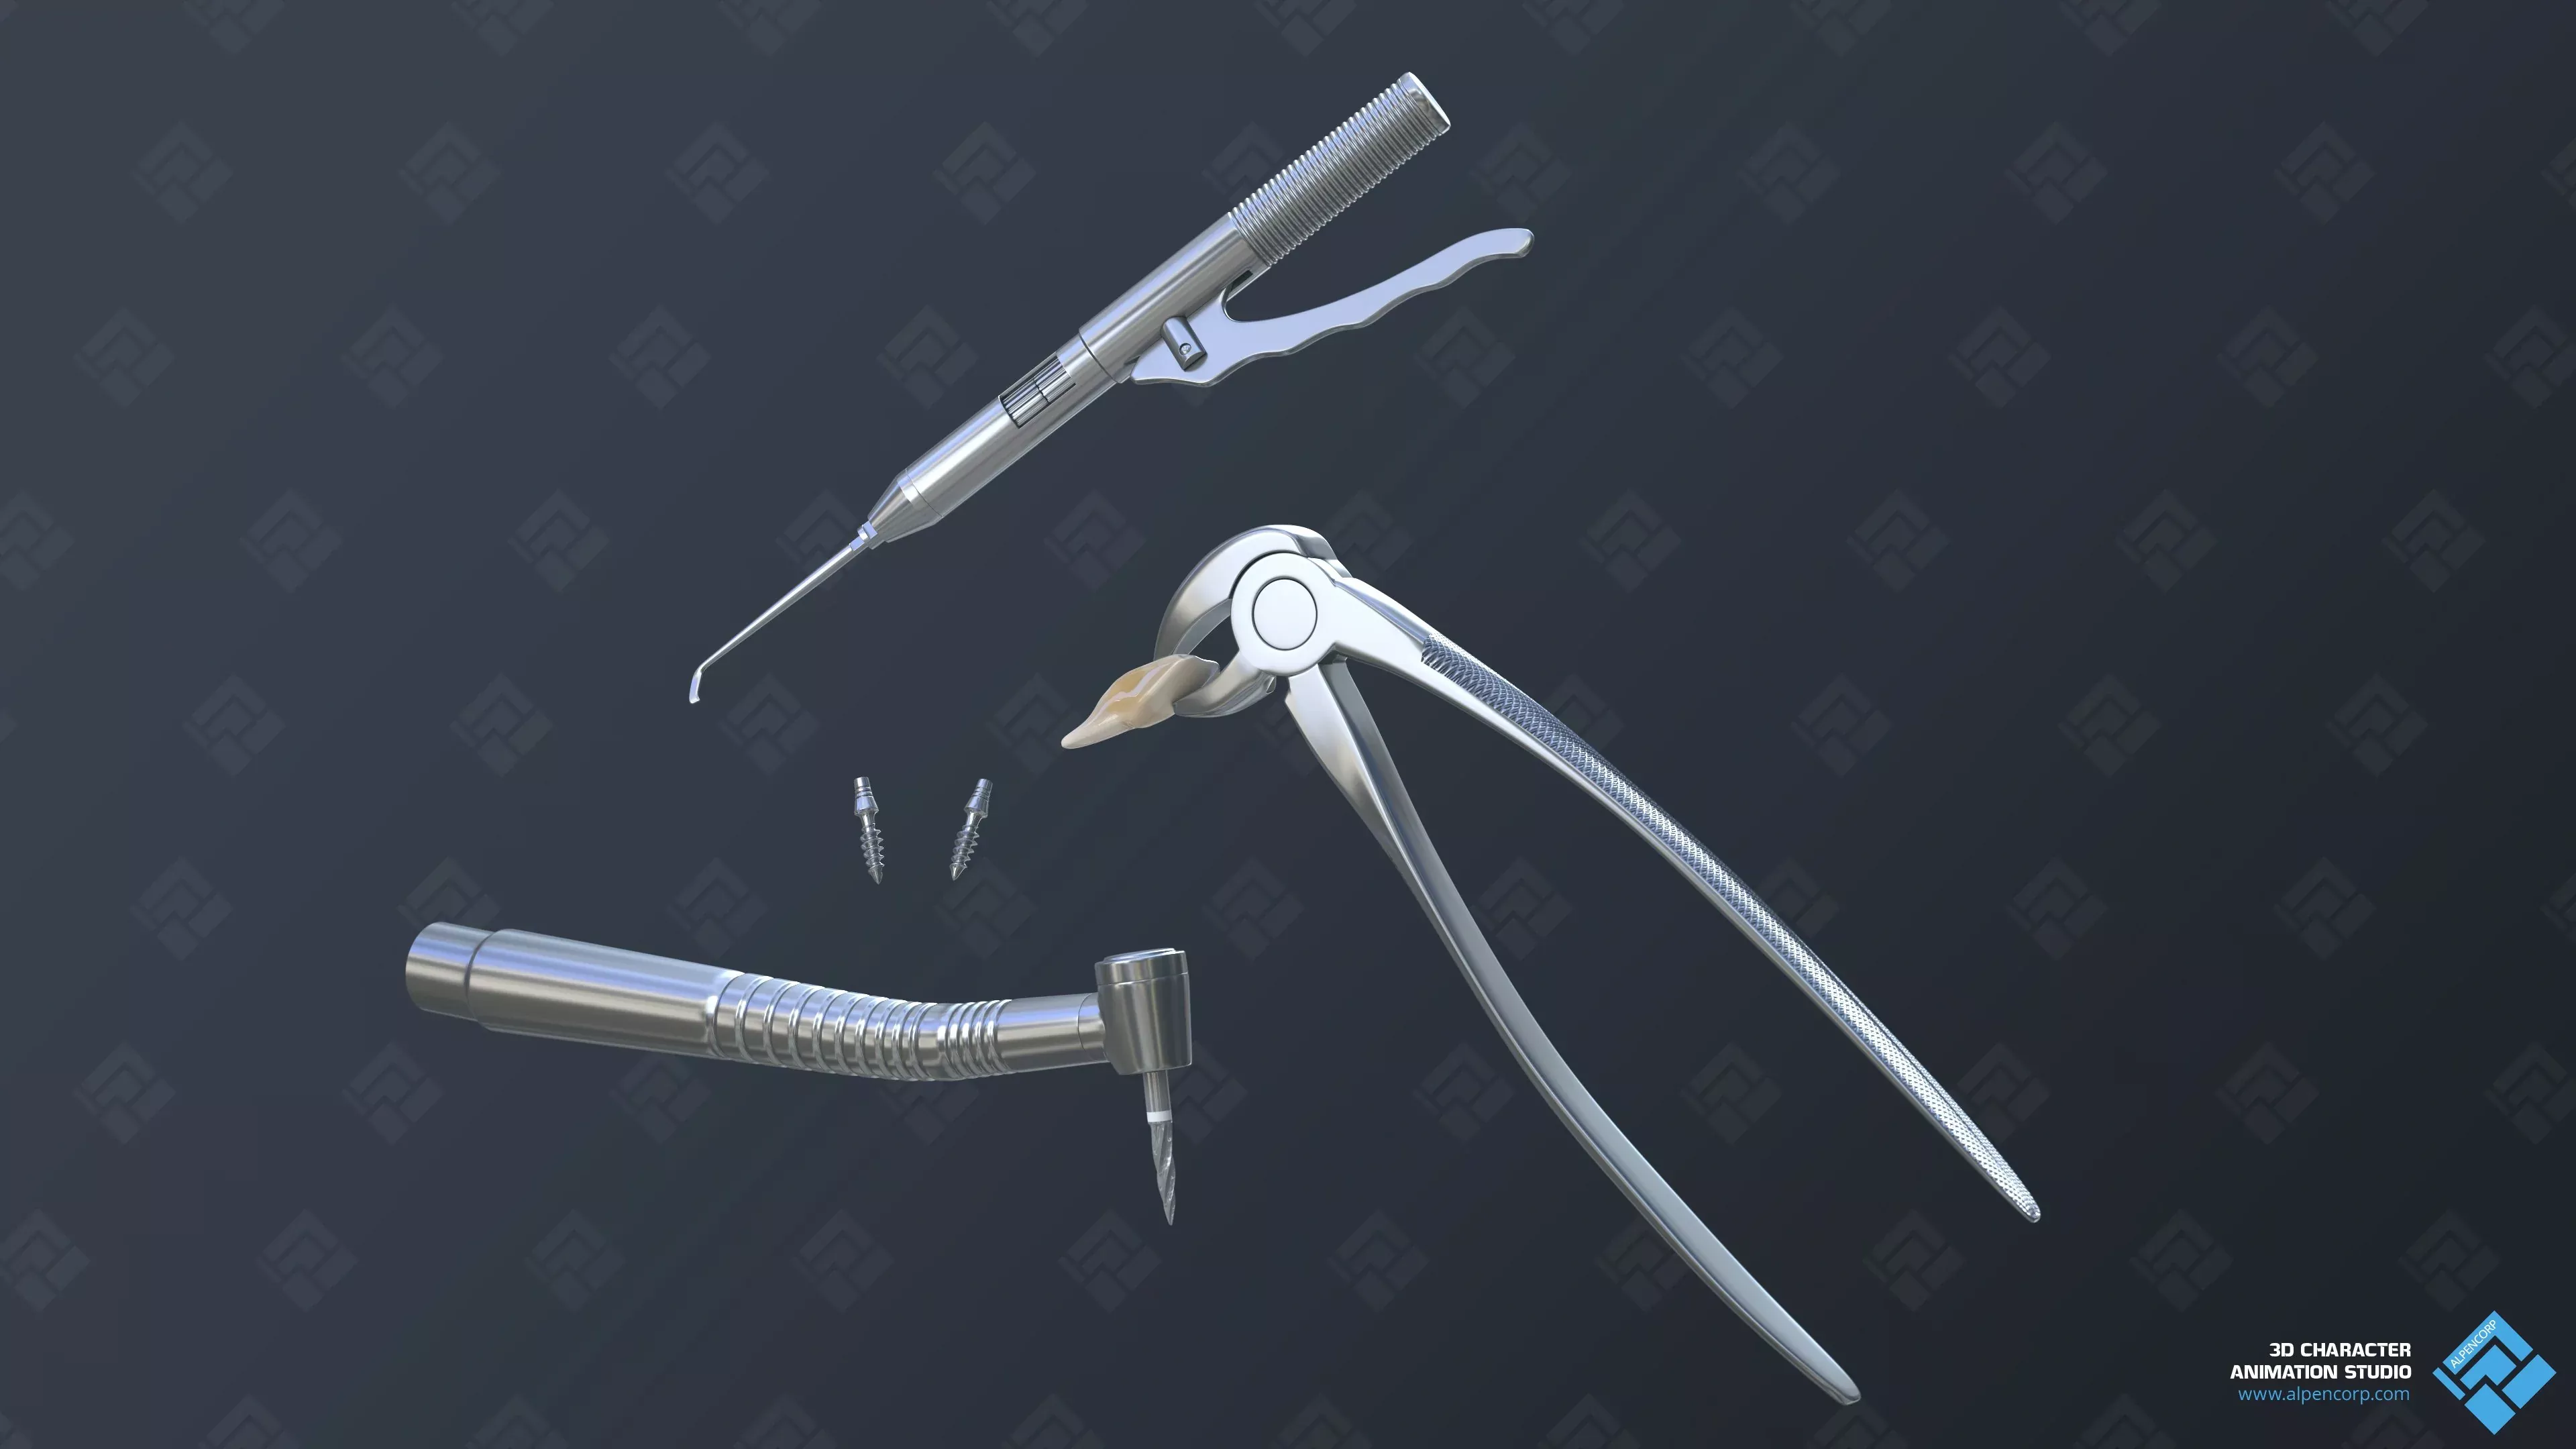
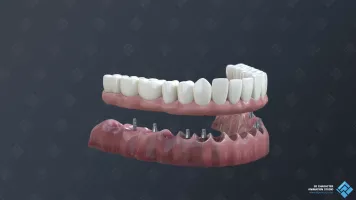
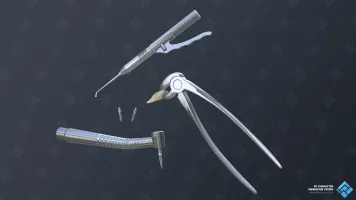
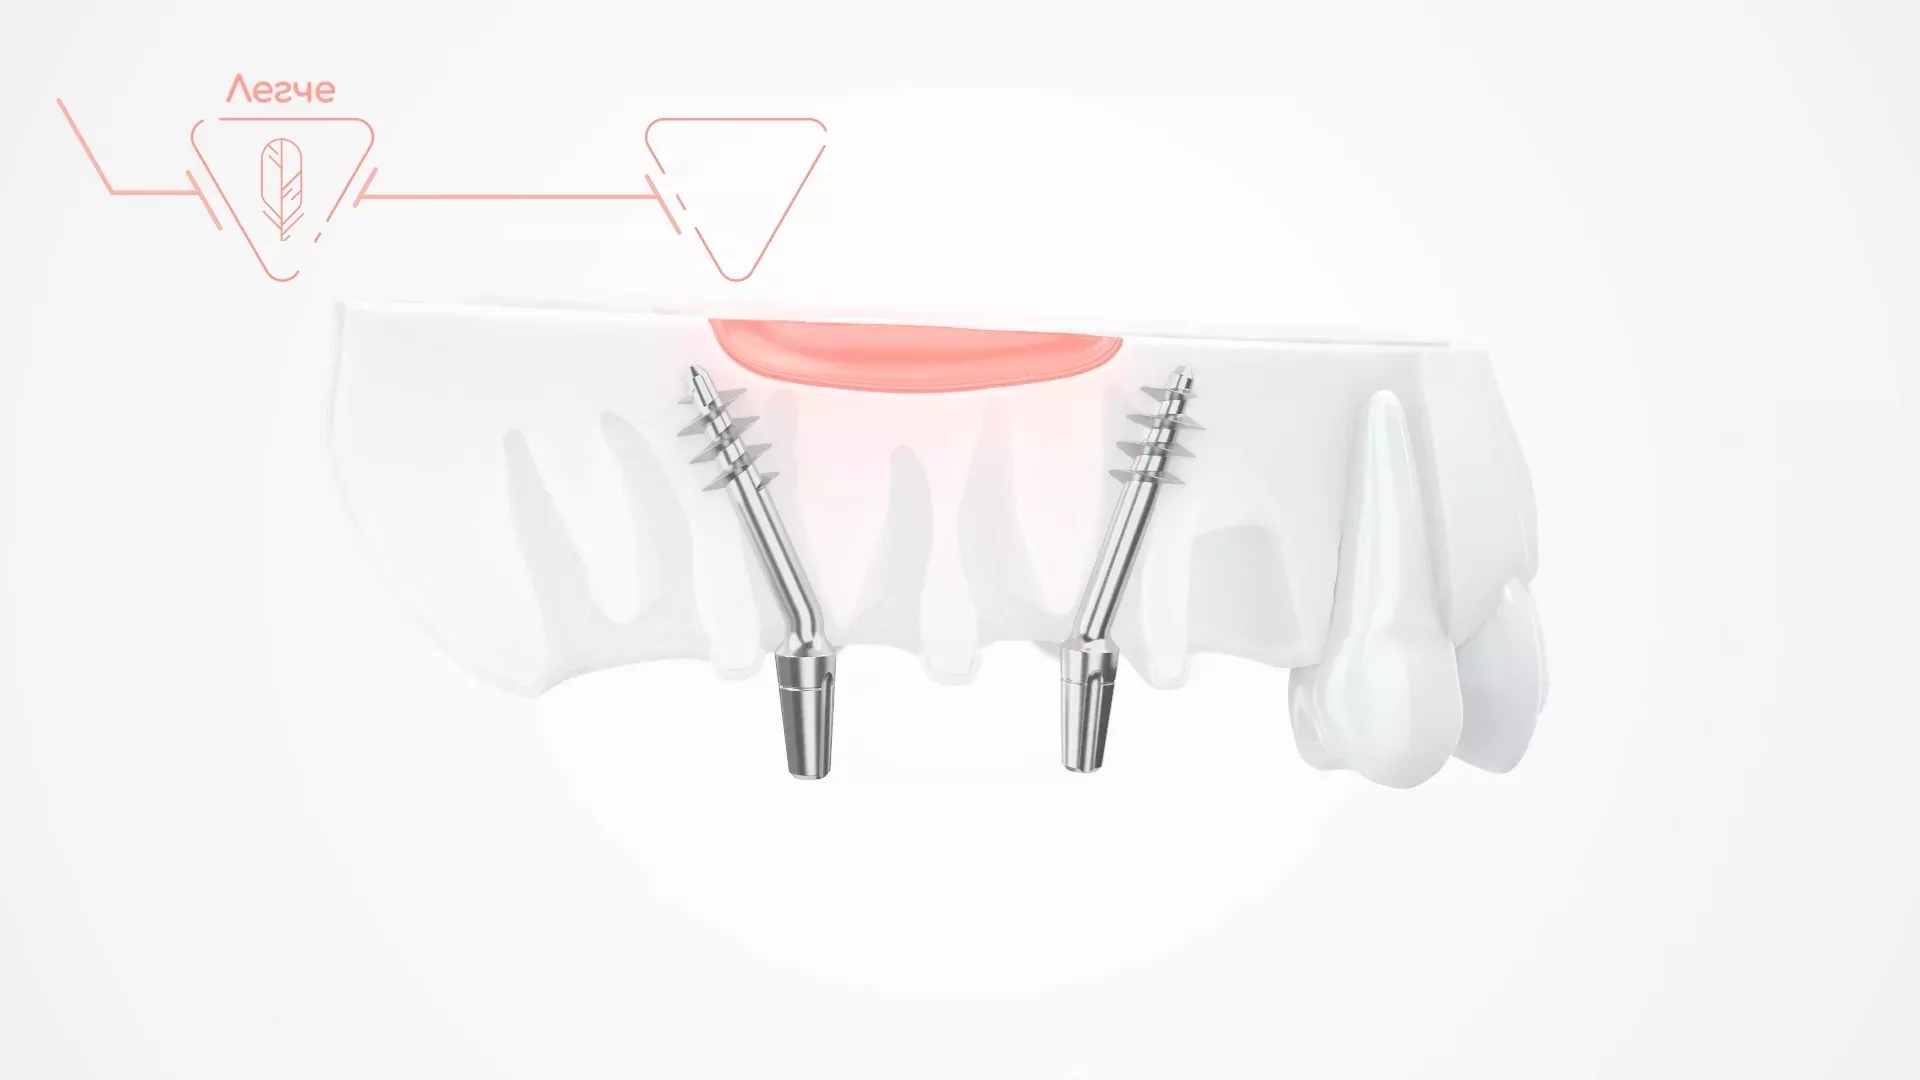
To remove the old crowns, we used a special tool based on microimpacts. The teeth removal showed a cutter with an extractor of the mandibular molars. The drill was typical, metallic without any difference from the real one. We drilled in two ways: at the right angle and at an angle of 45 degrees. The implants were installed onto the entire jaw, skipping every next socket.
Materials
- Gum.
- Polished steel.
- Matte bone surface.
- Ceramic.
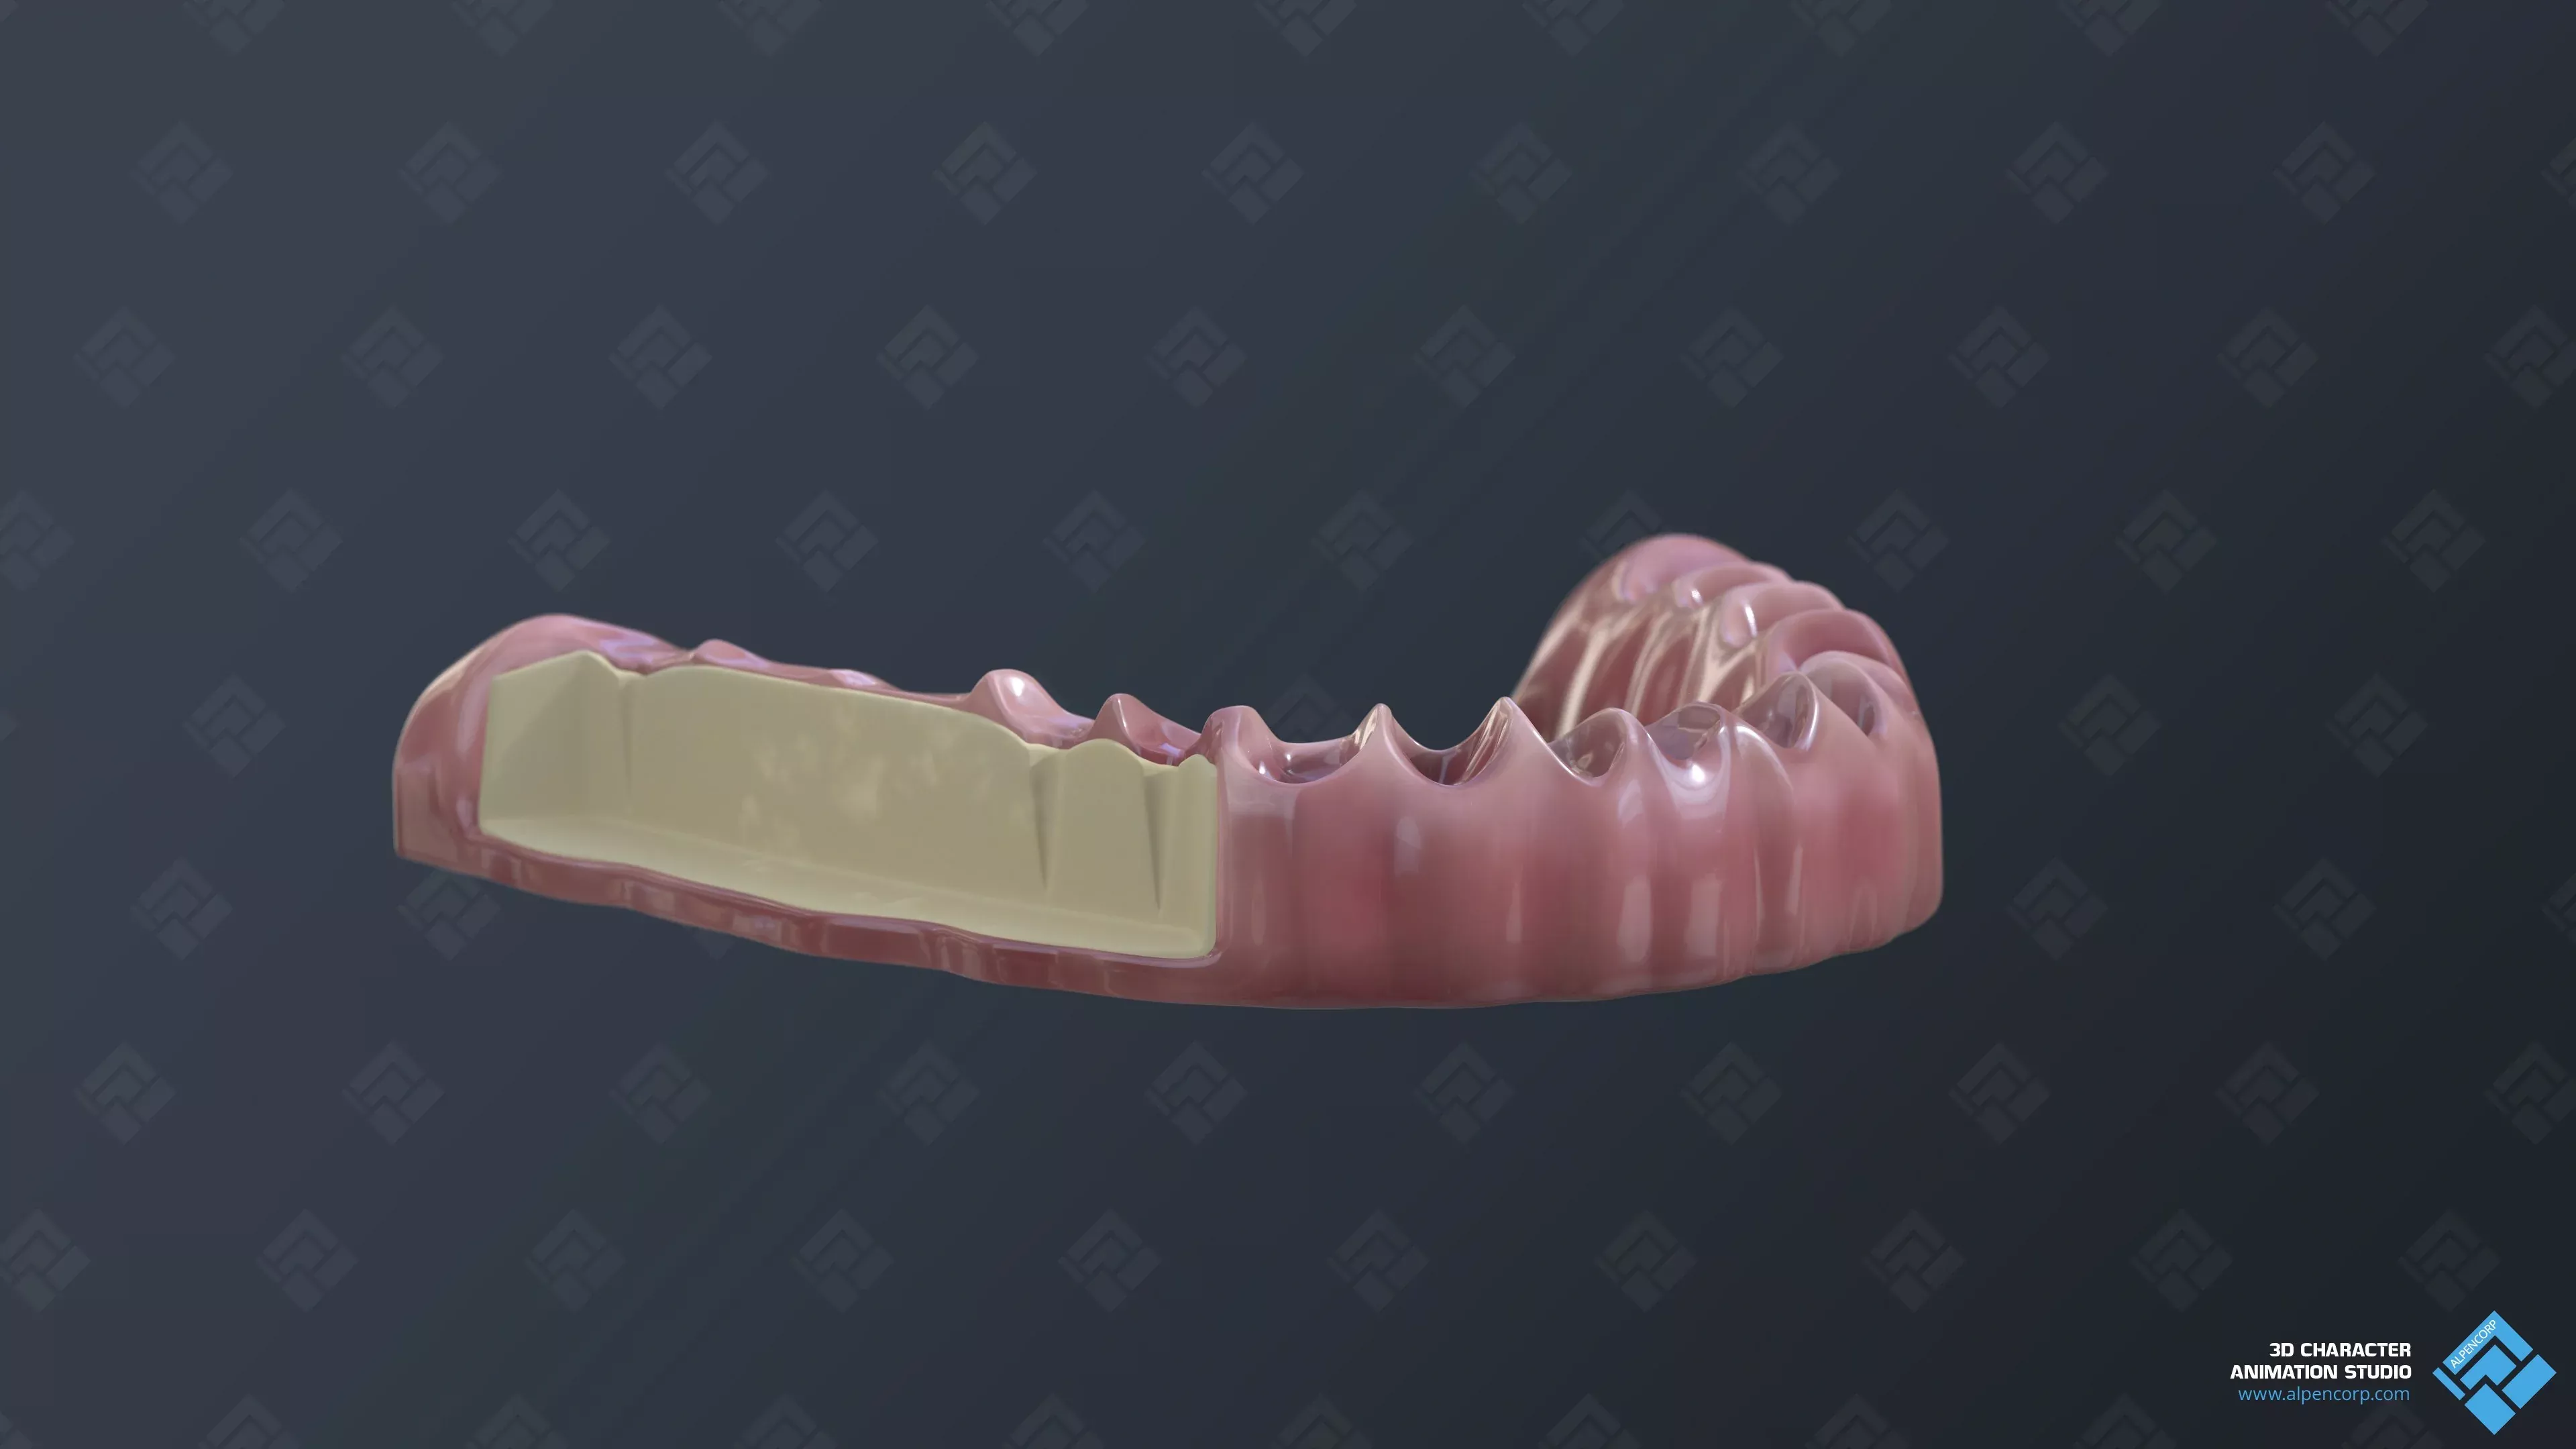
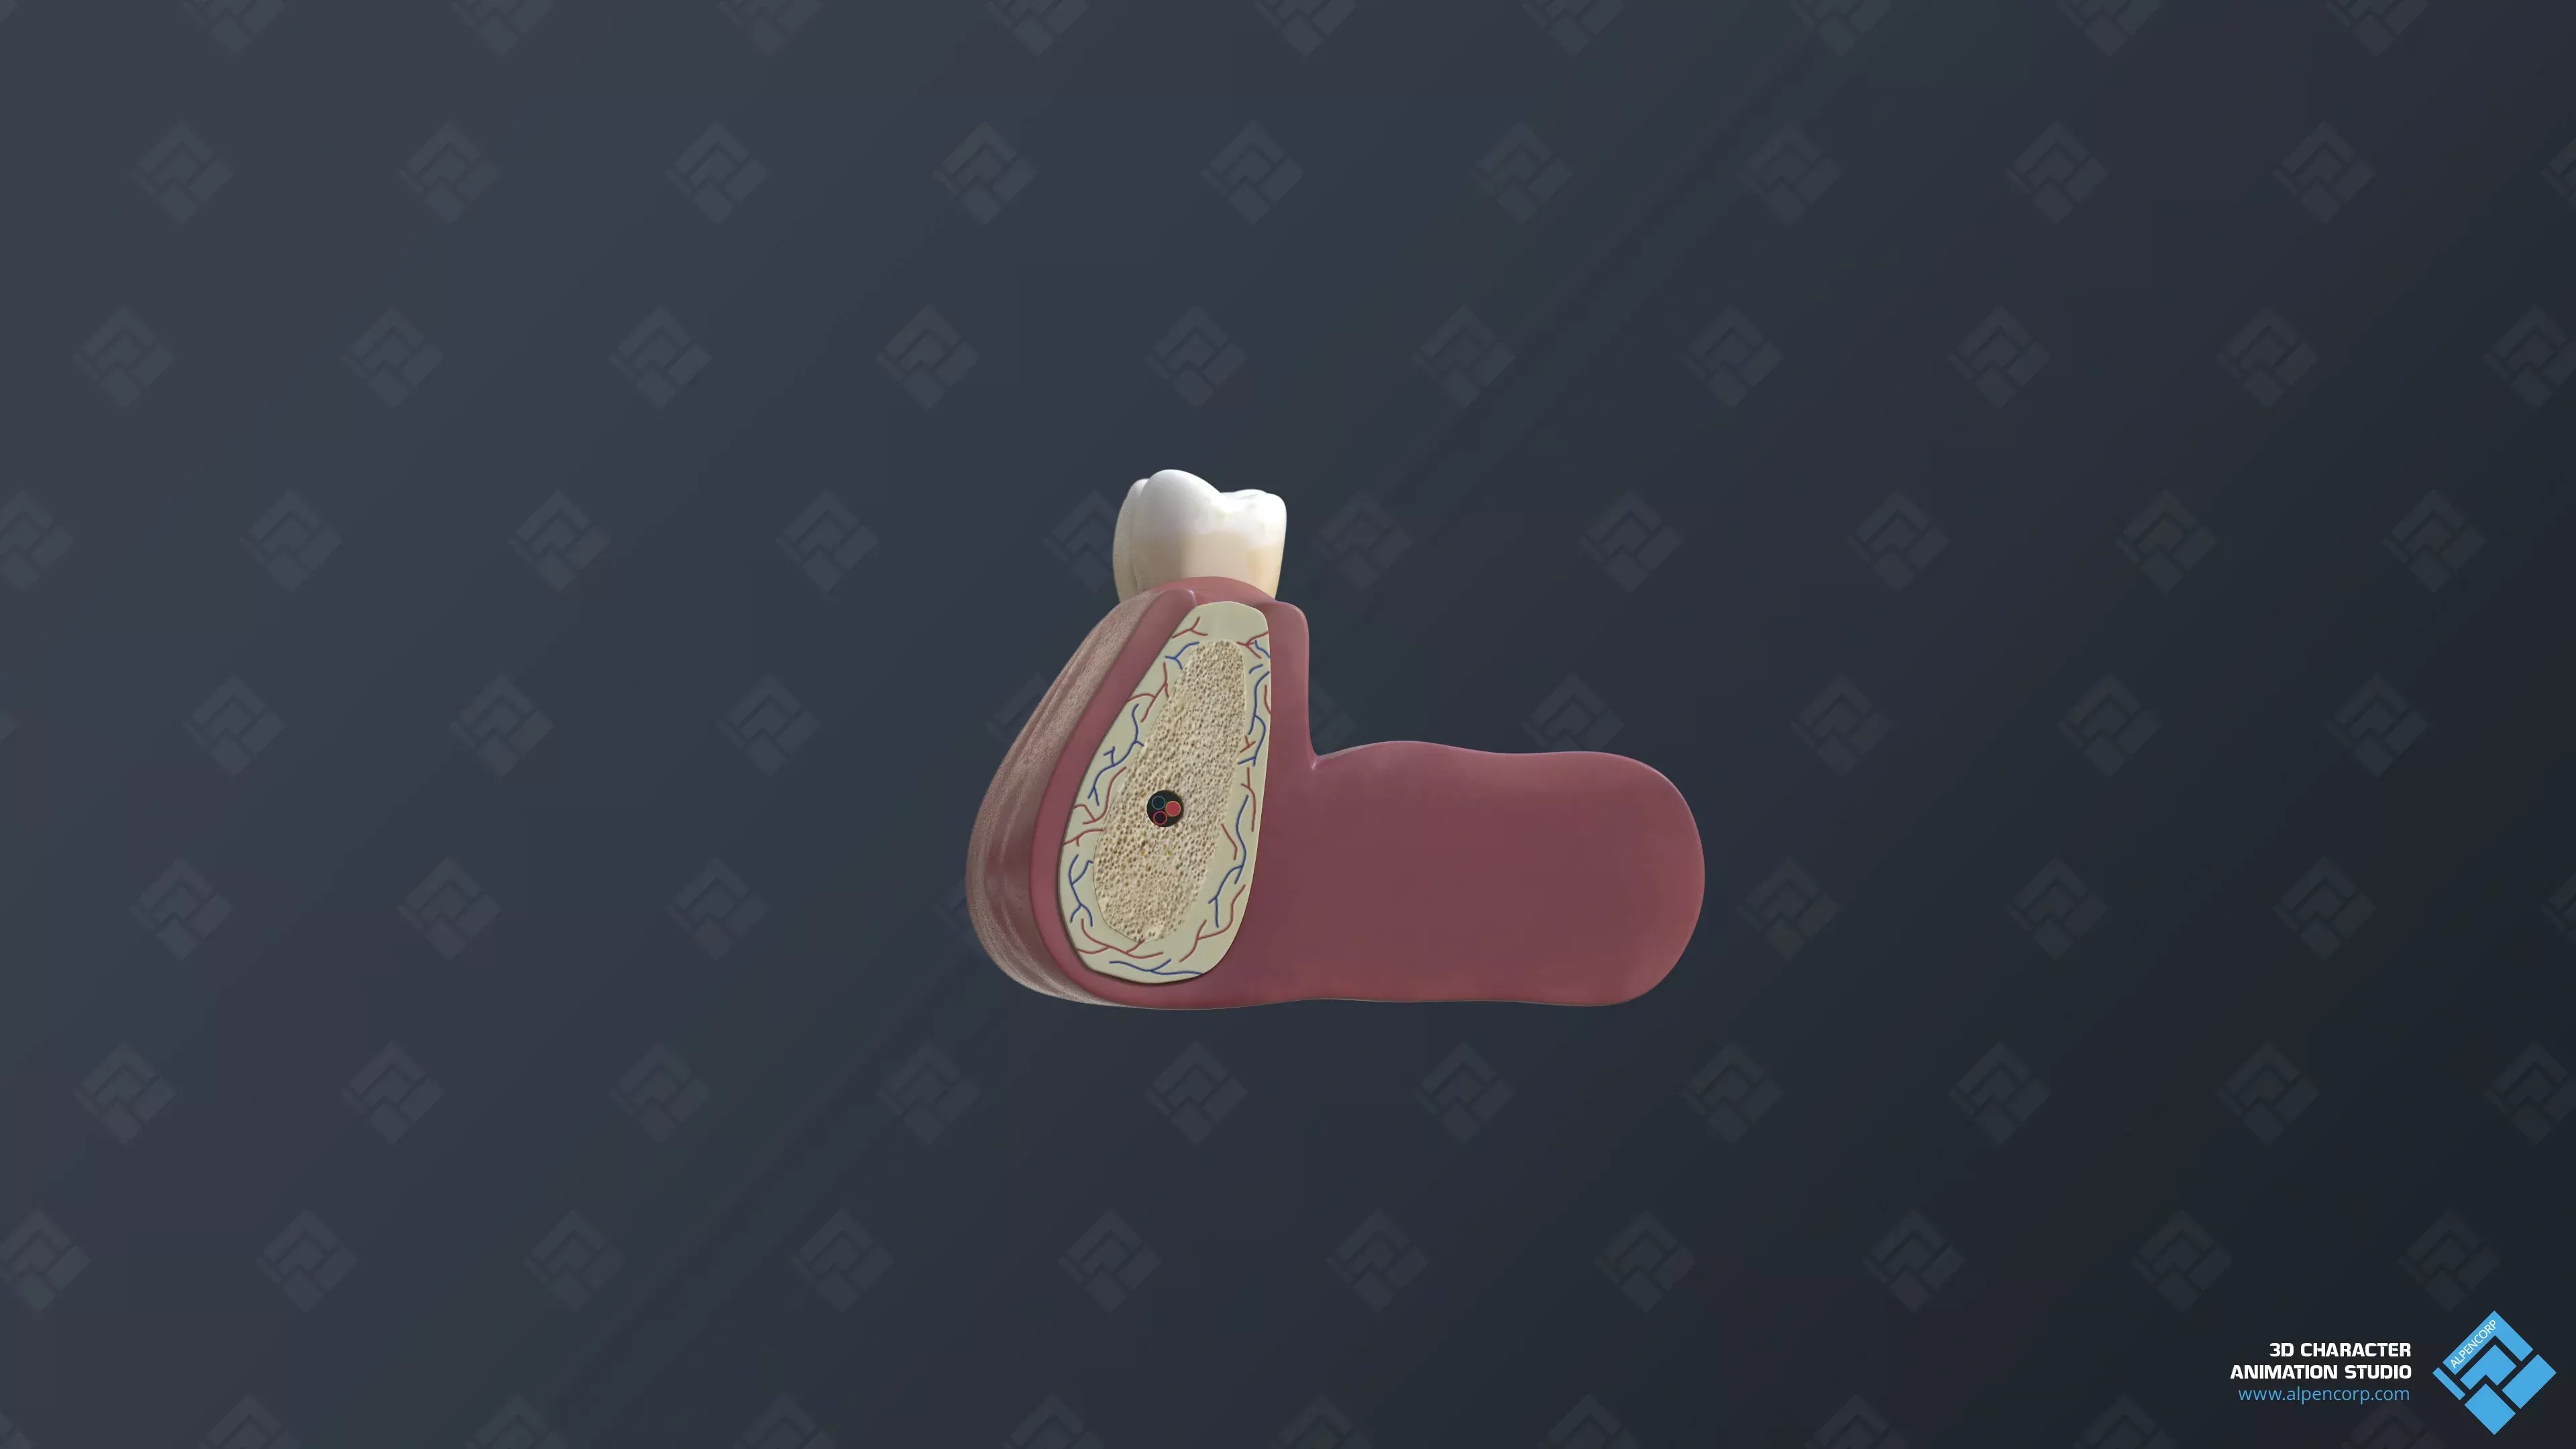
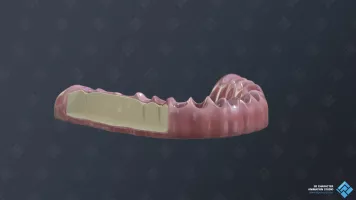
- The internal structure of the bone.
- Nickel.
- Matt ceramic.
- The tooth surface.

3D Animation
The animation draft
We made the animation draft to test the main idea and sent it to the client. Detailing layer by layer saves a lot of the project time and helps avoid unnecessary edits.
THE FINAL ANIMATION
The second animation stage was to test the entire scene before rendering. We added the camera's movements and hid the tool's edges out of the frame. There is no reason to waste the project time on making wires and other unnecessary elements.